Broad Strokes & Fine Details
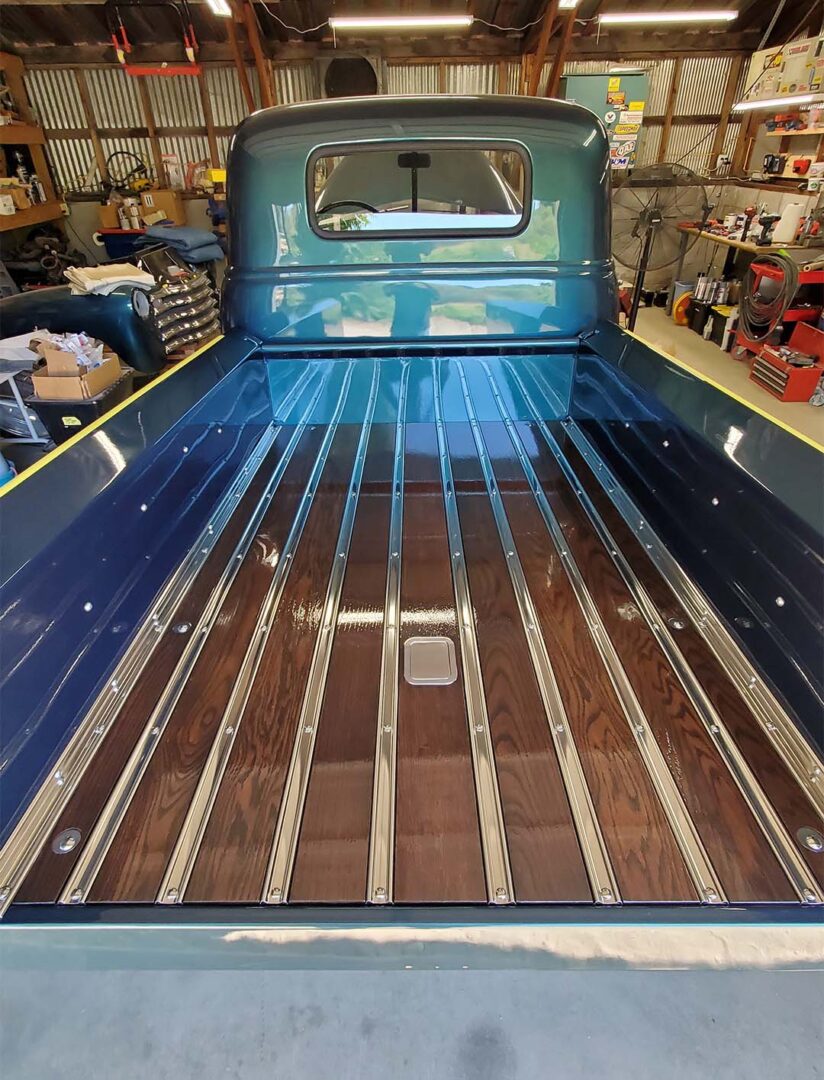
With the wood bed floor of the '50 Chevy truck finished and assembled we can get on with the broader 'brushstrokes' of assembly and the fine details within.
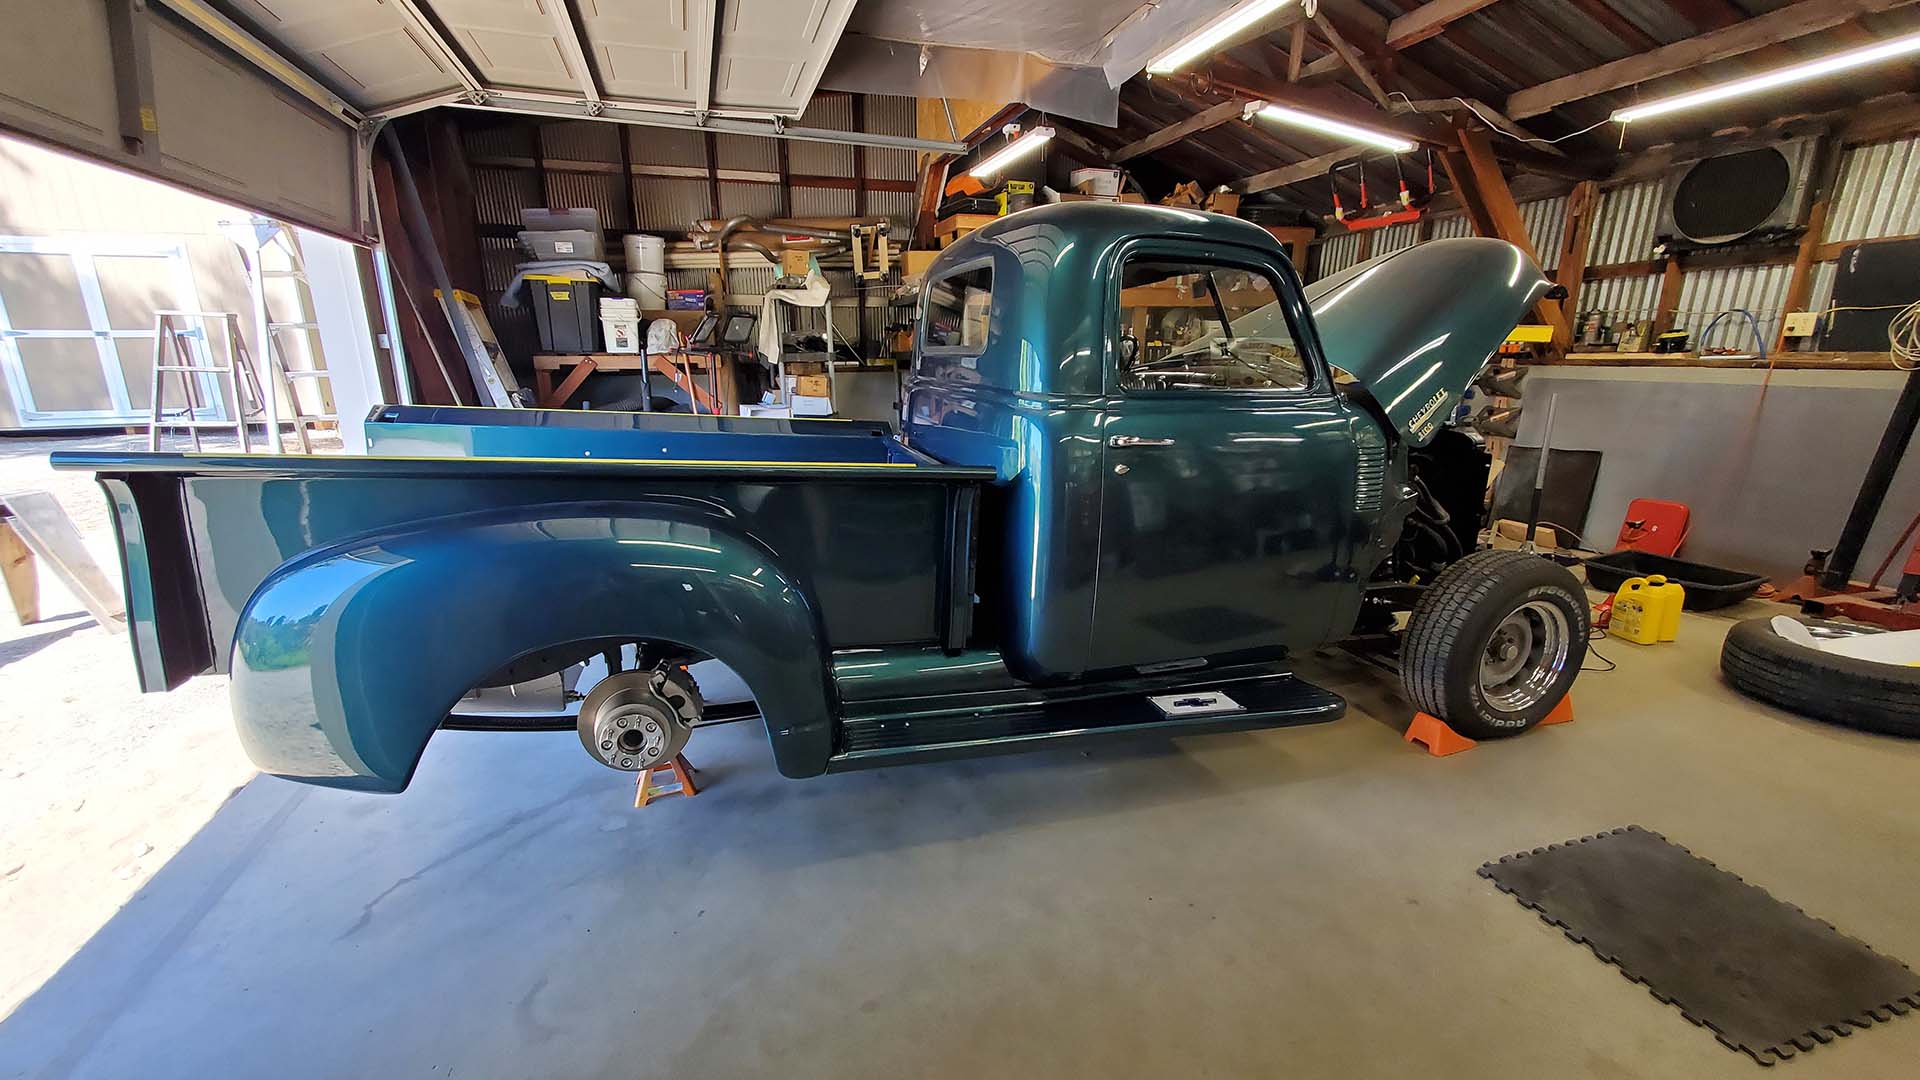
The fenders, running boards, and tail gate are next in line and require lots of nuts, bolts, and washers. I employed a combination of plain and stainless steel fasteners for looks and corrosion resistance.
The running boards were loosely bolted to their brackets - they're mostly in a fixed position with no adjustment. The fenders were bolted to the bed sides using button head SS bolts.

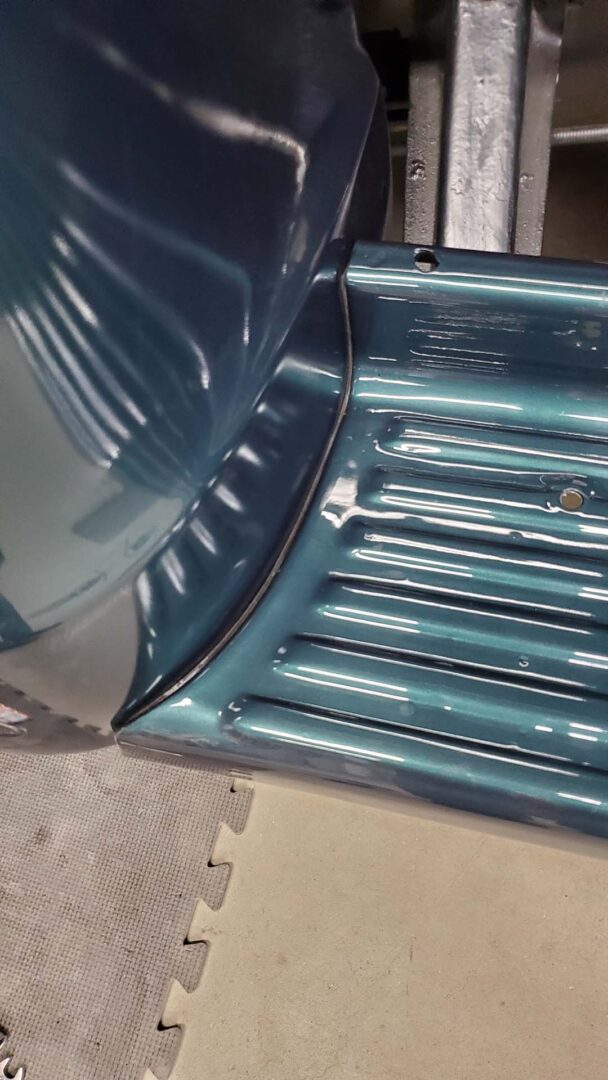
During an earlier mockup, the contour where the running board and rear fender meet and bolt together was markedly different. I fabbed and installed a black foam gasket between the two (originally they were paper). Once the bolts were installed and tightened, the fender was sucked into the contour for a nice tight fit without a gap - a pleasant surprise.


There are filler panels between the running boards and bed sides in front of the fenders (called aprons) that go in with some hidden fasteners and a bracket. Each side was a little different (different year or original and aftermarket) but we made them work. A lot of fiddling and working in tight spaces under the truck. I applied a non-original piece of weatherstrip between the top of each apron and the bottom of the bed side. This filled the gap and made for a cleaner appearance.


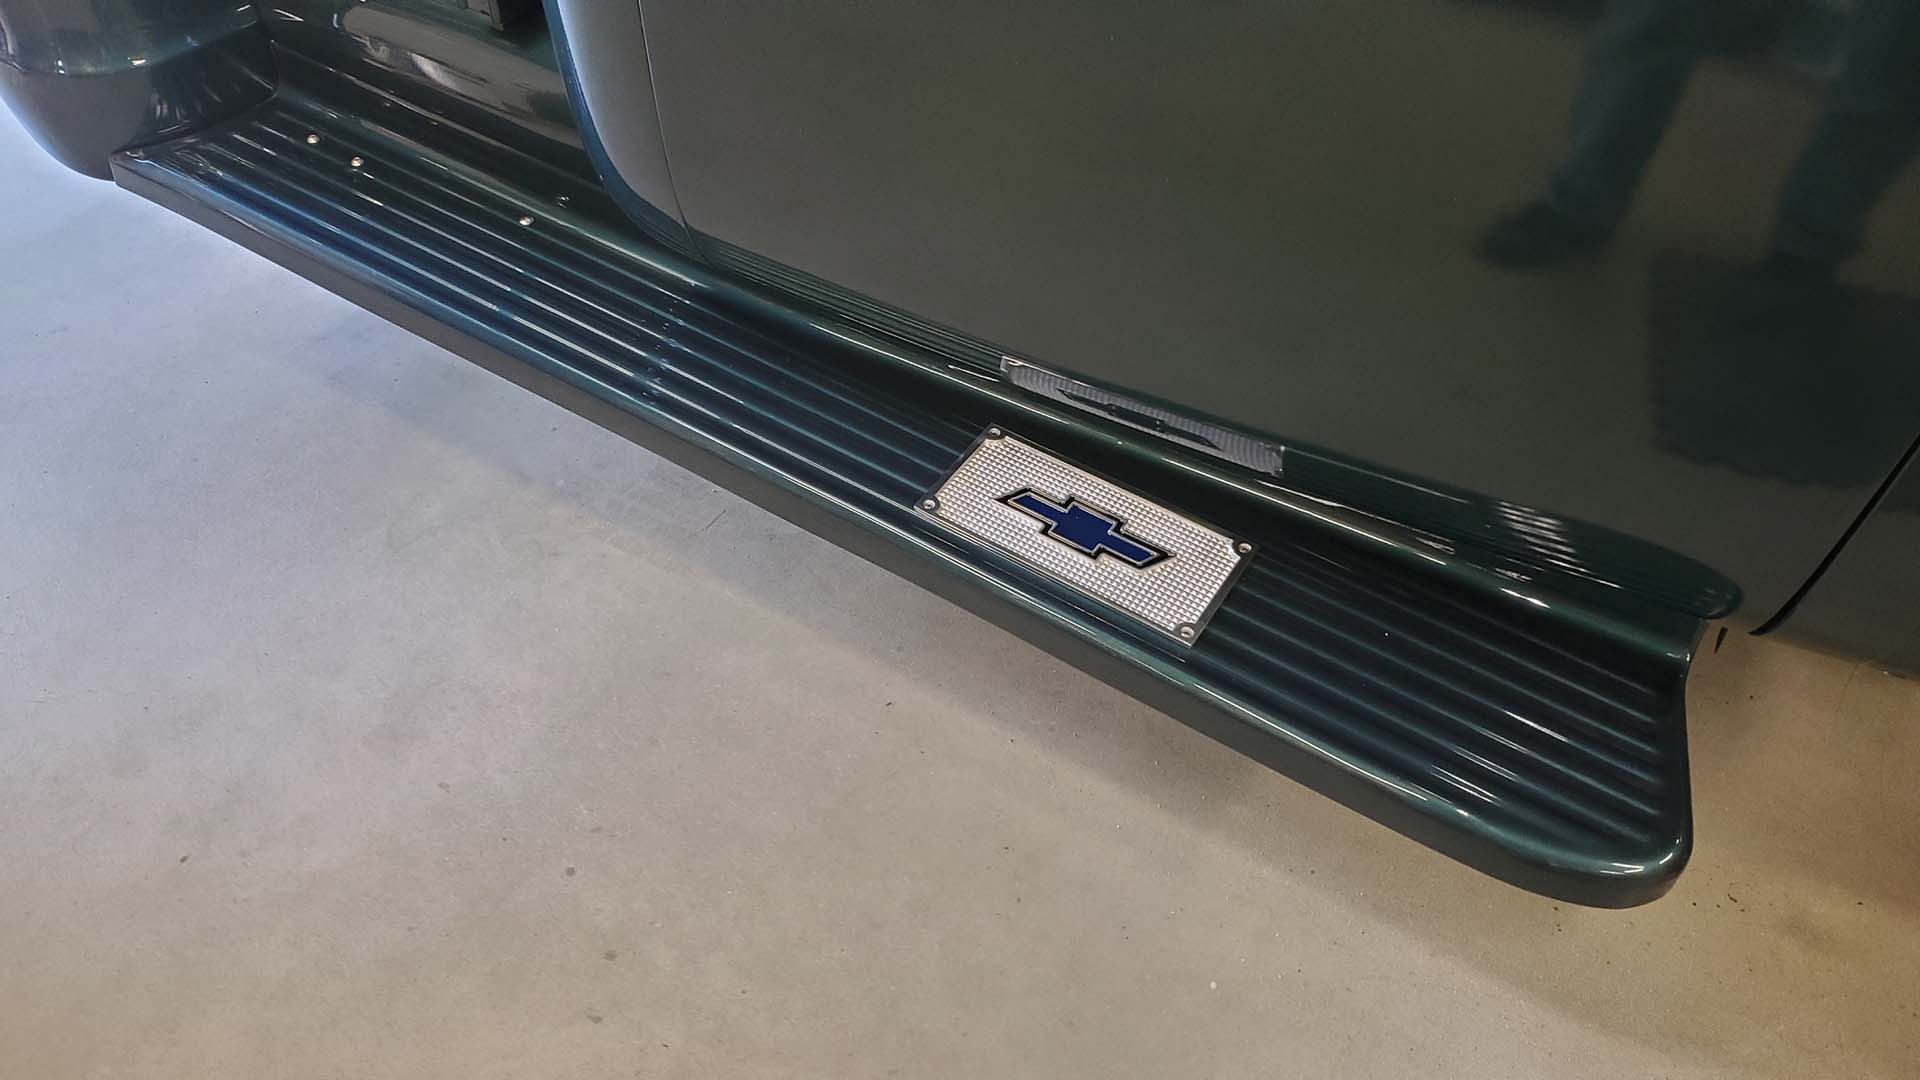
The running boards were already drilled for step plates but the old ones found in a box of parts were in pretty rough shape. New step plates were installed.


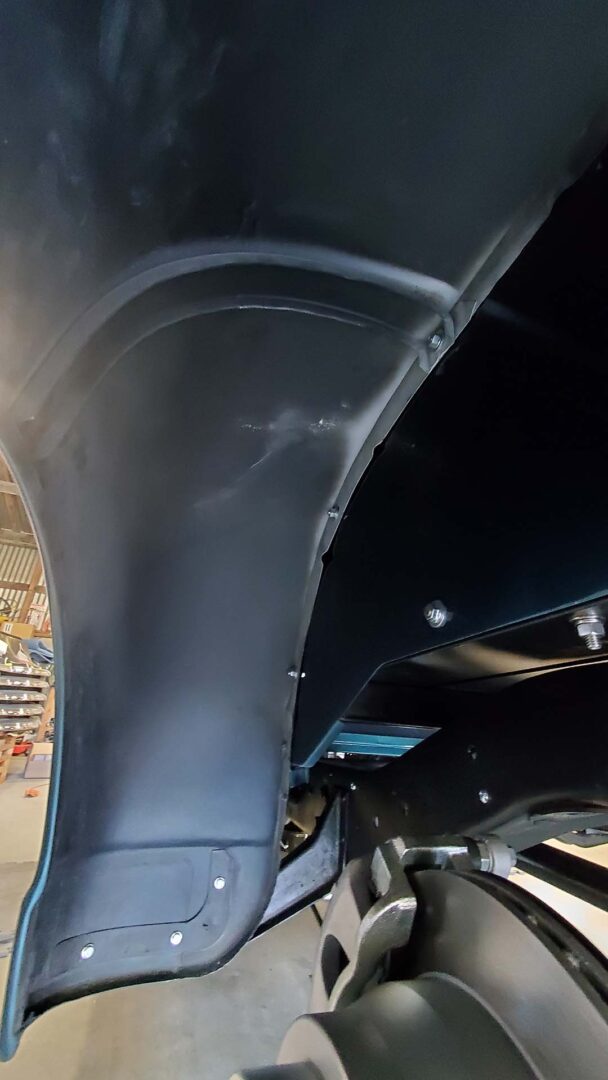
I also applied 3 aerosol cans of black stone guard (like undercoat) to the inside of both fenders for appearance and protection.


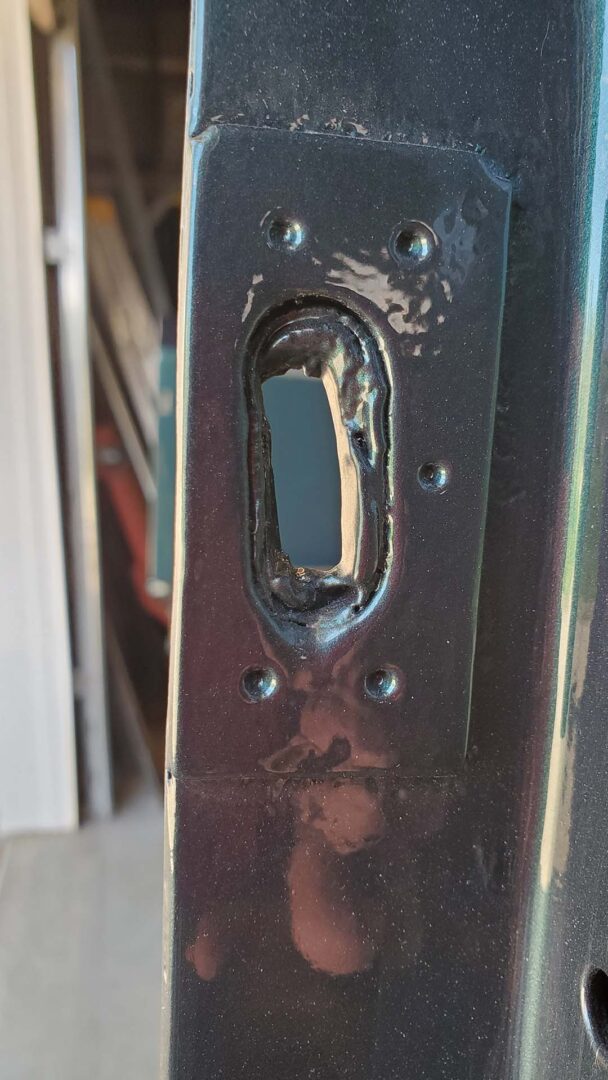
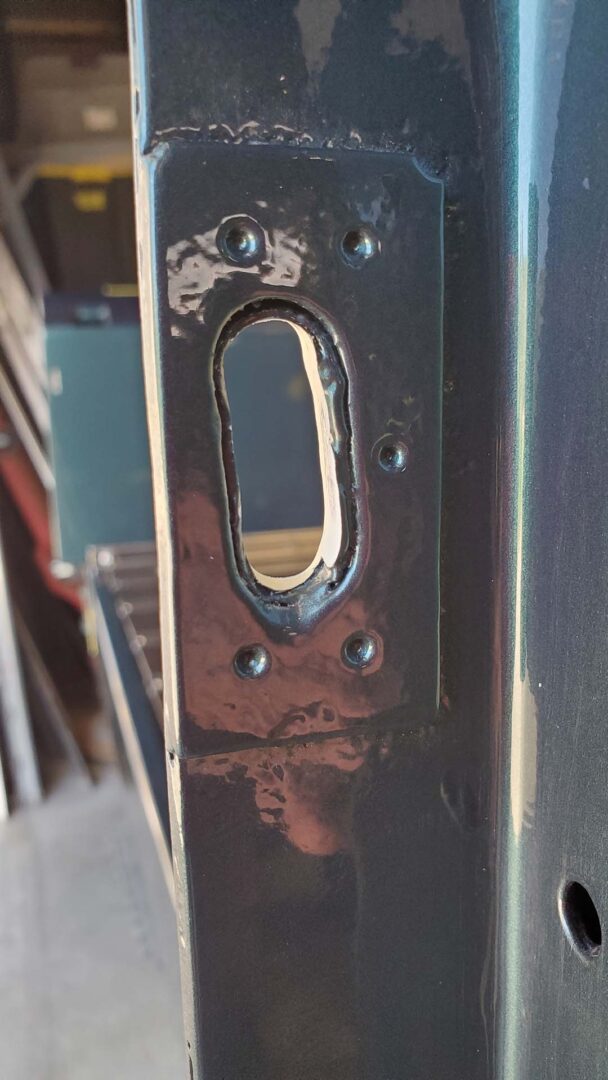
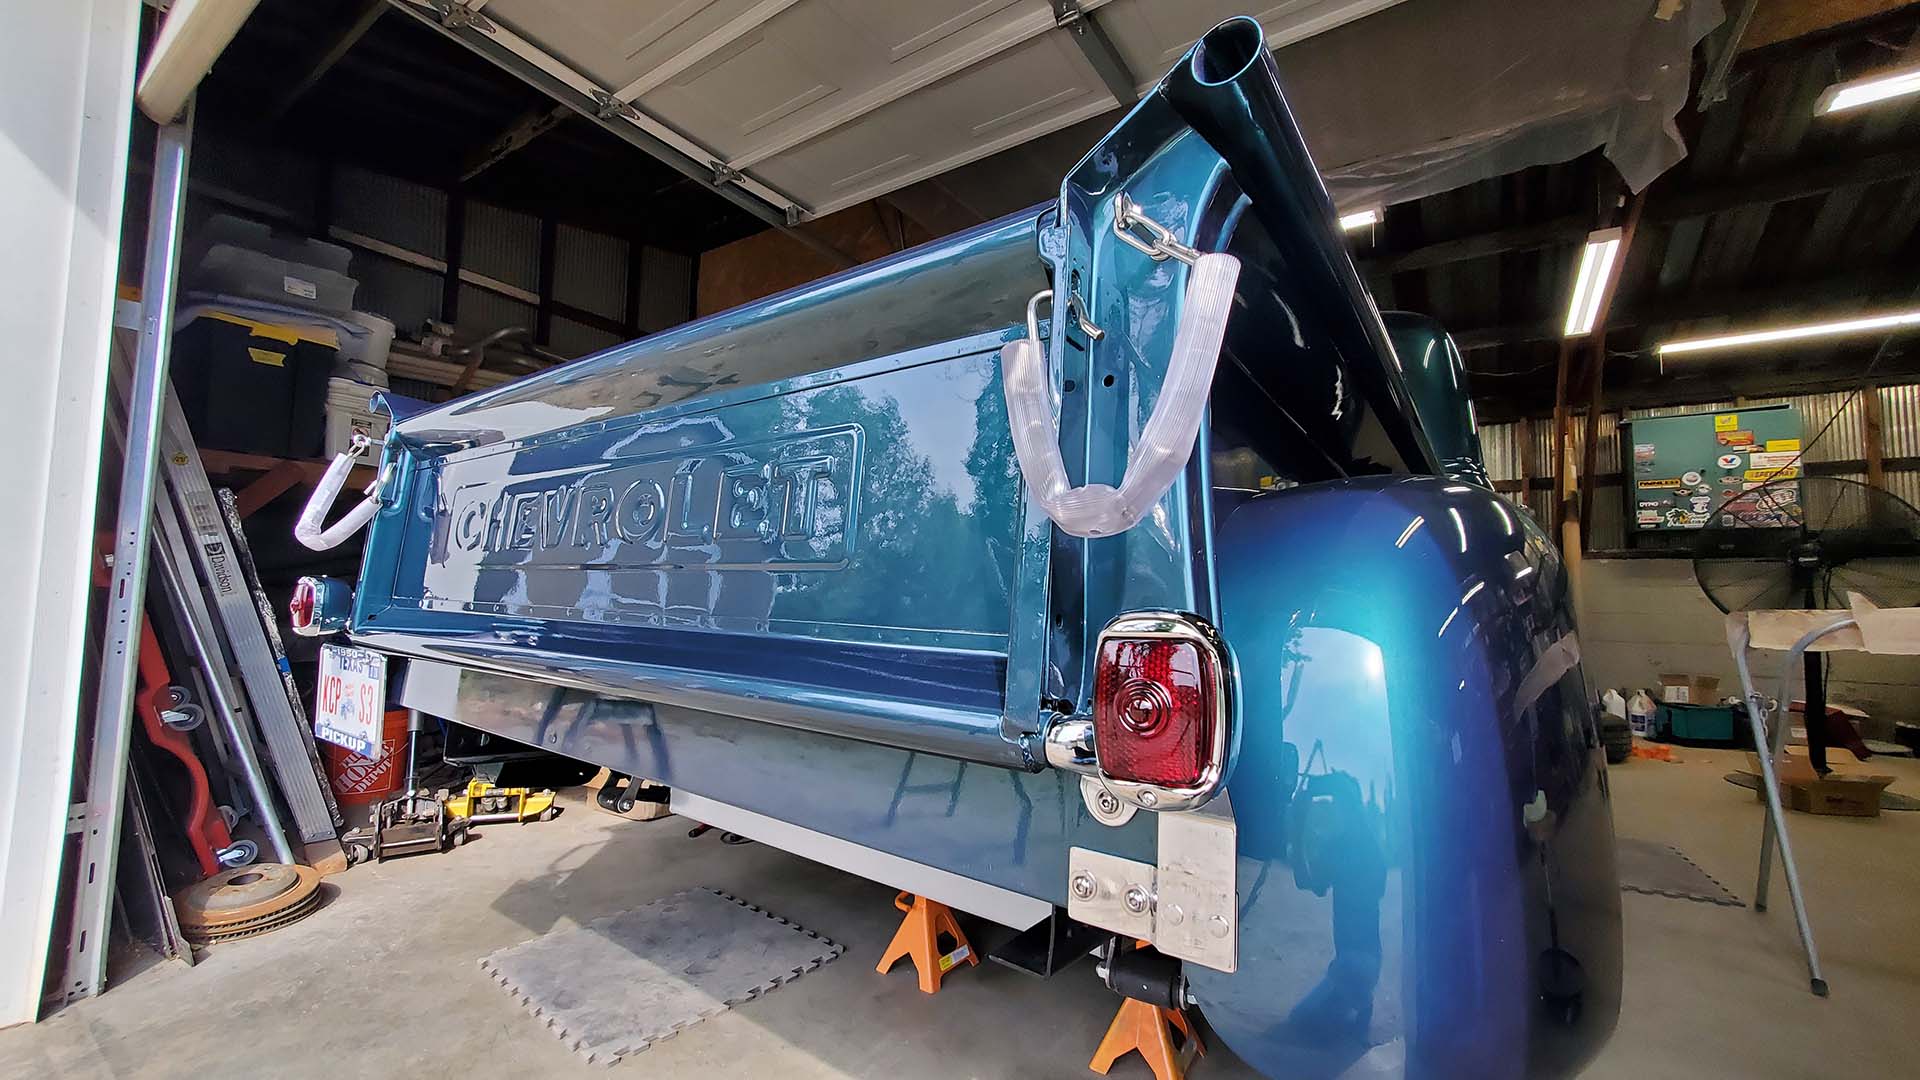
I assumed (ha, ha, ha!) the tail gate would fit without issues but, no. First off I discovered that when they slathered body filler over the entire bed assembly they partially filled one of the holes for the tail gate hook - and then painted over it without cleaning it out. The hook wouldn't fit through the hole.
Out came the die grinder and bit to clean it out - which means paint touch-up later.




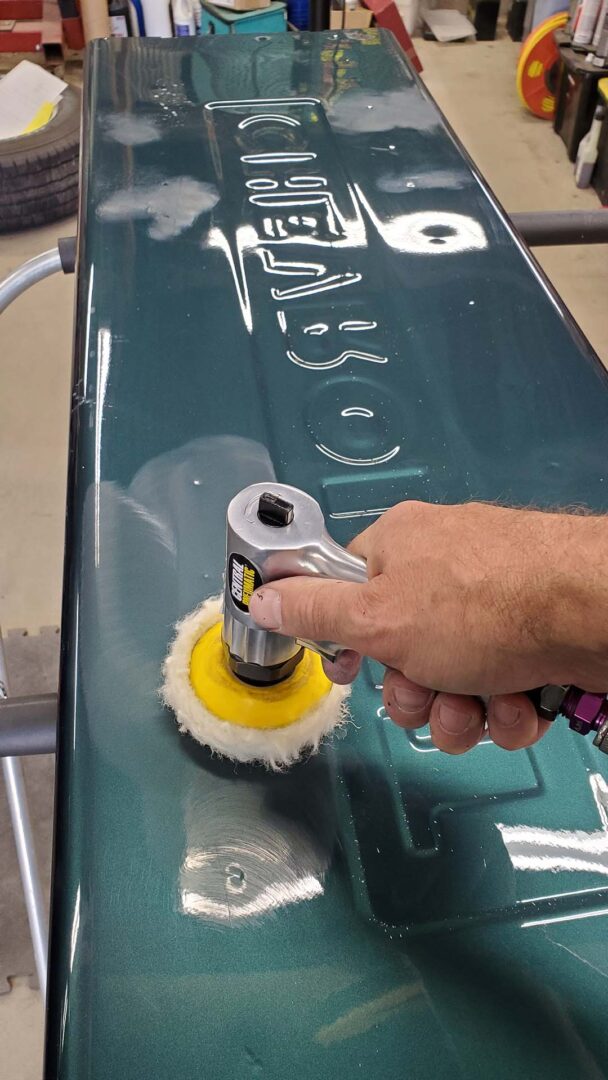
The inside of the tail gate was in poor shape. It looked like it had been set on a paint stand while the clear coat was still fresh. The finish was marred and there was primer stuck to it at the contact points.
I used some 2500 grit paper, compound, and a polisher to clean it up and look respectable.


A pair of new chrome hinges secure the bottom of the tail gate. However it would not close without the top corner interfering with the passenger bed side. Of course.
The fix? A rubber mallet was used to coax the very rear edge of the bed side out very slightly. Then a grinder was used to remove some excess metal from the corner of the tail gate. It sounds medieval (and was) but it had to be done. It actually looks better and more finished (less crude) than the other side. What's important is it closes without scraping the bed side.
No pics but what followed was lots of masking and touch-up painting with base color and clear to finish the repairs. But that's okay 'cause I was painting other stuff anyway.
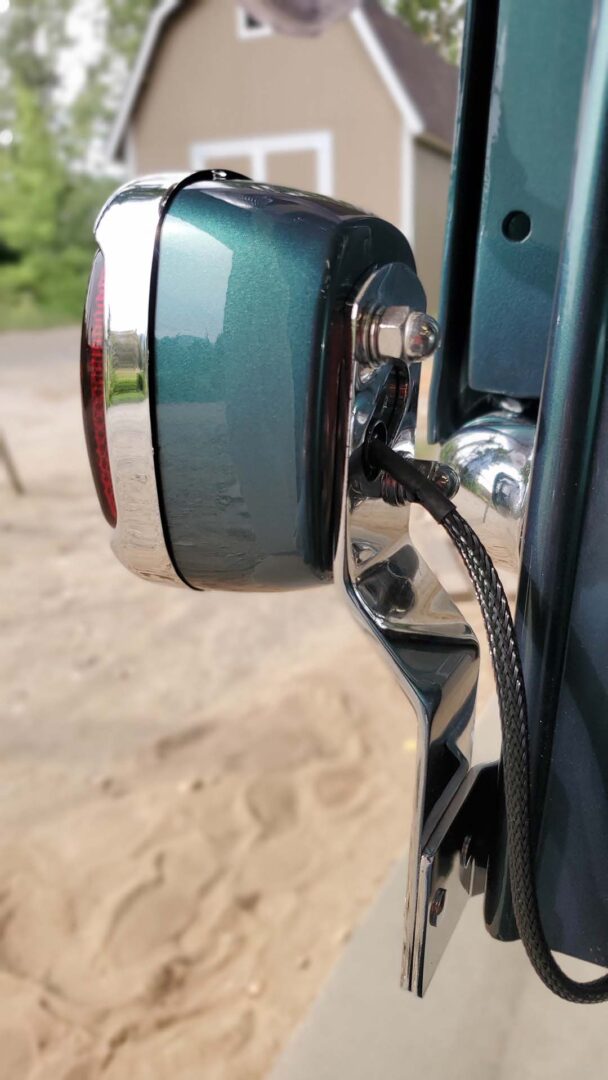
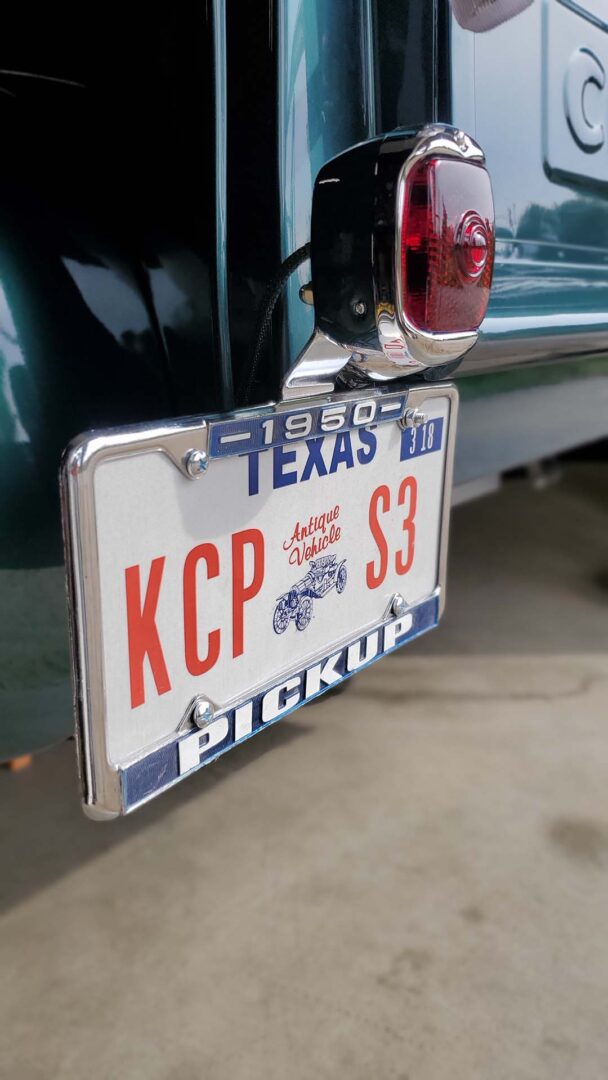
The truck came to us with trailer lights out back. There's no way they were going on. Nope. A proper pair of original style lights were called for and I took it one step further by taking them apart to paint the black housings to match the rest of the truck.
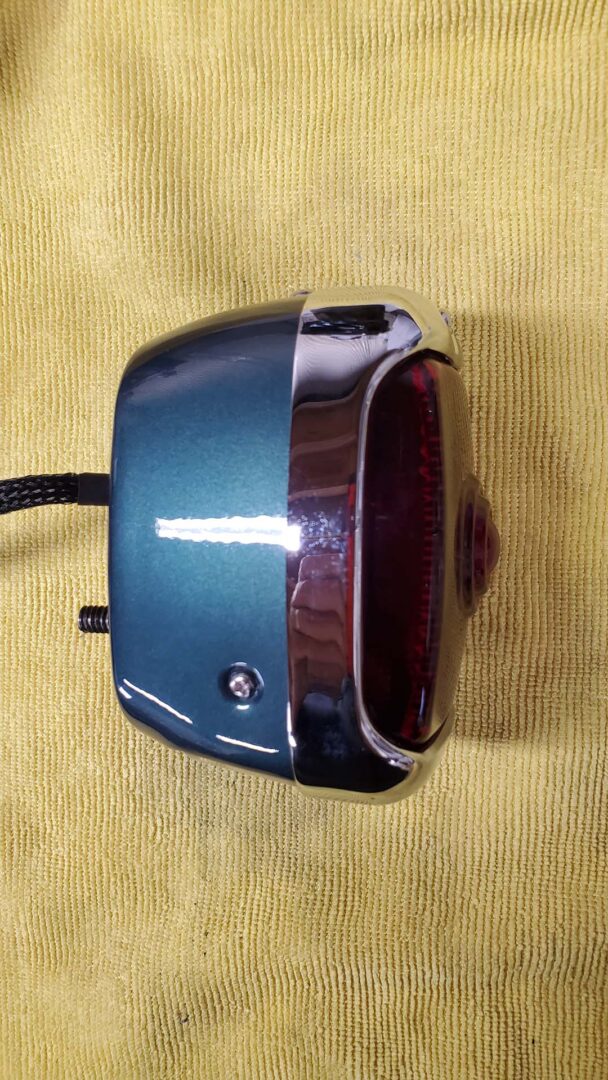


Chrome tail light brackets also add a little bling to the booty. Tail gate chains/hooks were cleaned up and reused with fresh chain covers.






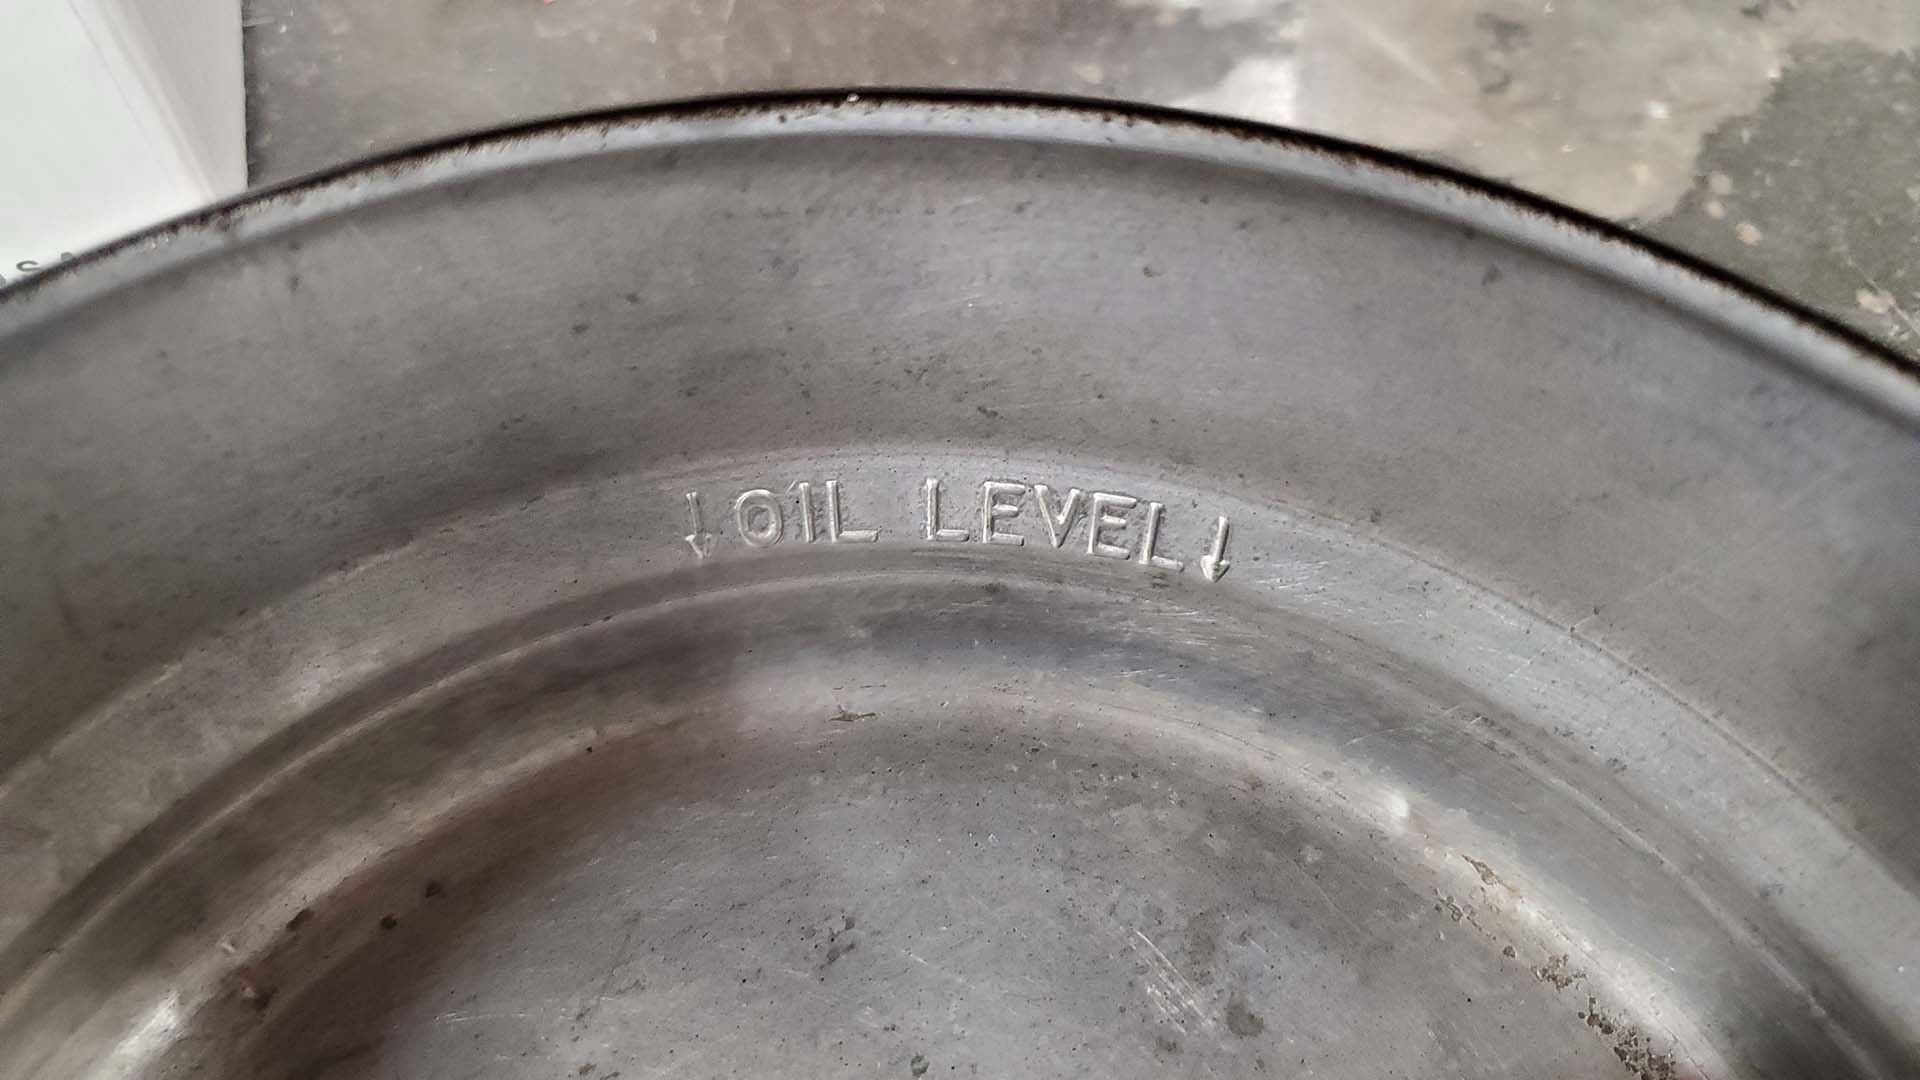
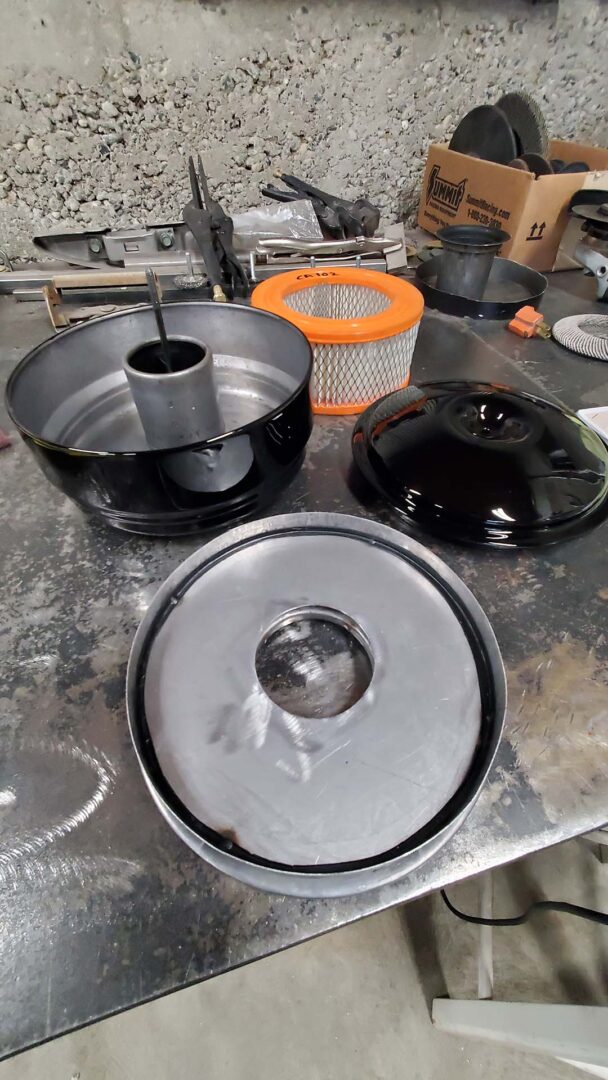
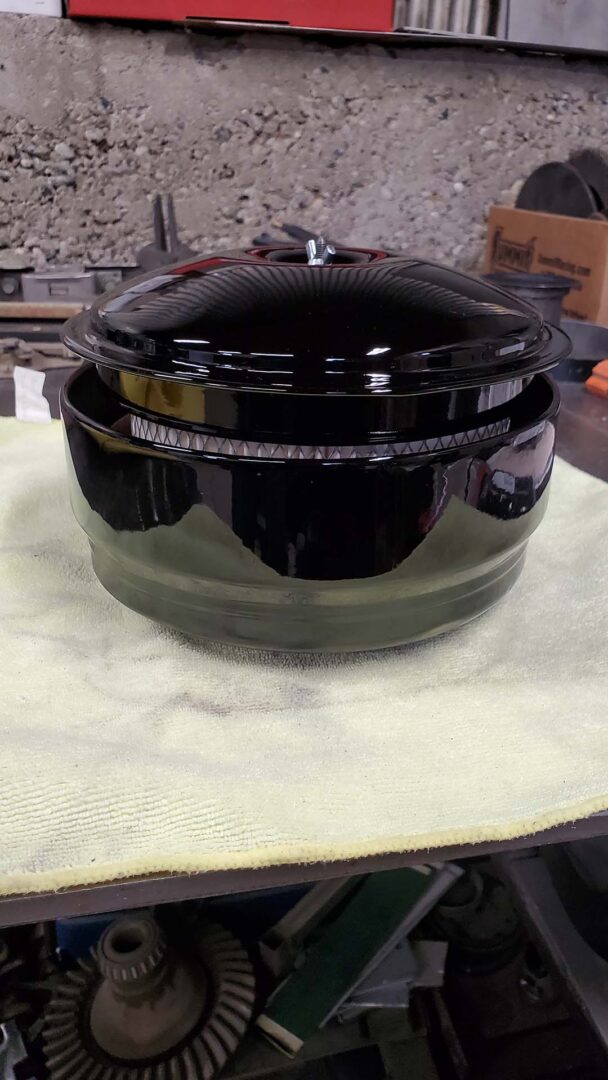
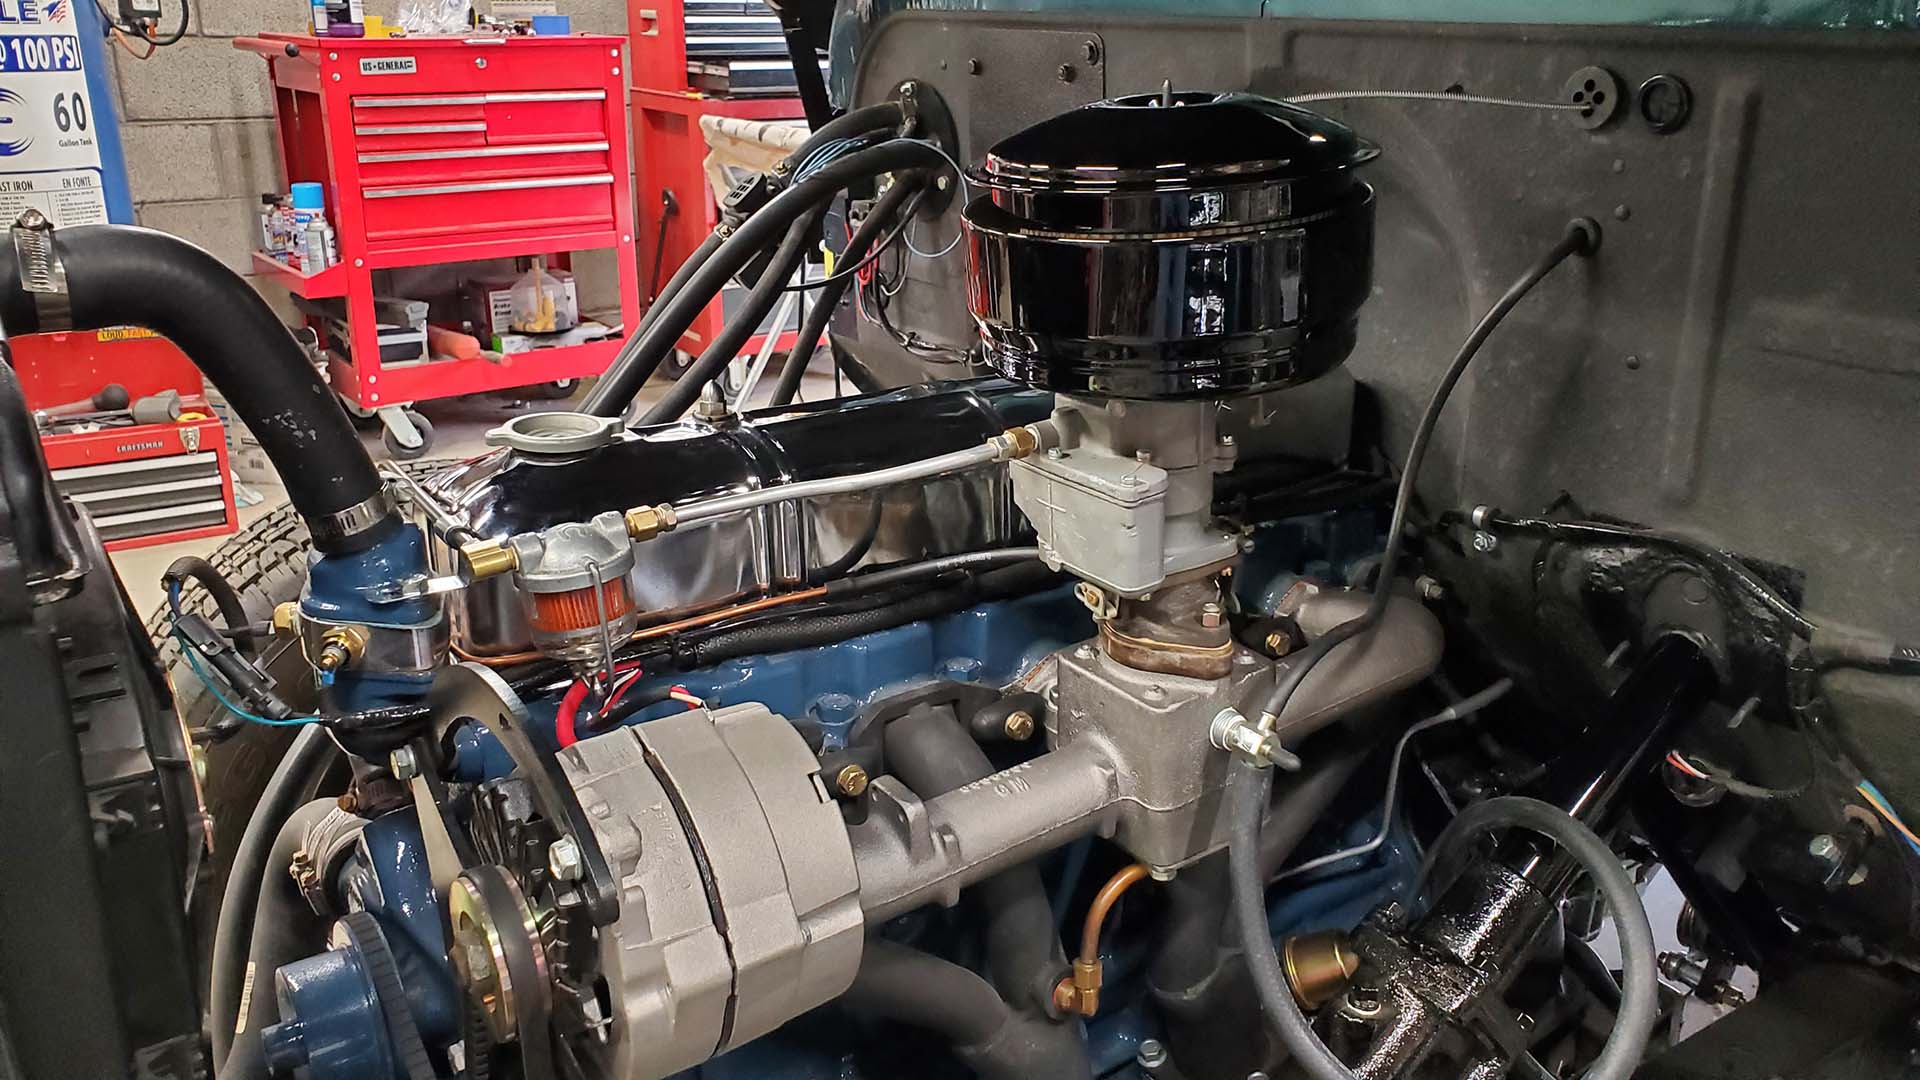
We needed an air cleaner for our 'new' single carburetor. There was an old oil bath air cleaner in the parts collection. I didn't want to run an oil bath because they're messy to maintain.
So, I cut it apart inside and modified it to take a conventional paper filter element. The idea is to look somewhat old school, but work new school. I stripped the old paint before applying a fresh coat of the gloss black that we've used in other areas.








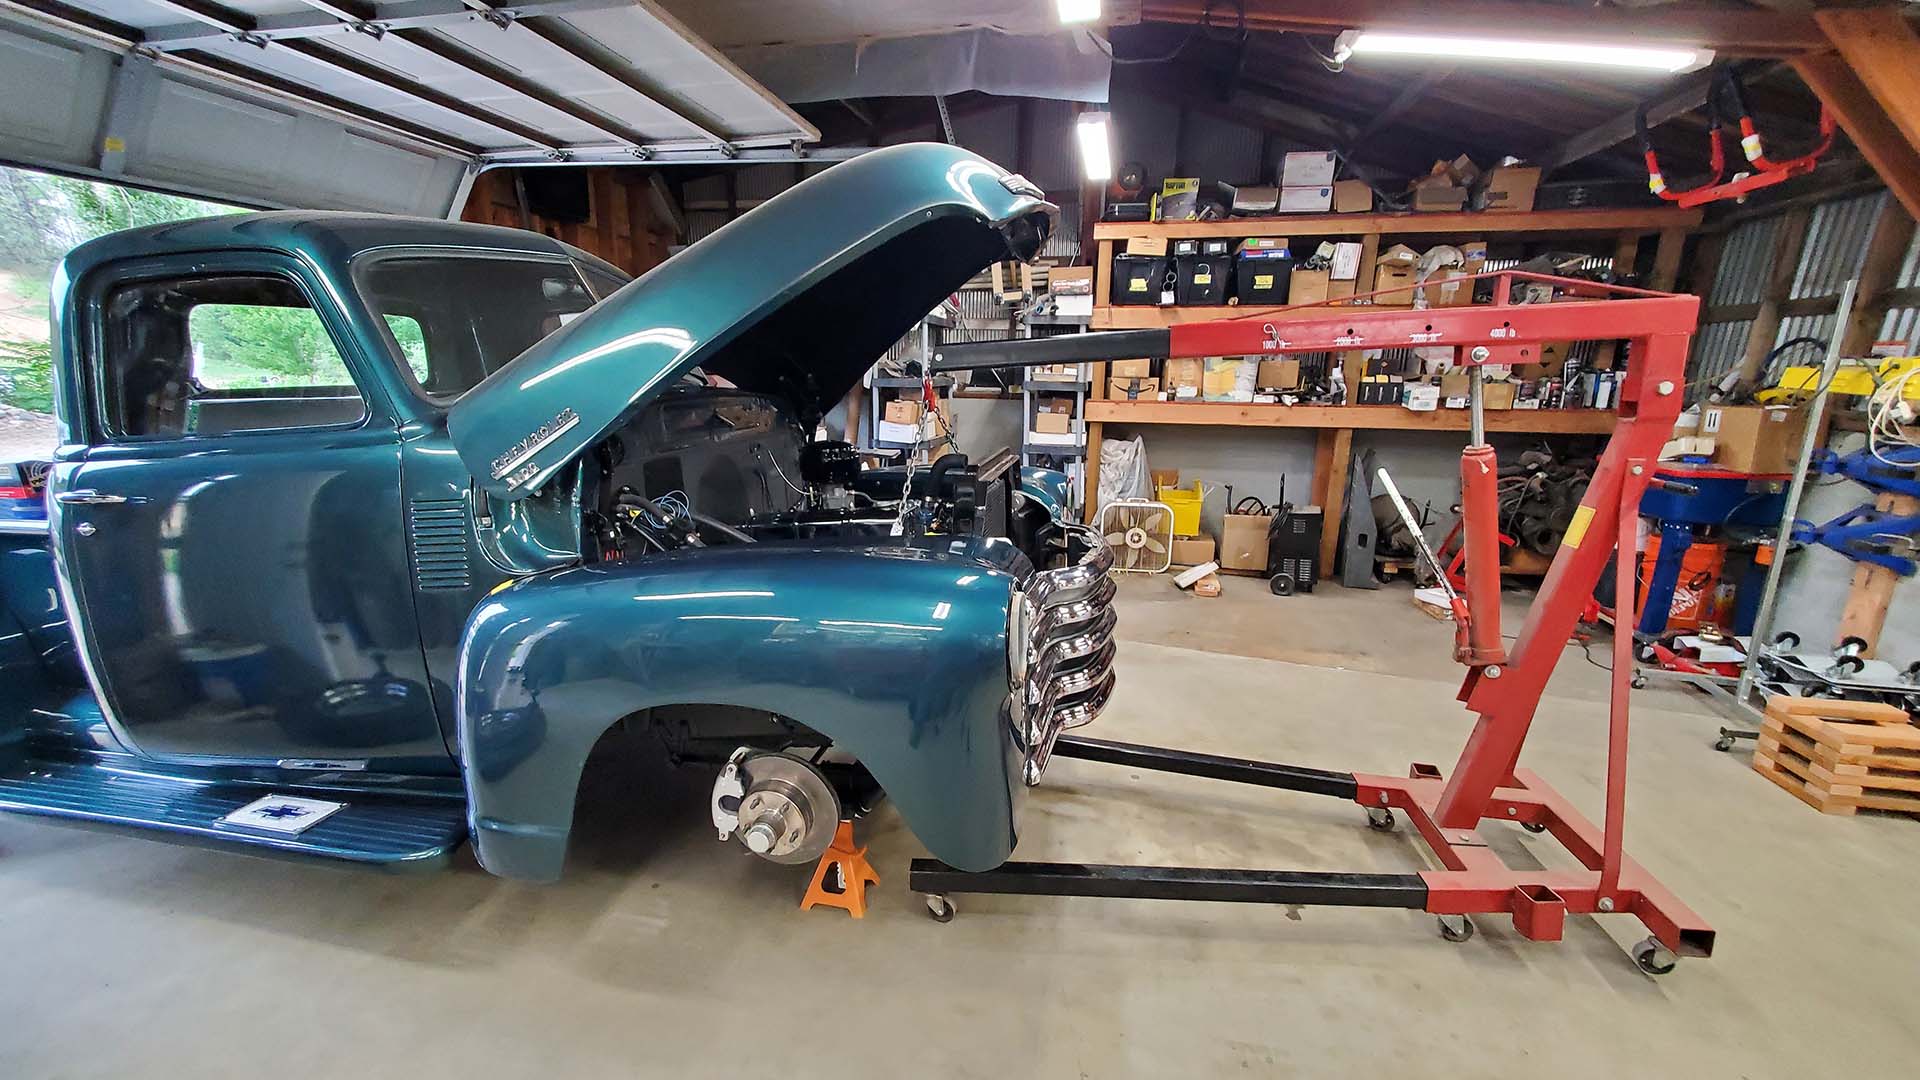
And, to round things out, the front clip was loosely bolted back in place. Next, I'll go through a procedure to align the hood to the cowl and fenders. Nothing was aligned when the truck came to us. Fingers crossed!


Stay tuned! We've got bumpers, front and rear wiring for lighting, and lotsa little details to go.
