Make Your Bed…! (Pt. 3)
In our last post I'd started sealing the oak boards with epoxy. The biggest issue during that process was most of the boards expelled air during the cure and blew little bubbles into the sealer. Some boards were worse than others, depending on the grain.
I tried everything I could think of to reduce or eliminate the phenomenon. Temperature may have played a role. I brushed on the epoxy early in the day when it was 75 degrees or so. Two or three hours later it would be 85 or 90 and that's when the eruptions would start.
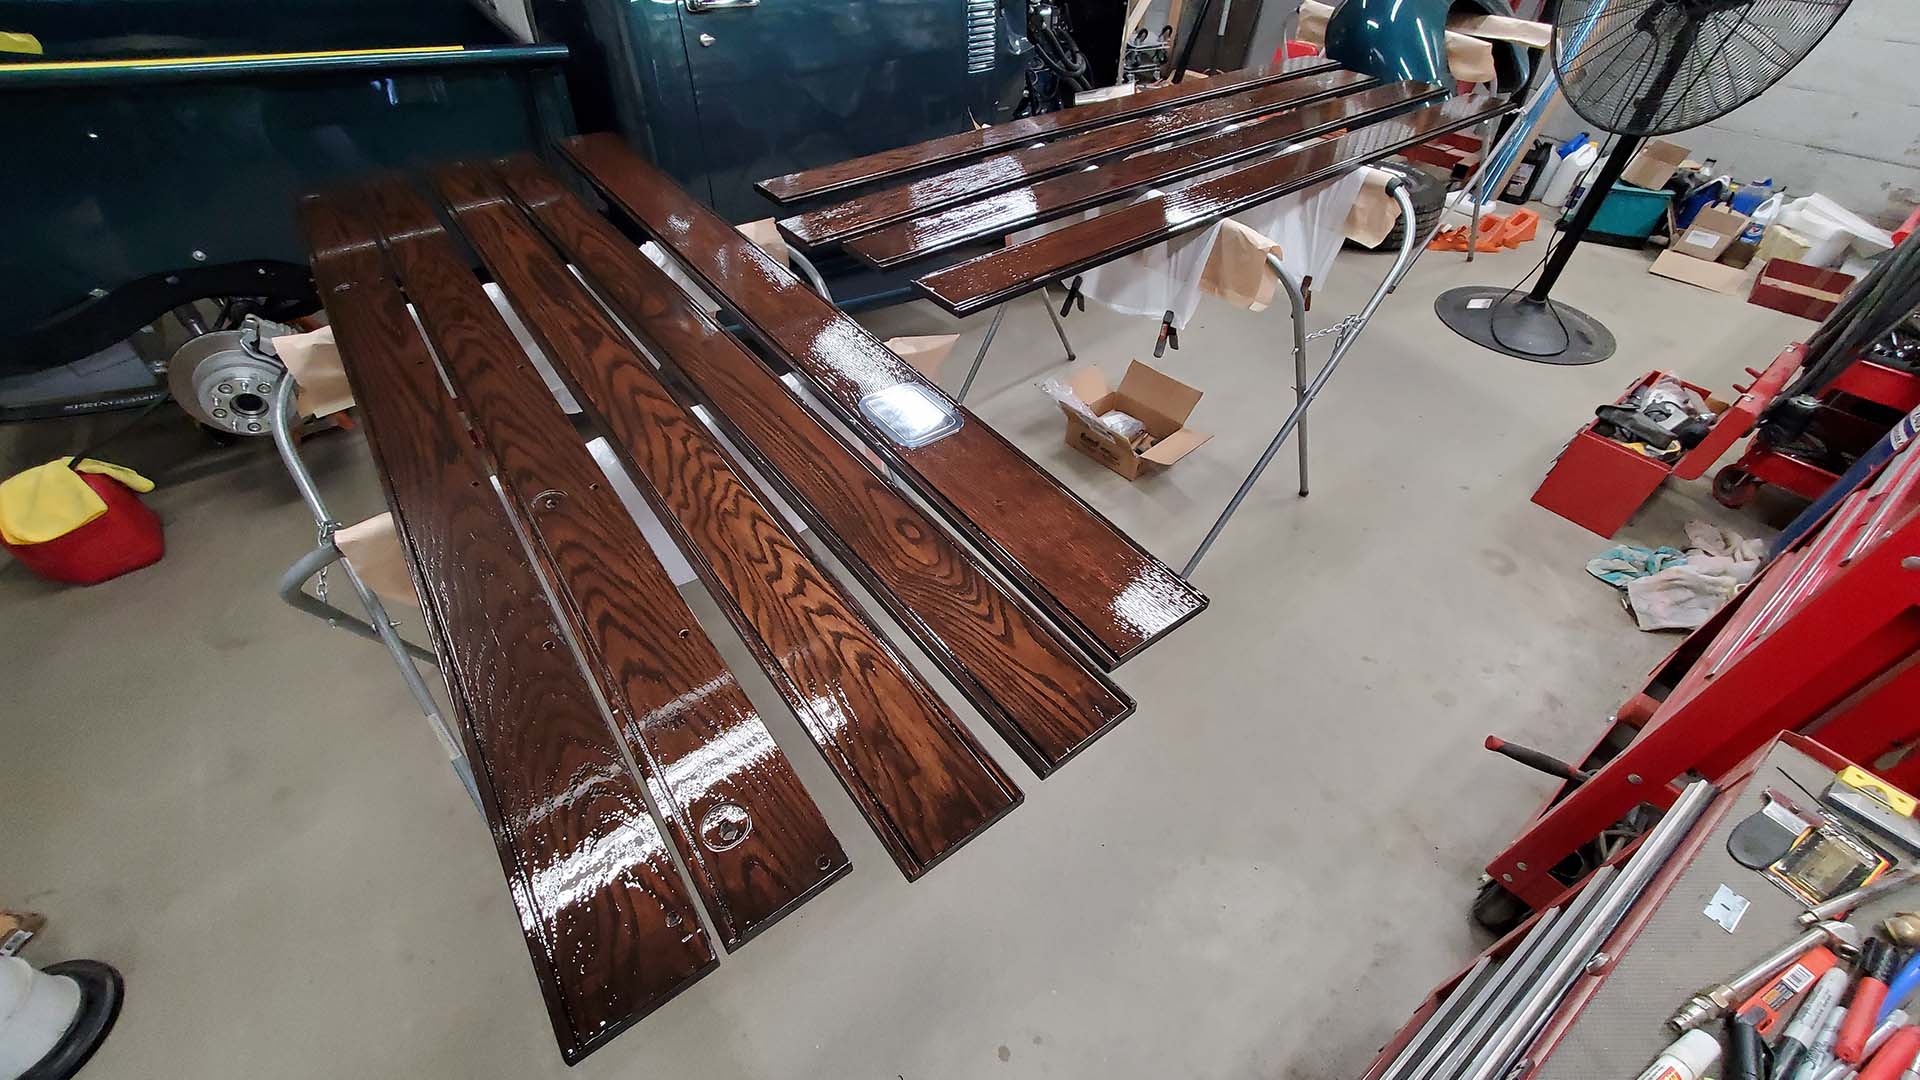
I tried keeping them cool - without success. For the top, visible surface my final experimental technique was to let the boards warm up, apply a single coat in the heat of the day, then squeegee the excess epoxy off. That probably worked the best, though still not bubble-free. I just popped them with a torch when they appeared.
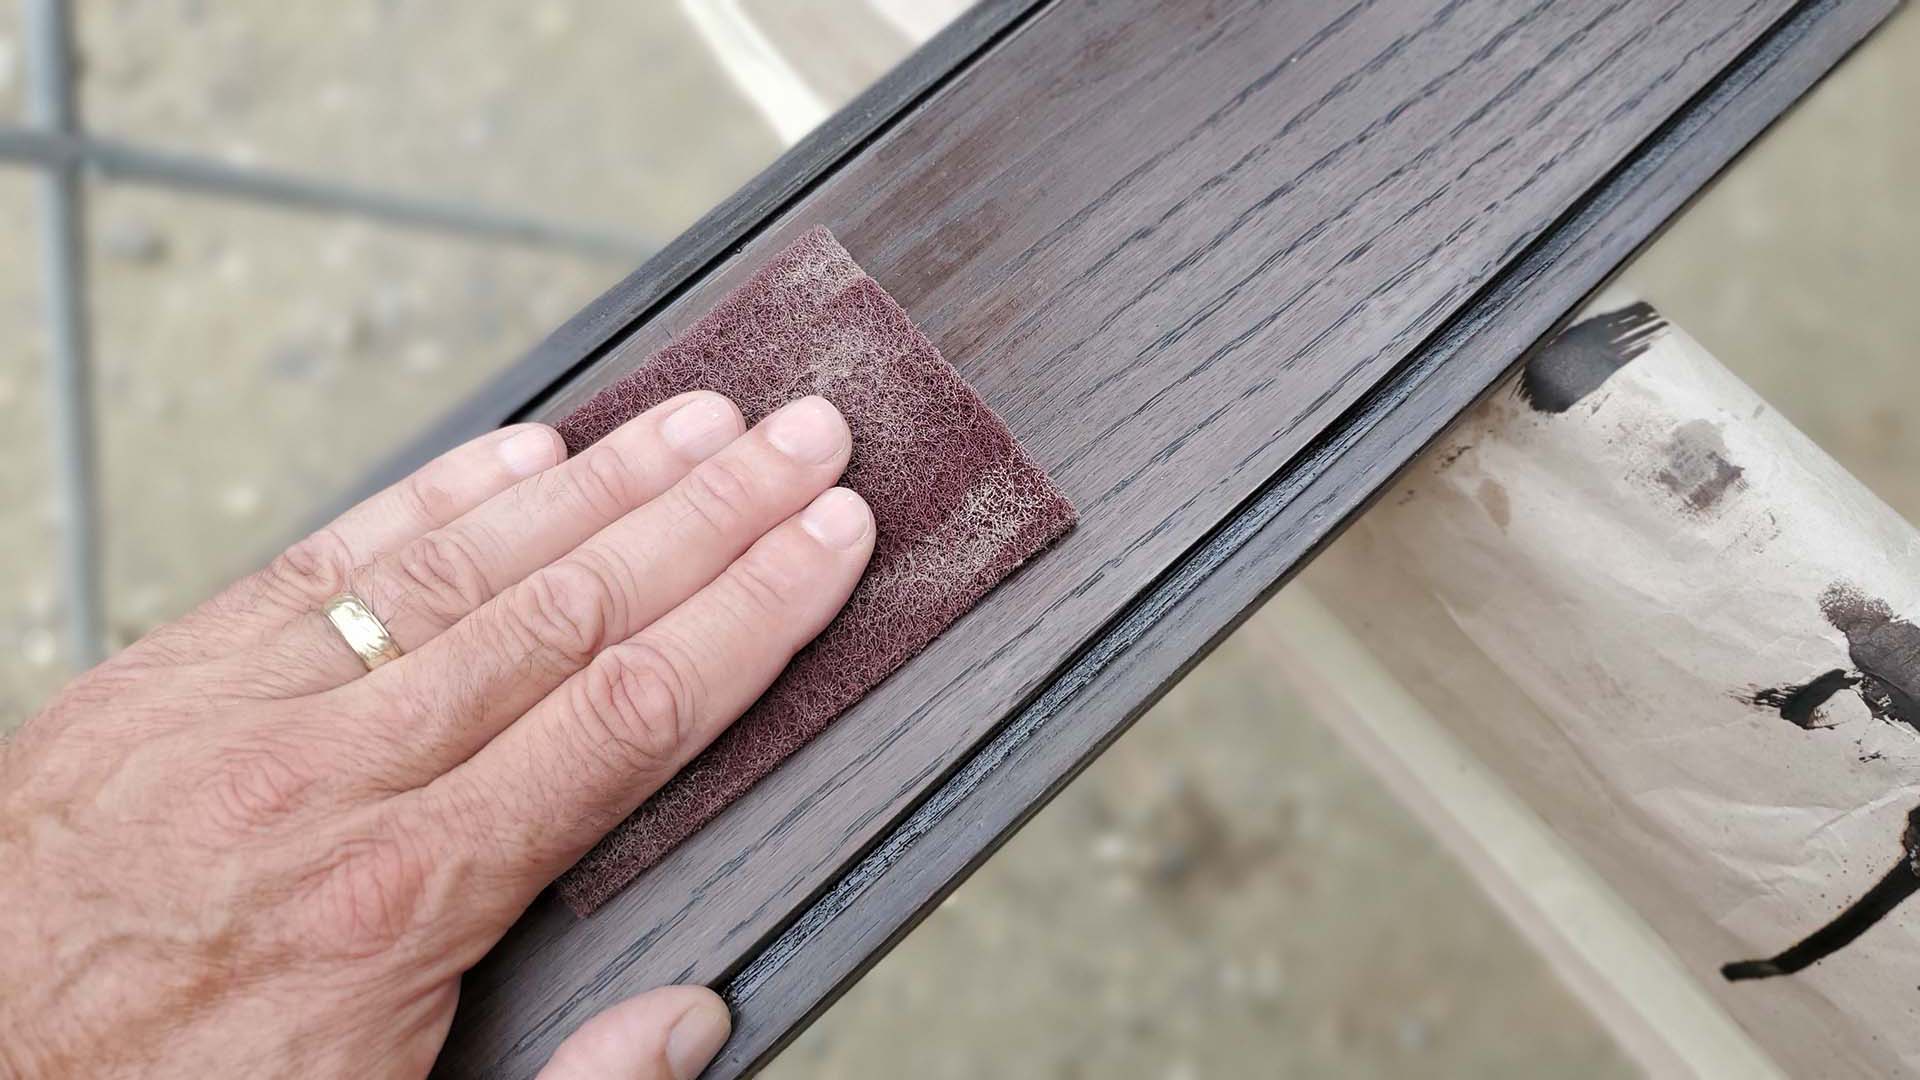
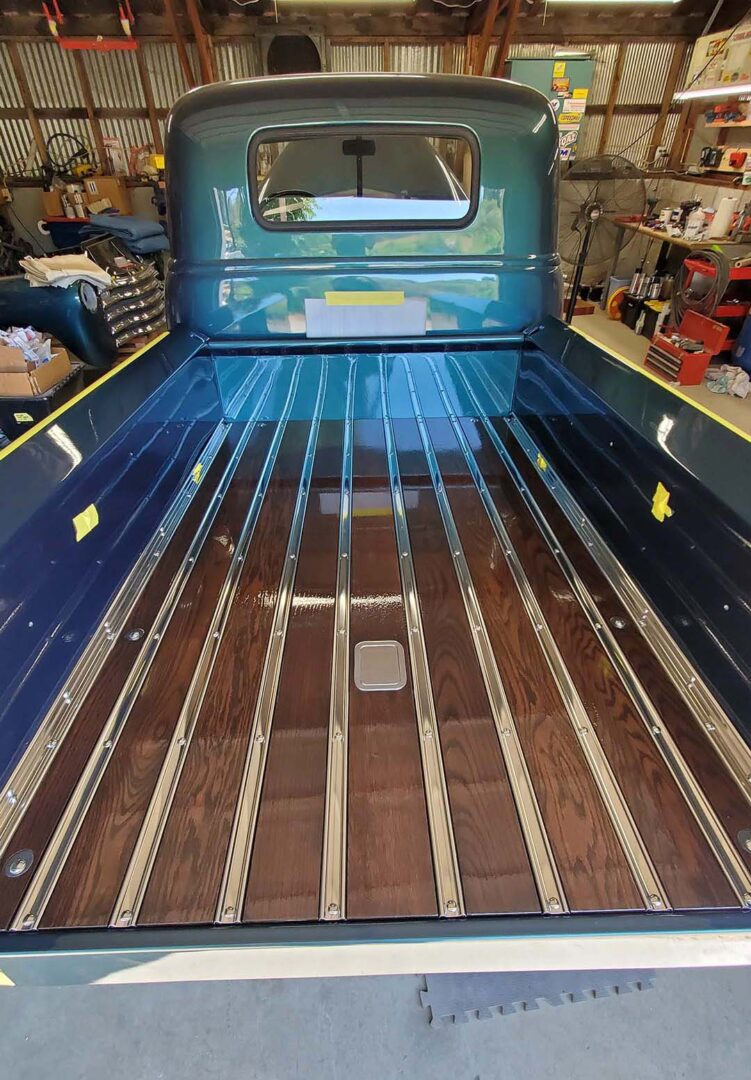
After two or three days of cure time I scuffed the face with a red Scotch-brite pad and shot three coats of automotive clear. The clear should provide some UV protection. They're not glass smooth, but instead allow the texture of the grain to come through - some of which is quite course and interesting.



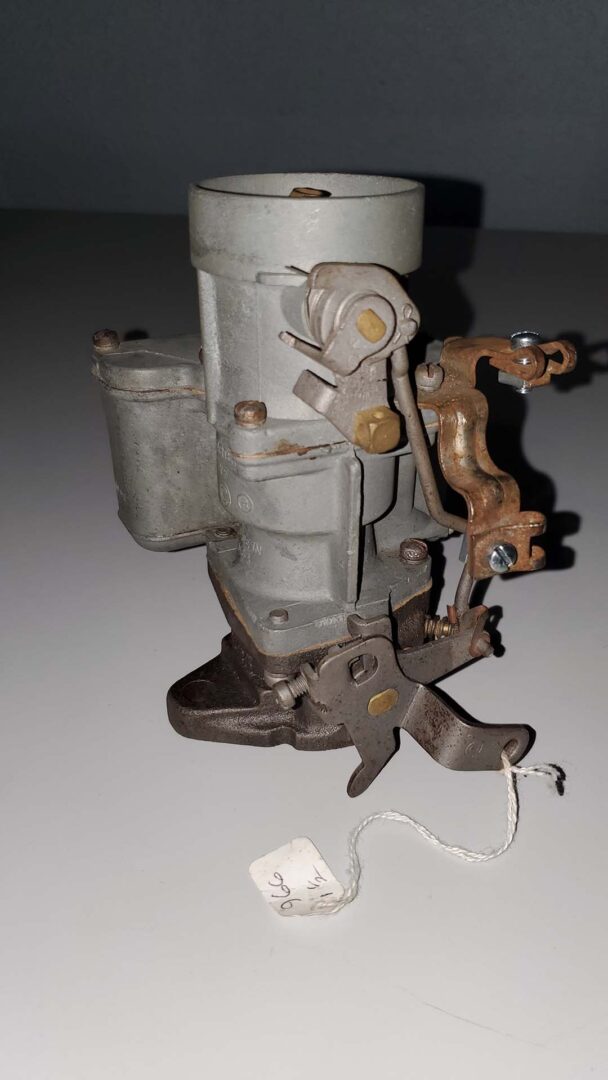
Meanwhile, the Carter YF 966s carbureter (rebuildable core) arrived a week after ordering it from The Carburetor Shop in Missouri along with a rebuild kit. Hey, and it had the correct throttle linkage and choke bracket.


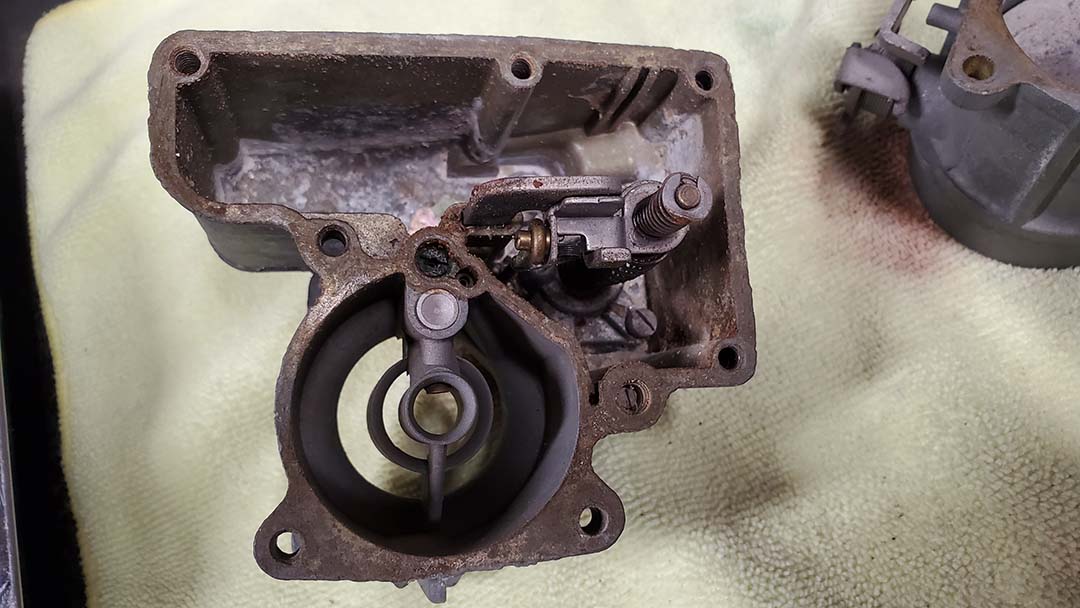
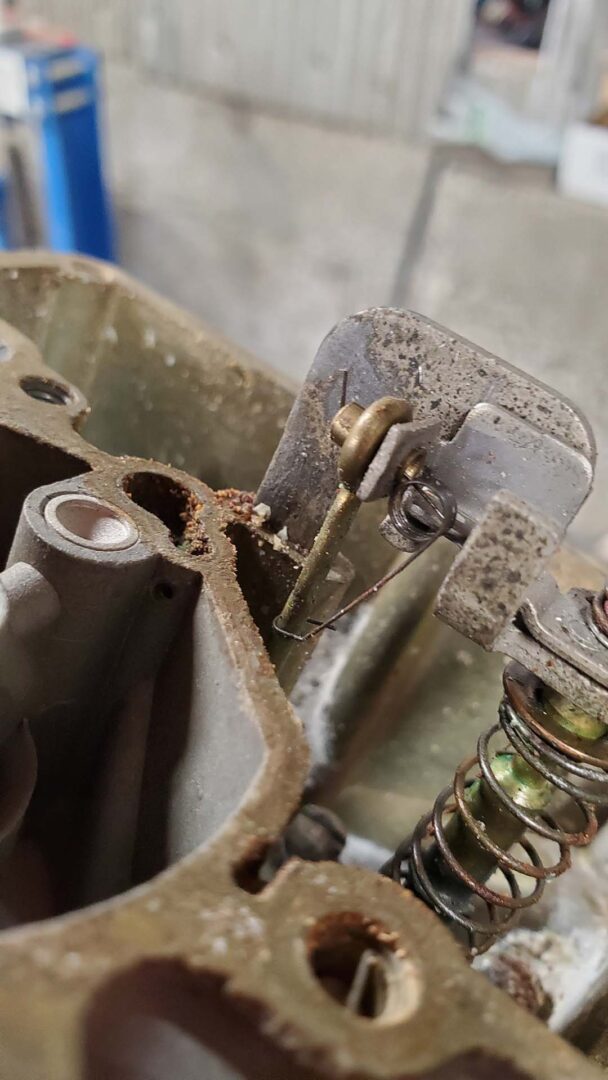
It was a little crusty on the inside, which is to be expected. The worse part was the cast iron throttle body and butterfly valve which had some rust buildup, and a plugged vacuum passage. Inside there's a metering rod, a couple of jets, check balls, and various springs. I had to boil the fuel bowl in water on the kitchen stove in order to free-up and remove the accelerator pump plunger and housing.




I used an ultrasonic cleaner and various 'cleaning agents' over several cycles to get the pieces to be reused clean again.
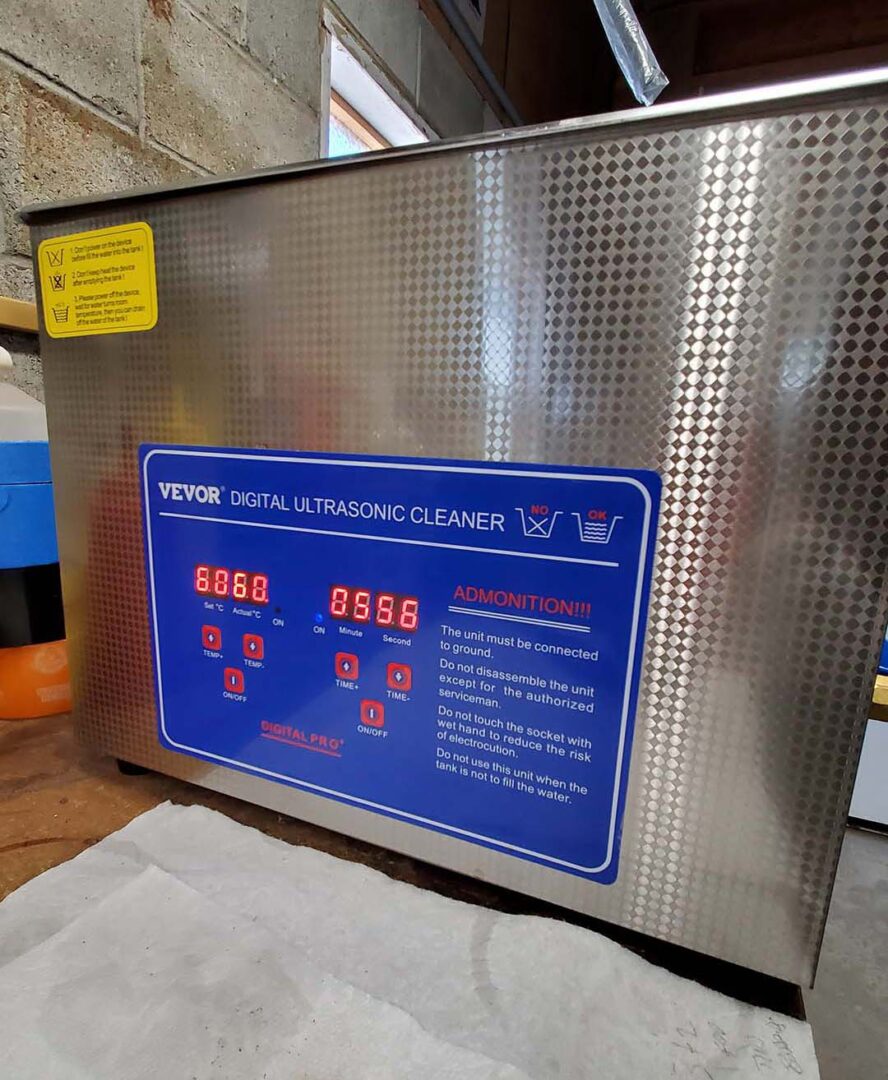


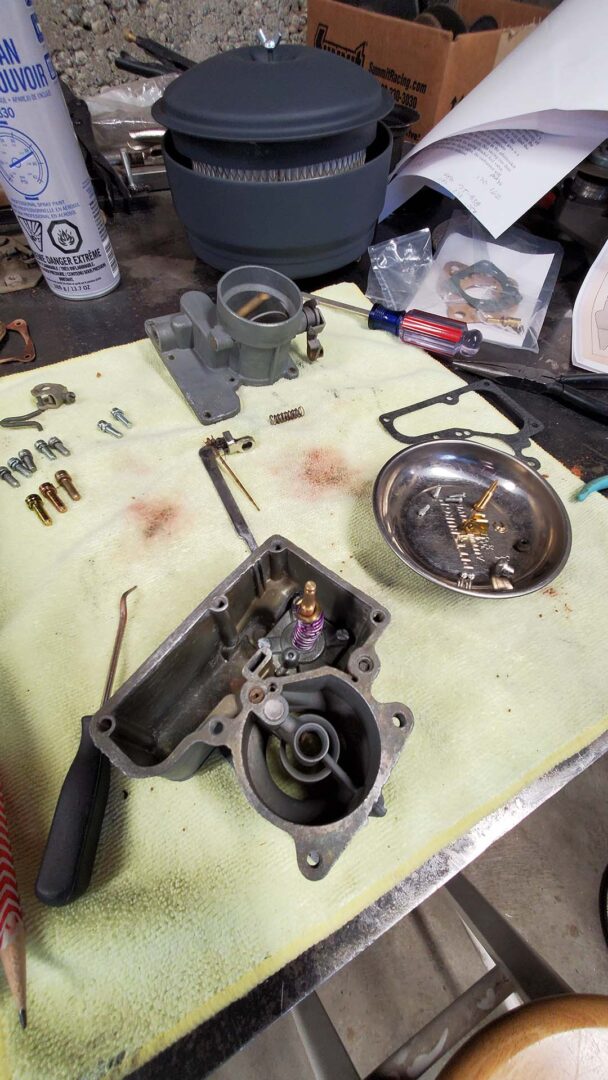
Good ol' white vinegar and sonic waves dissolved the stubborn rust on throttle body. Once the tiny vacuum passage was cleared, the carb was reassembled with new gaskets, float needle/seat, and accel pump. Various adjustments are made on the bench.


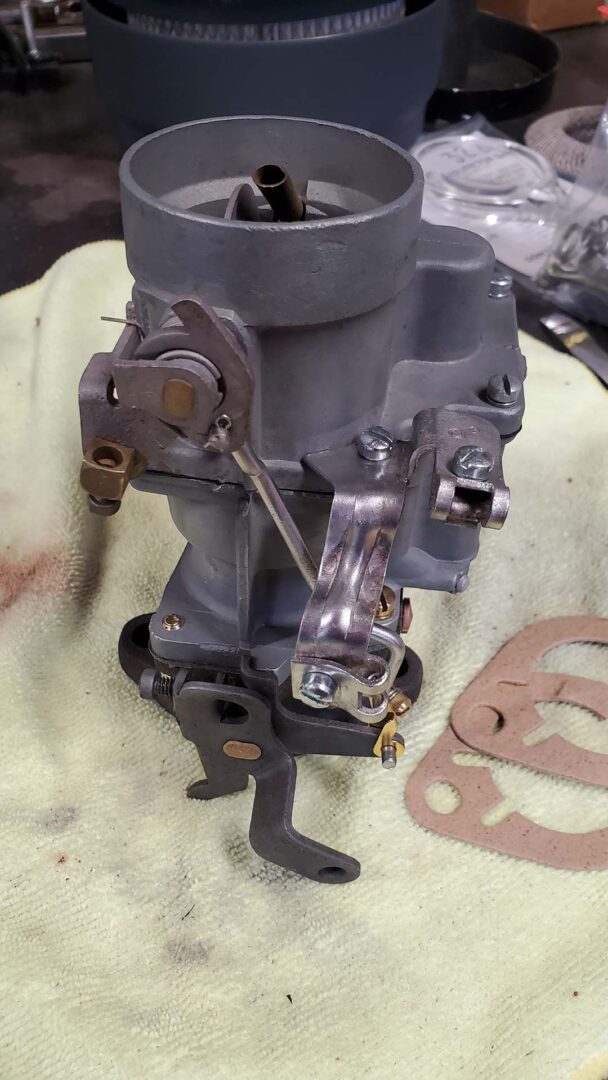


I bolted the rebuilt carb to the manifold and made some tweaks and changes to the linkage till it fully opened and closed smoothly.
I also fabbed a new section of hard fuel line from the glass filter.
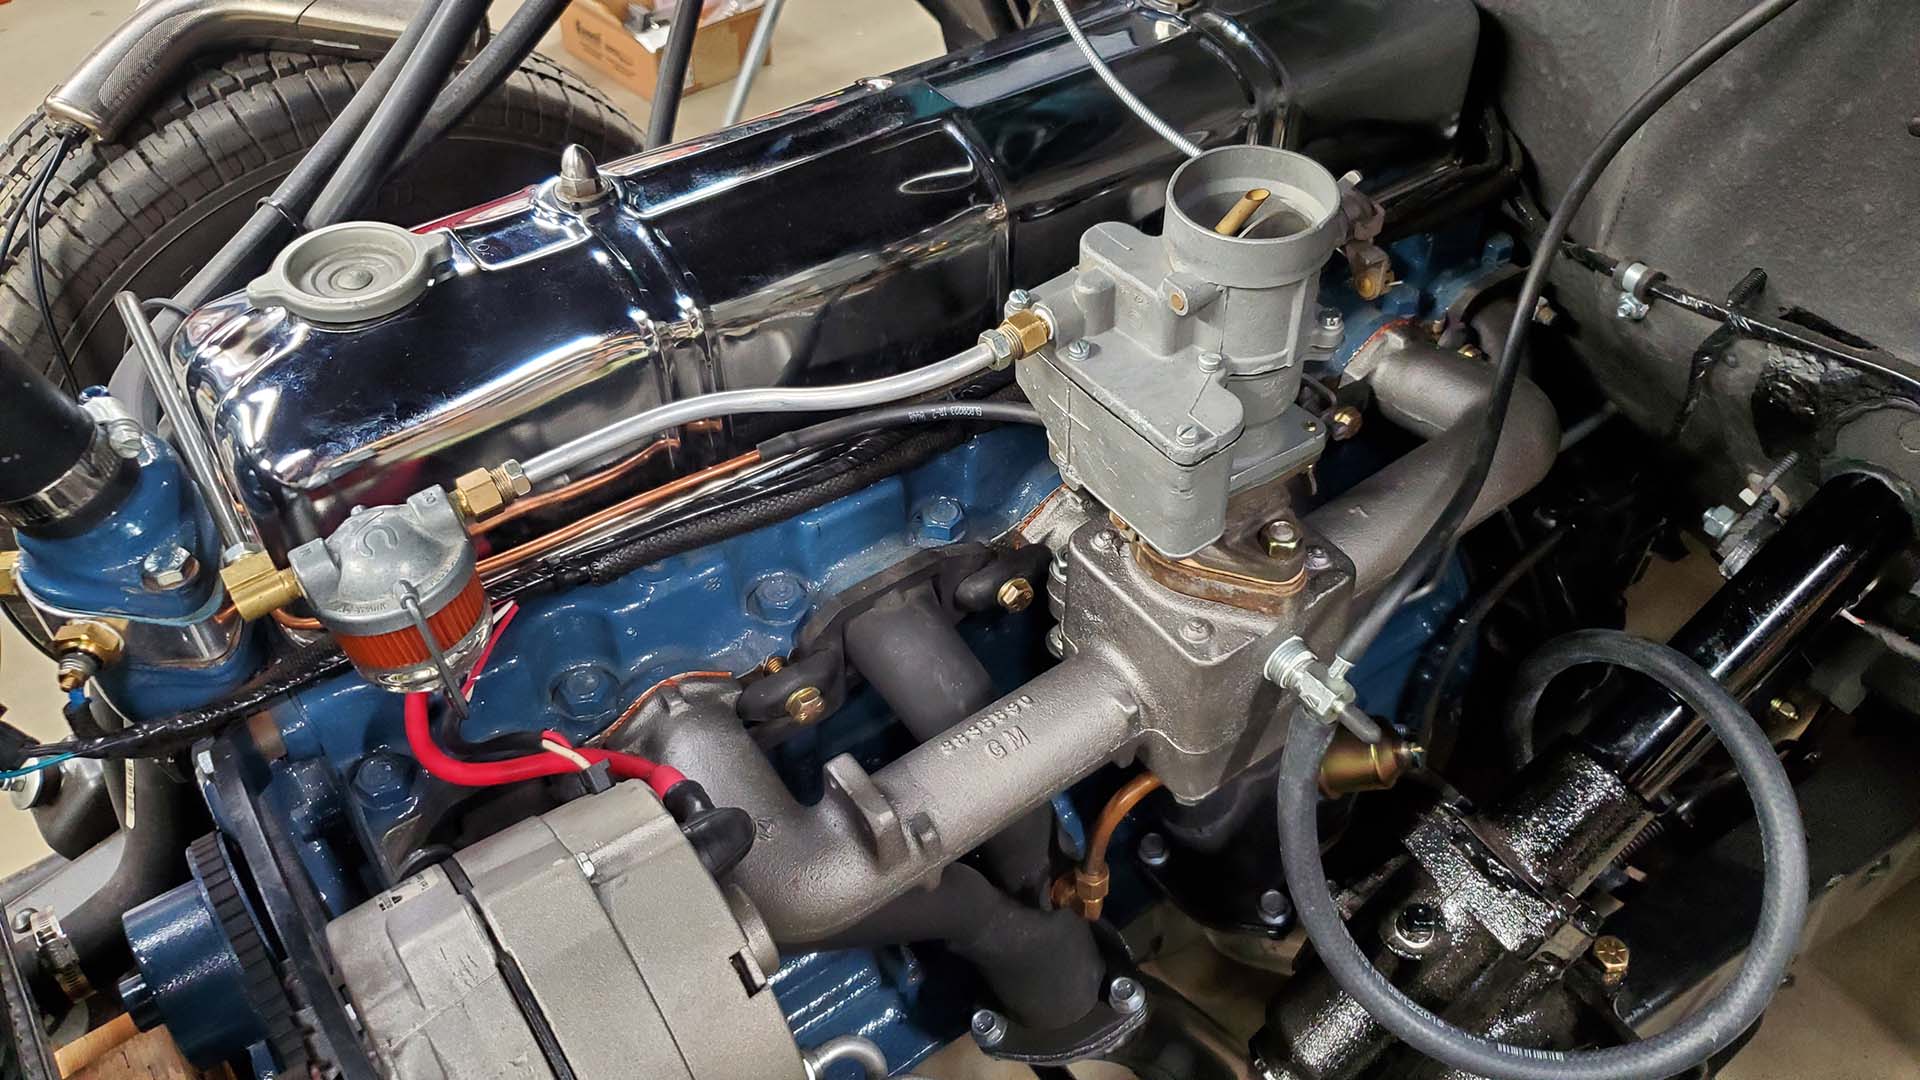


The only thing left was to feed it some fuel - and with that it fired right up. After a couple of adjustments, it seemed to idle perfectly - like a sewing machine. The best part is when you crack the throttle there's no stumble and hesitation like the old dual Rochester's. (And no fuel leaks!)
Still have to drive it to confirm but I think we have a win. The owner should be much happier with this setup. Back to the bed!
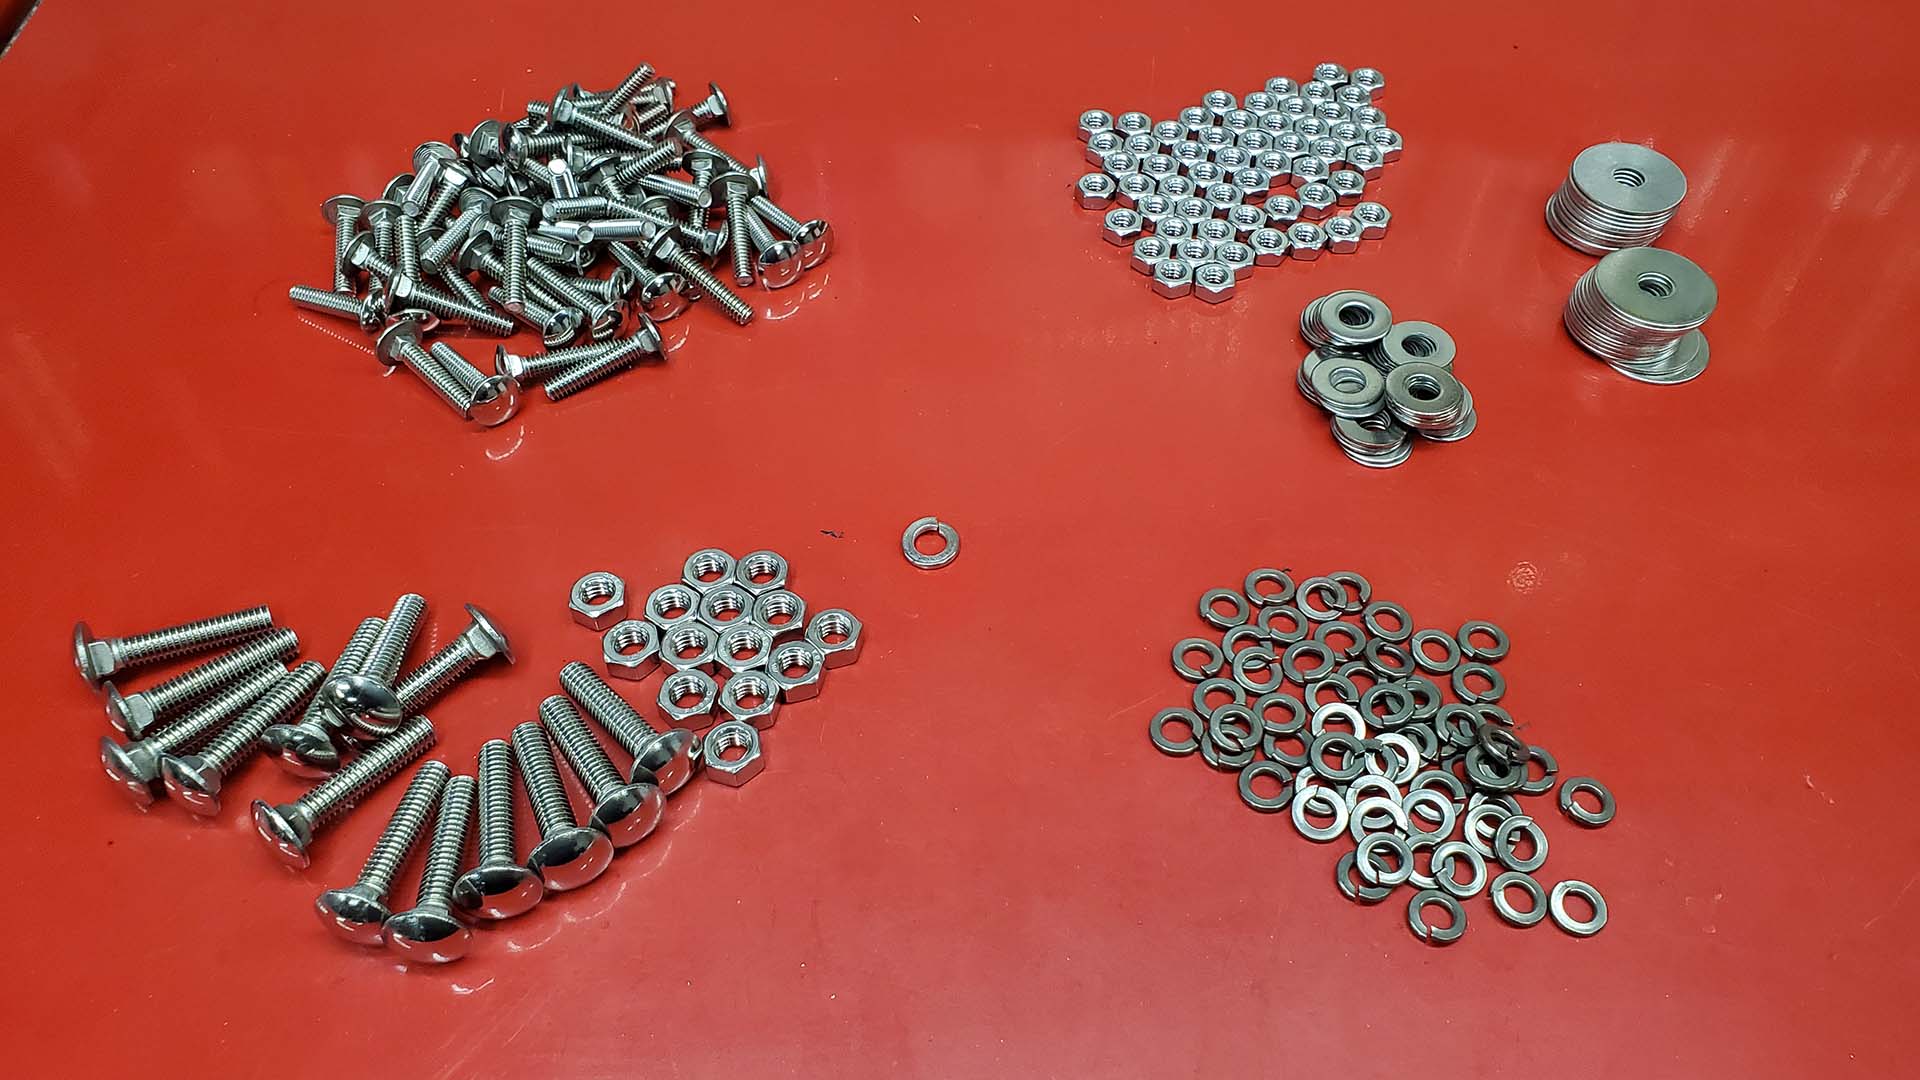
There's around 70 polished stainless steel carriage bolts that hold the floor boards and stainless steel strips together - plus lock washers, flat washers, and nuts. Someone lost count putting this kit together - only got 1 of 14 large split lock washers...


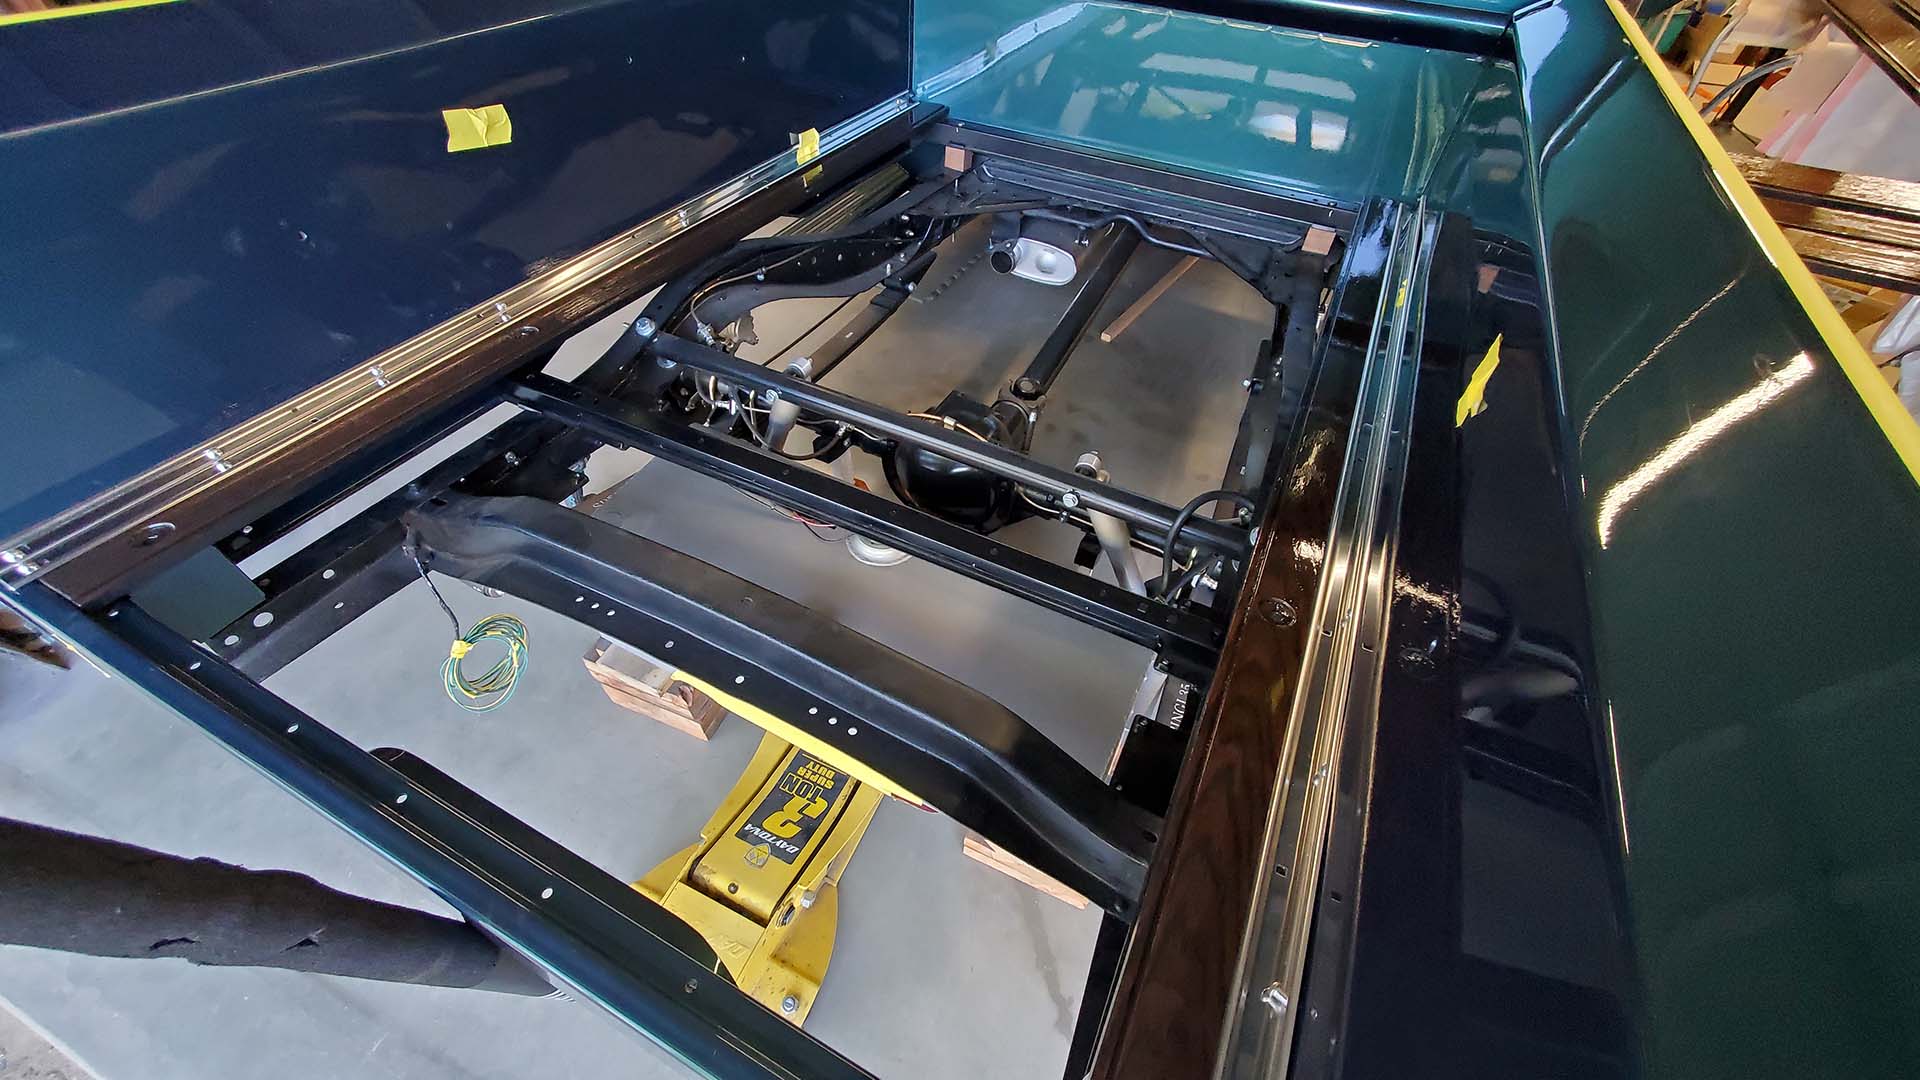
I decided to lower the fuel tank so I'd have access to a cross member above the tank, and assemble the bed floor on the truck (rather than remove the bed). The outer boards are the narrowest and go on first. Most all the fasteners will be installed finger tight so the spacing of the boards can be adjusted later.


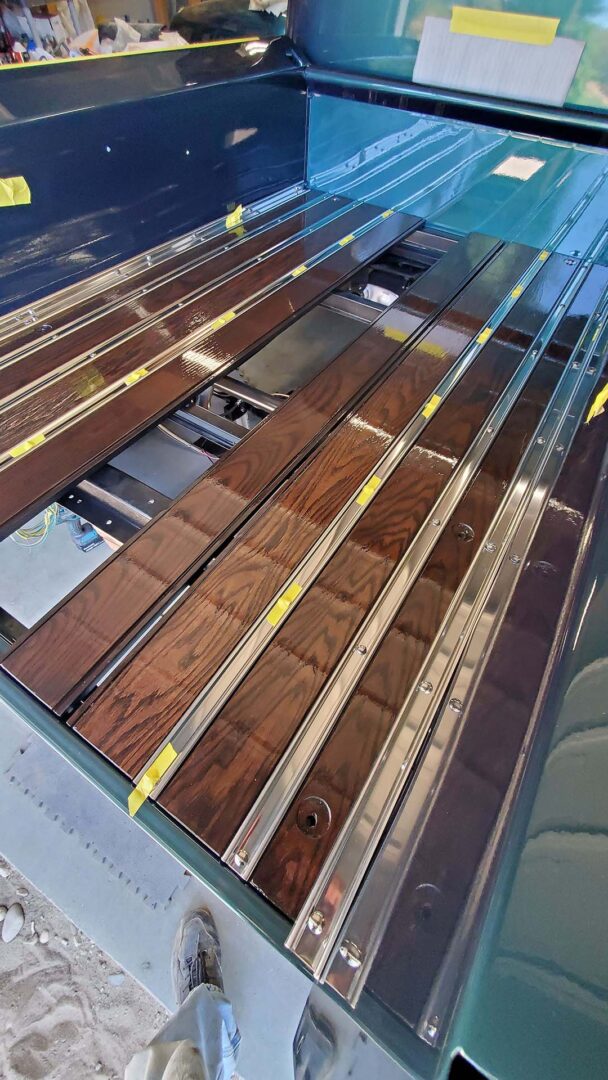
Board by board, strip by strip, I worked my way towards the center. A piece of tape holds the carriage bolts in place while working from underneath to add washers and nuts to each.


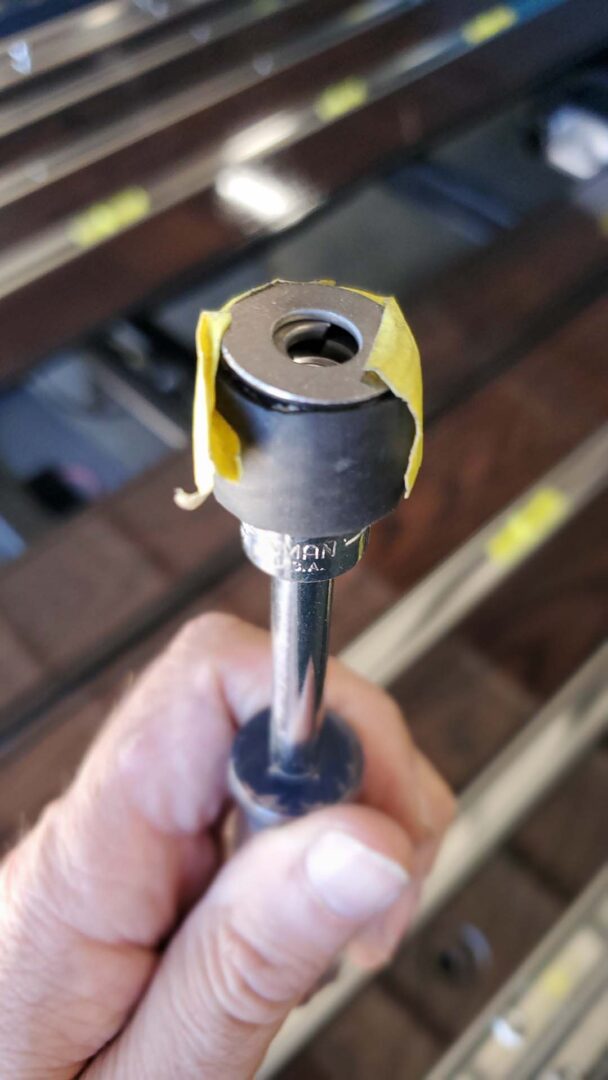
Installing two washers and a nut on a bolt up inside four different cross members was the trickiest. There's not much room for fingers or visibility. I slipped a small piece of heater hose over a 7/16" socket to hold each nut and washer 'pack' to get them started on the carriage bolts. Some go on fast, some don't.


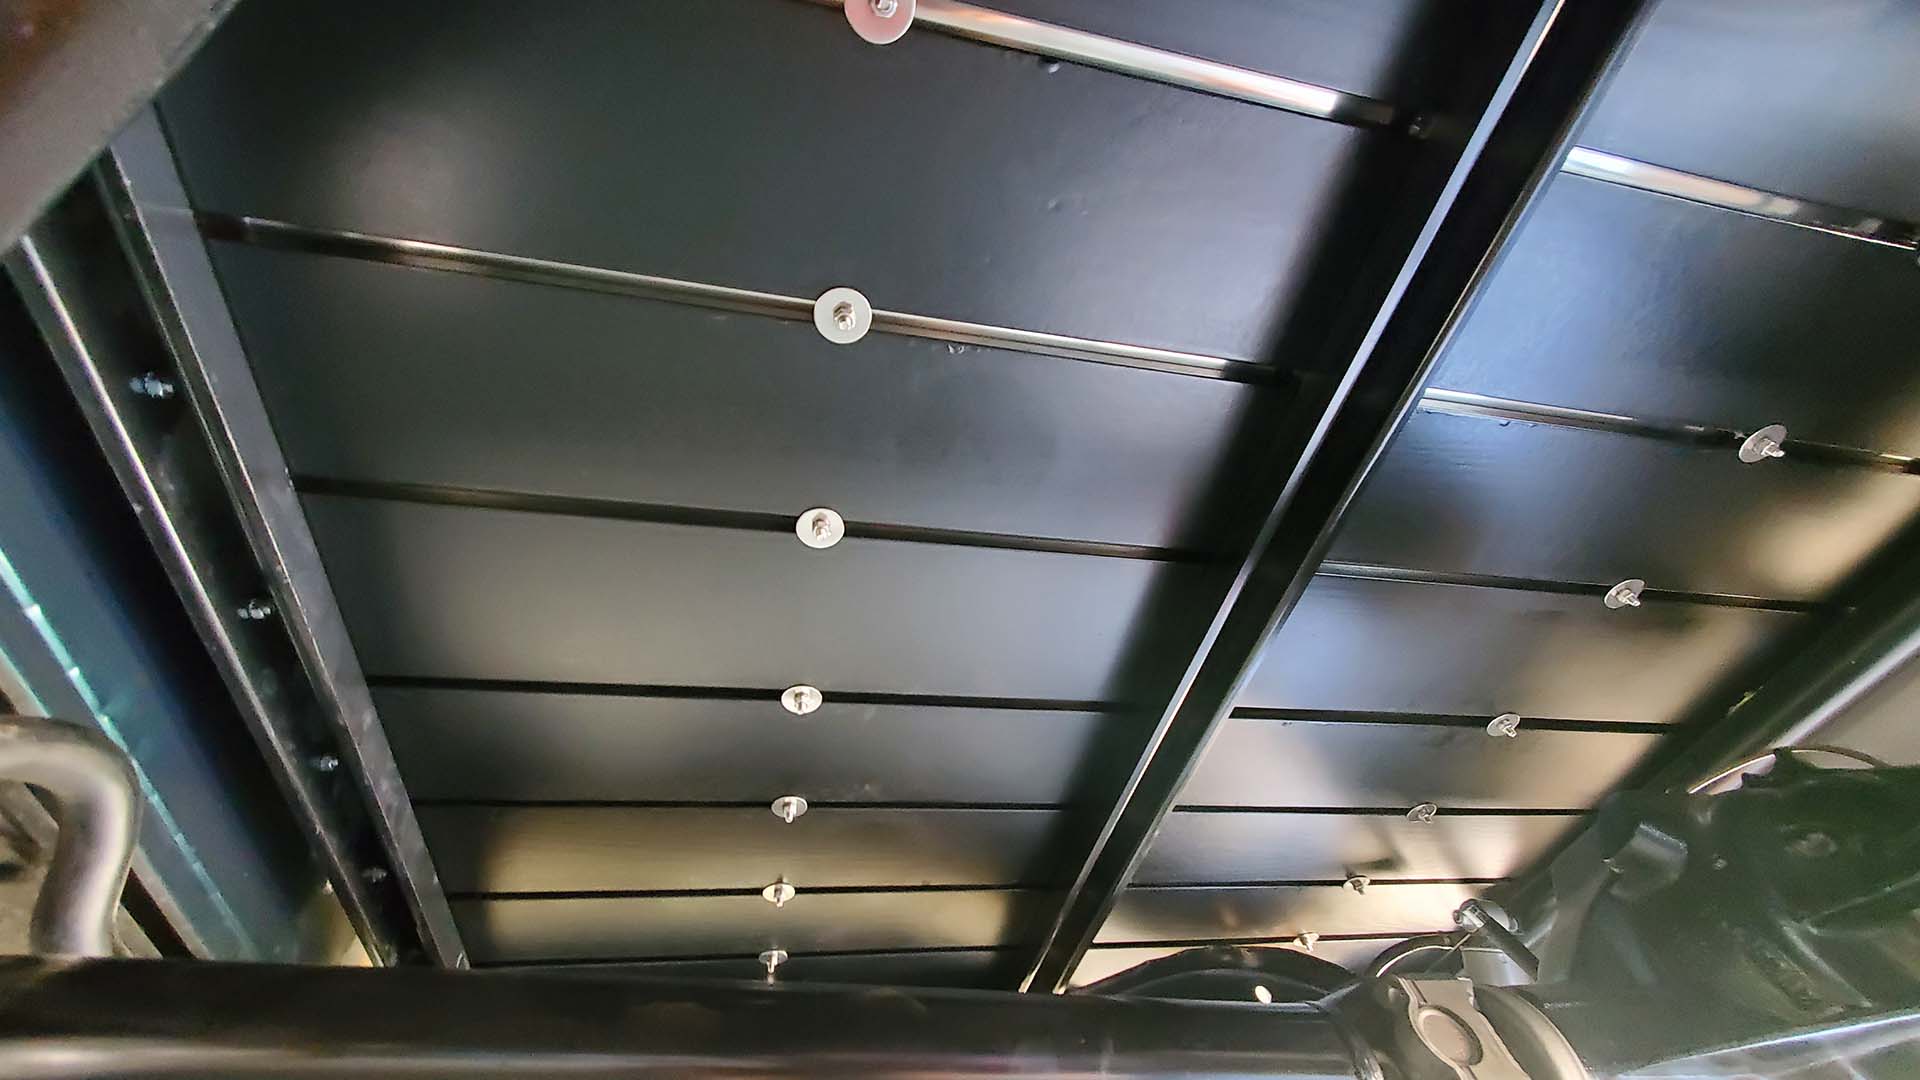
Bolts that don't go through a cross member just get a large fender washer, lock washer, and nut. Most of these go on easily by hand. Here's what things look like underneath when finished...


Once they're all in place you can adjust the spacing of the boards and strips slightly for appearance. Then it's back underneath to tighten all the nuts.
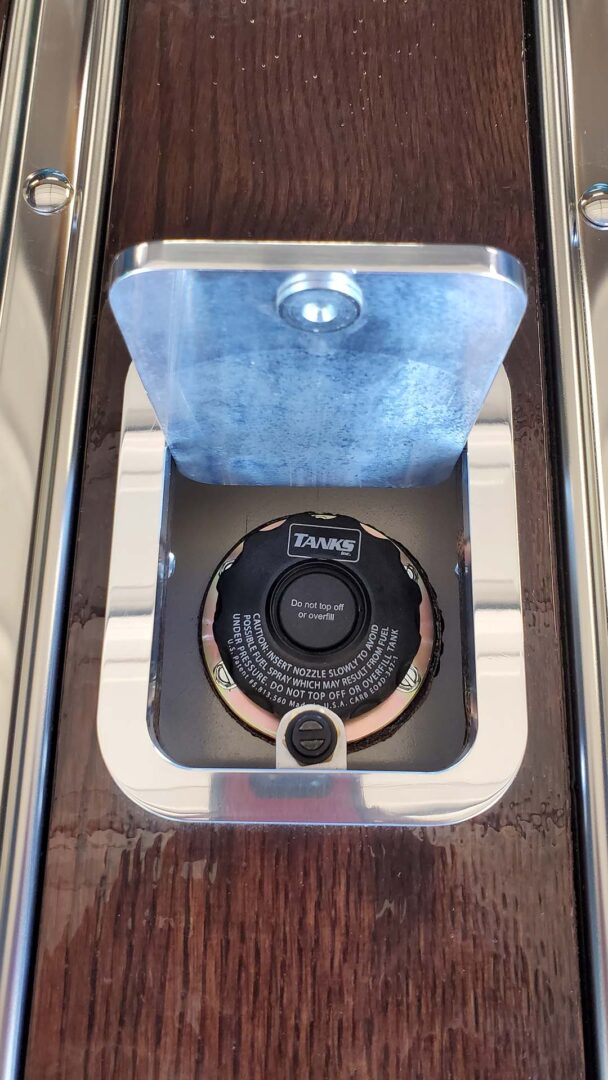
The fuel tank was then raised and bolted back into place. The fuel filler is accessed through the billet aluminum flip-up door. Just insert the pump nozzle - no need to remove the cap.




Next up: fenders and running boards...
