Make Your Bed…! (Pt. 2)
In part 1 of "Make Your Bed...!" I mentioned that the filler neck on the fuel tank was going to have to be relocated. That's because with the bed floor and stainless strips in place the fill neck on the tank was going to interfere with a strip where it needs to come up through the floor.
Also, once the bed floor is in place there's no way to clamp and secure the fancy fill cap that came in with the truck to the short hose and neck. It might not be impossible, but it would be very difficult. In a sense, the entire bed and tank would all become connected so either removing the tank or bed later become's a royal pain for someone. And there's no margin for error on placement if an adjustment needs to be made later.
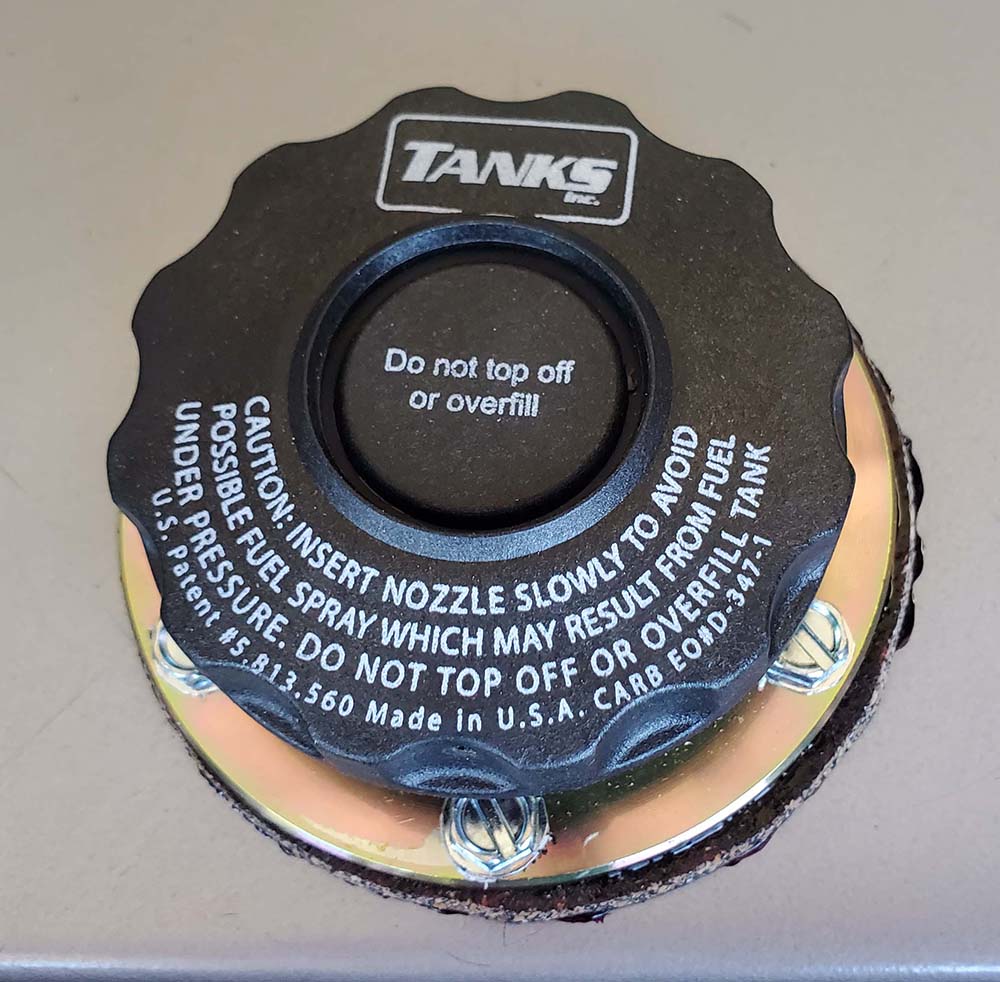
The solution was to move the tank fill neck so that it is centered on the middle board AND hide it under a flip-up door so that neither are physically attached to each other.
After taking careful measurements, the first step was to prep the tank to receive a bolt-on filler neck from Tanks, Inc.
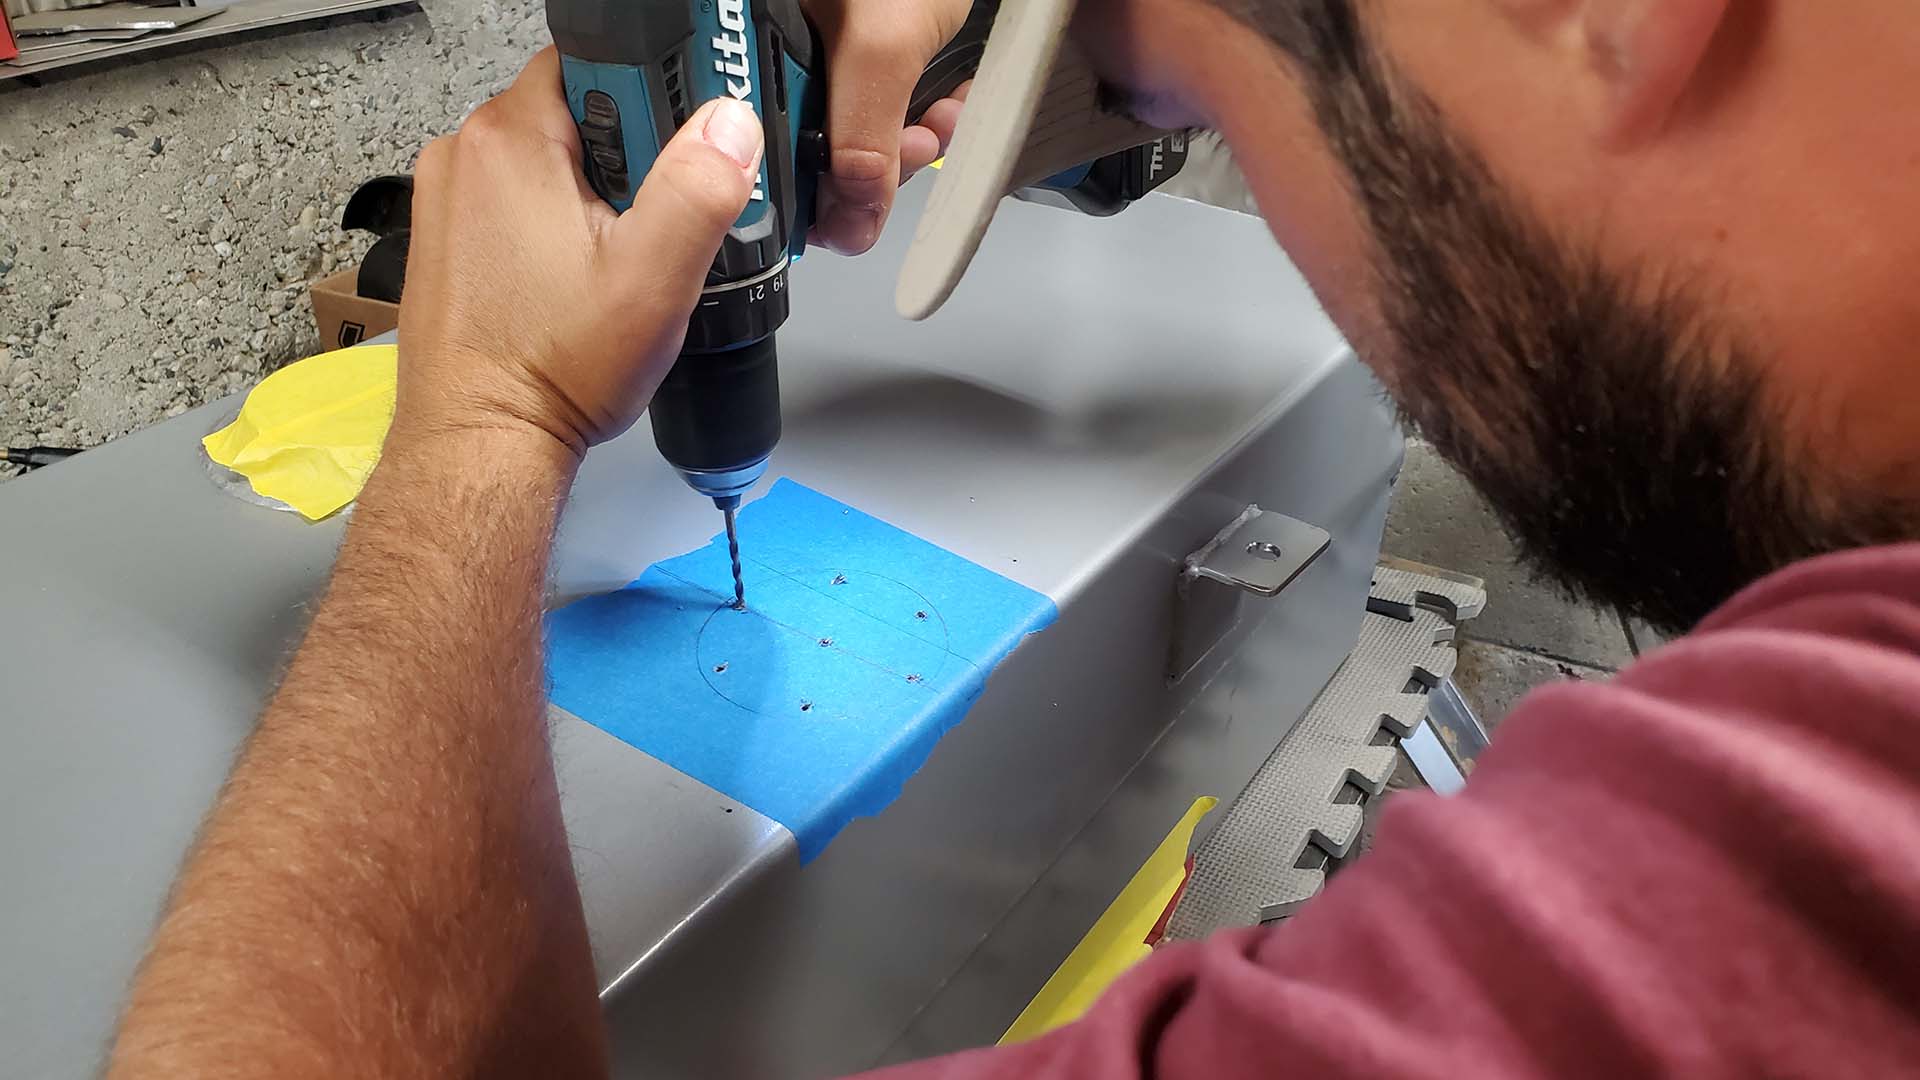

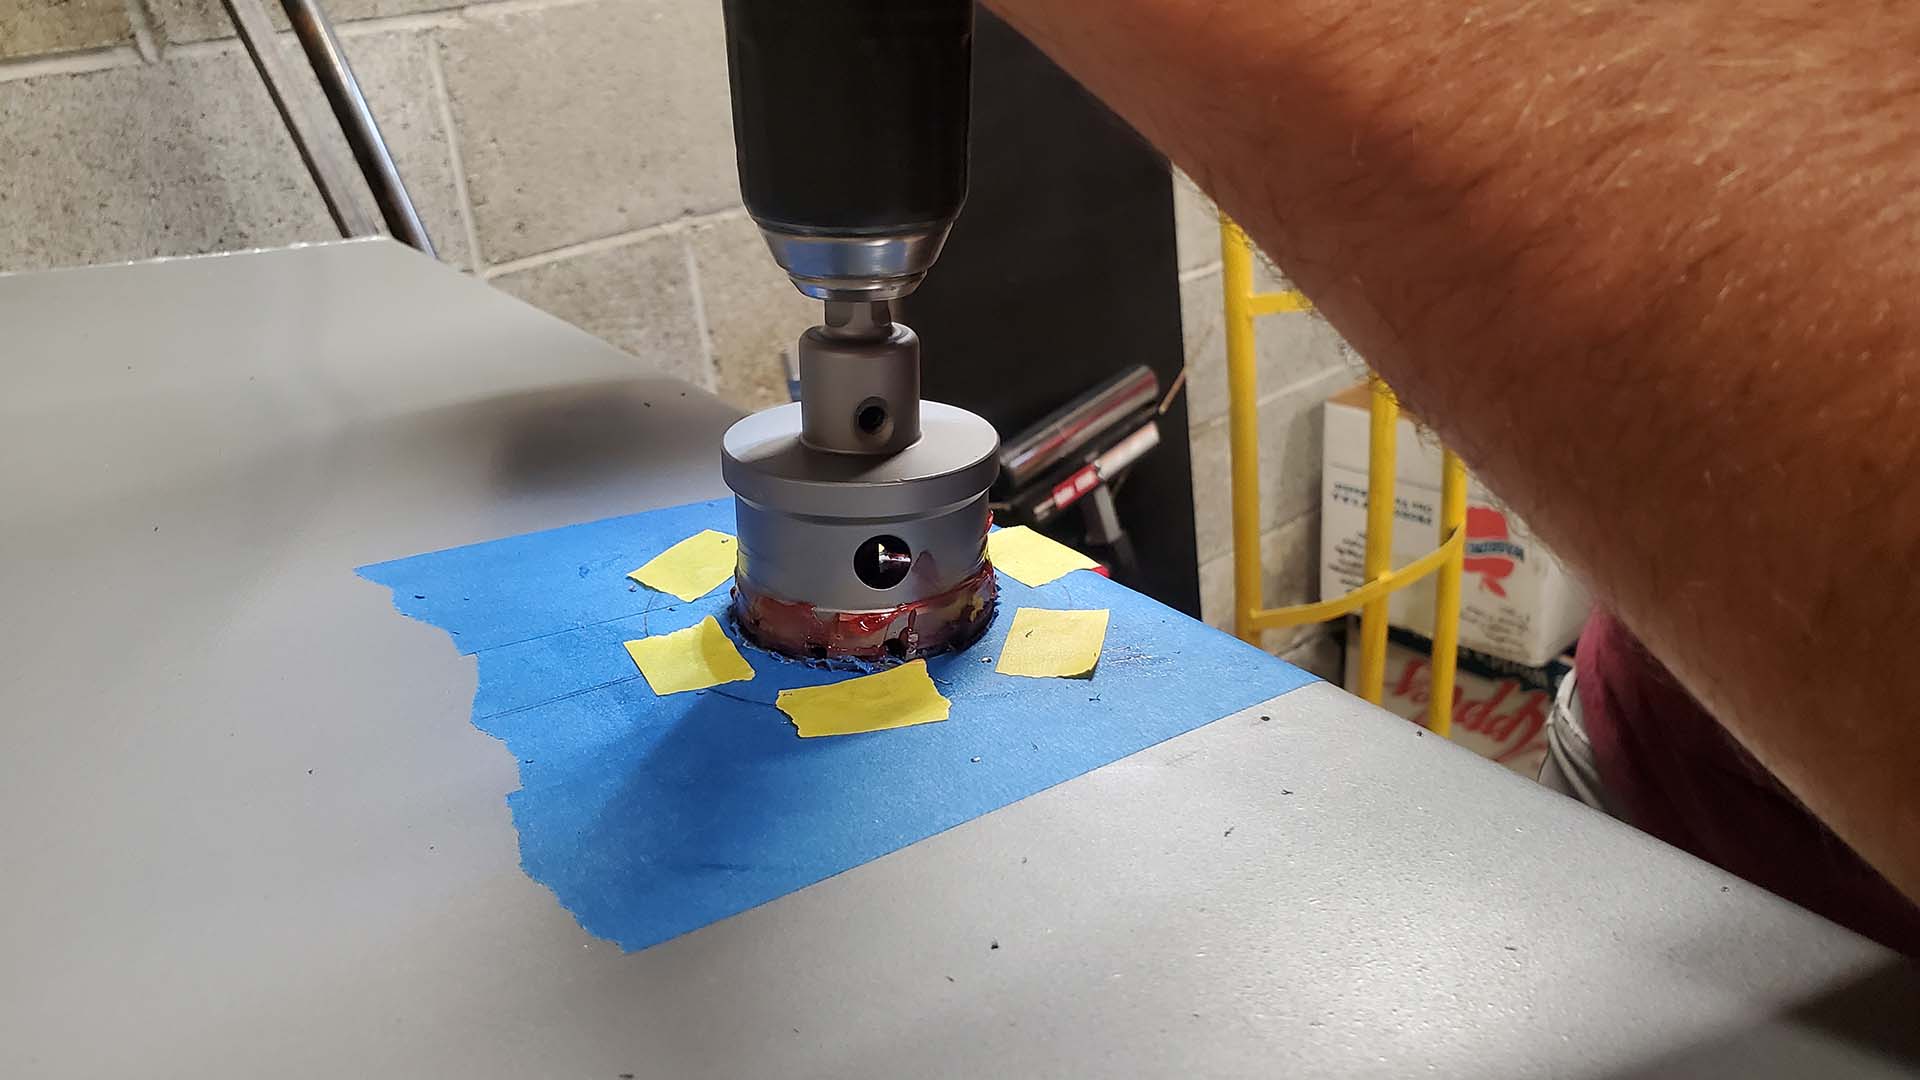
A 2" carbide tip hole saw was used to make the requisite hole. A little grease on the hole saw will not only lube the blade but also catch a lot of the metal chips.


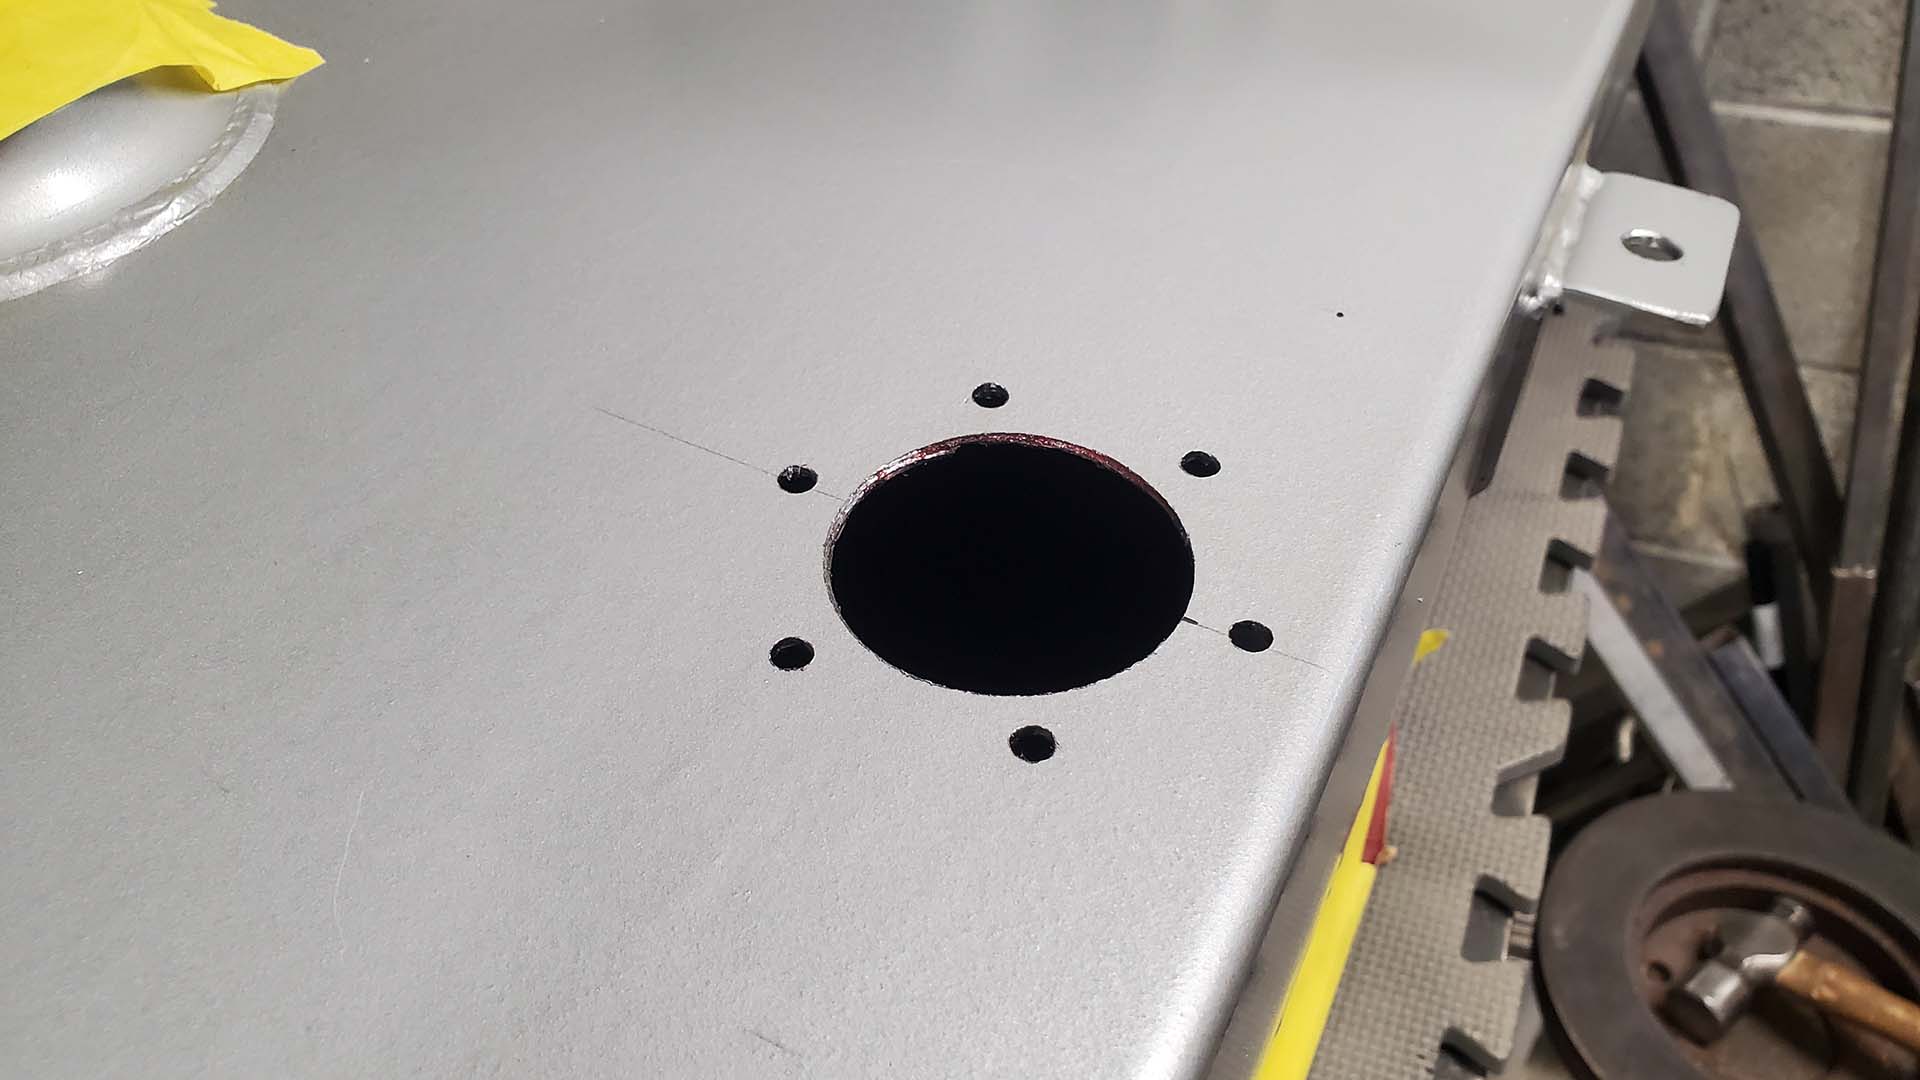
A little cleanup and deburring and our hole is ready for the new filler neck. We also used a vacuum and compressed air to clean out debris.


Next, we cut off the original 1.5" filler neck that was brazed in place over in Taiwan. It just wasn't in the right place to work with our bed floor.
DISCLAIMER: Do NOT weld, grind, or otherwise generate sparks on any fuel tank that has had fuel in it! This tank was new.
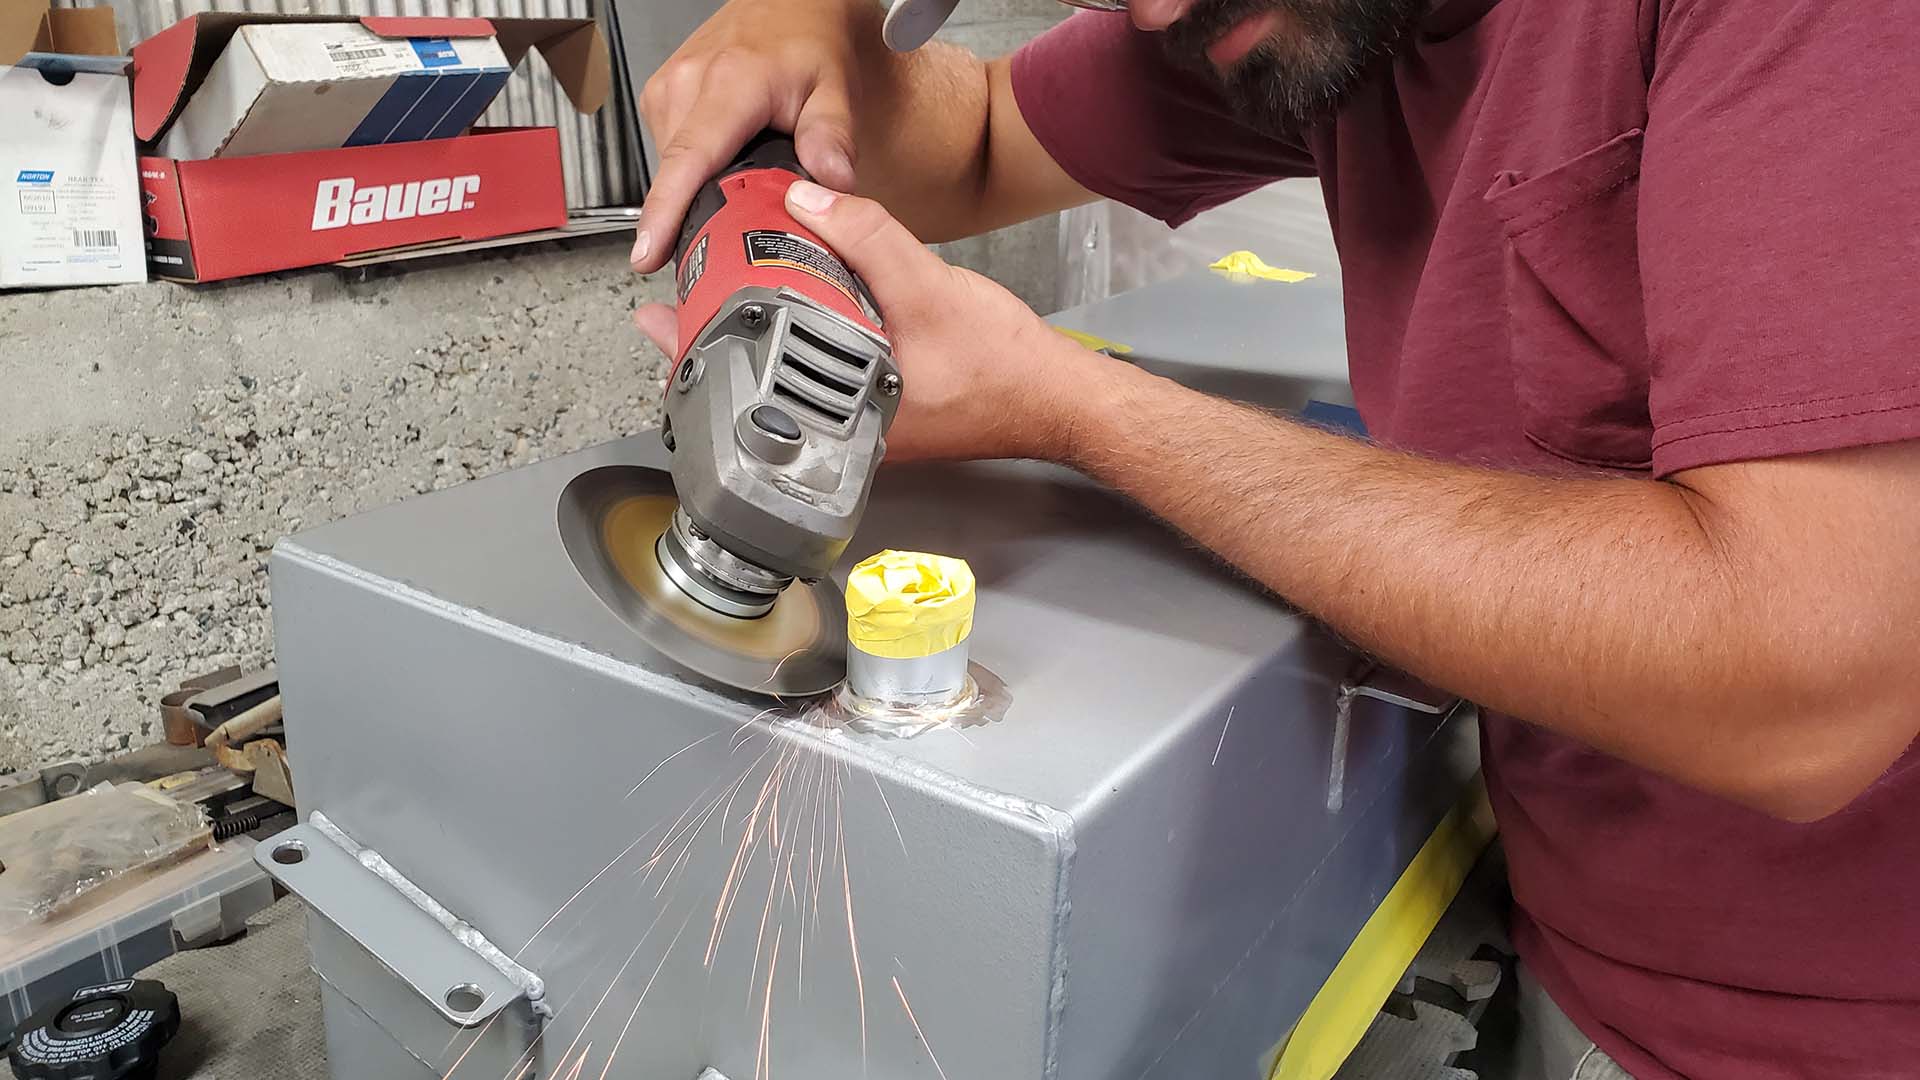


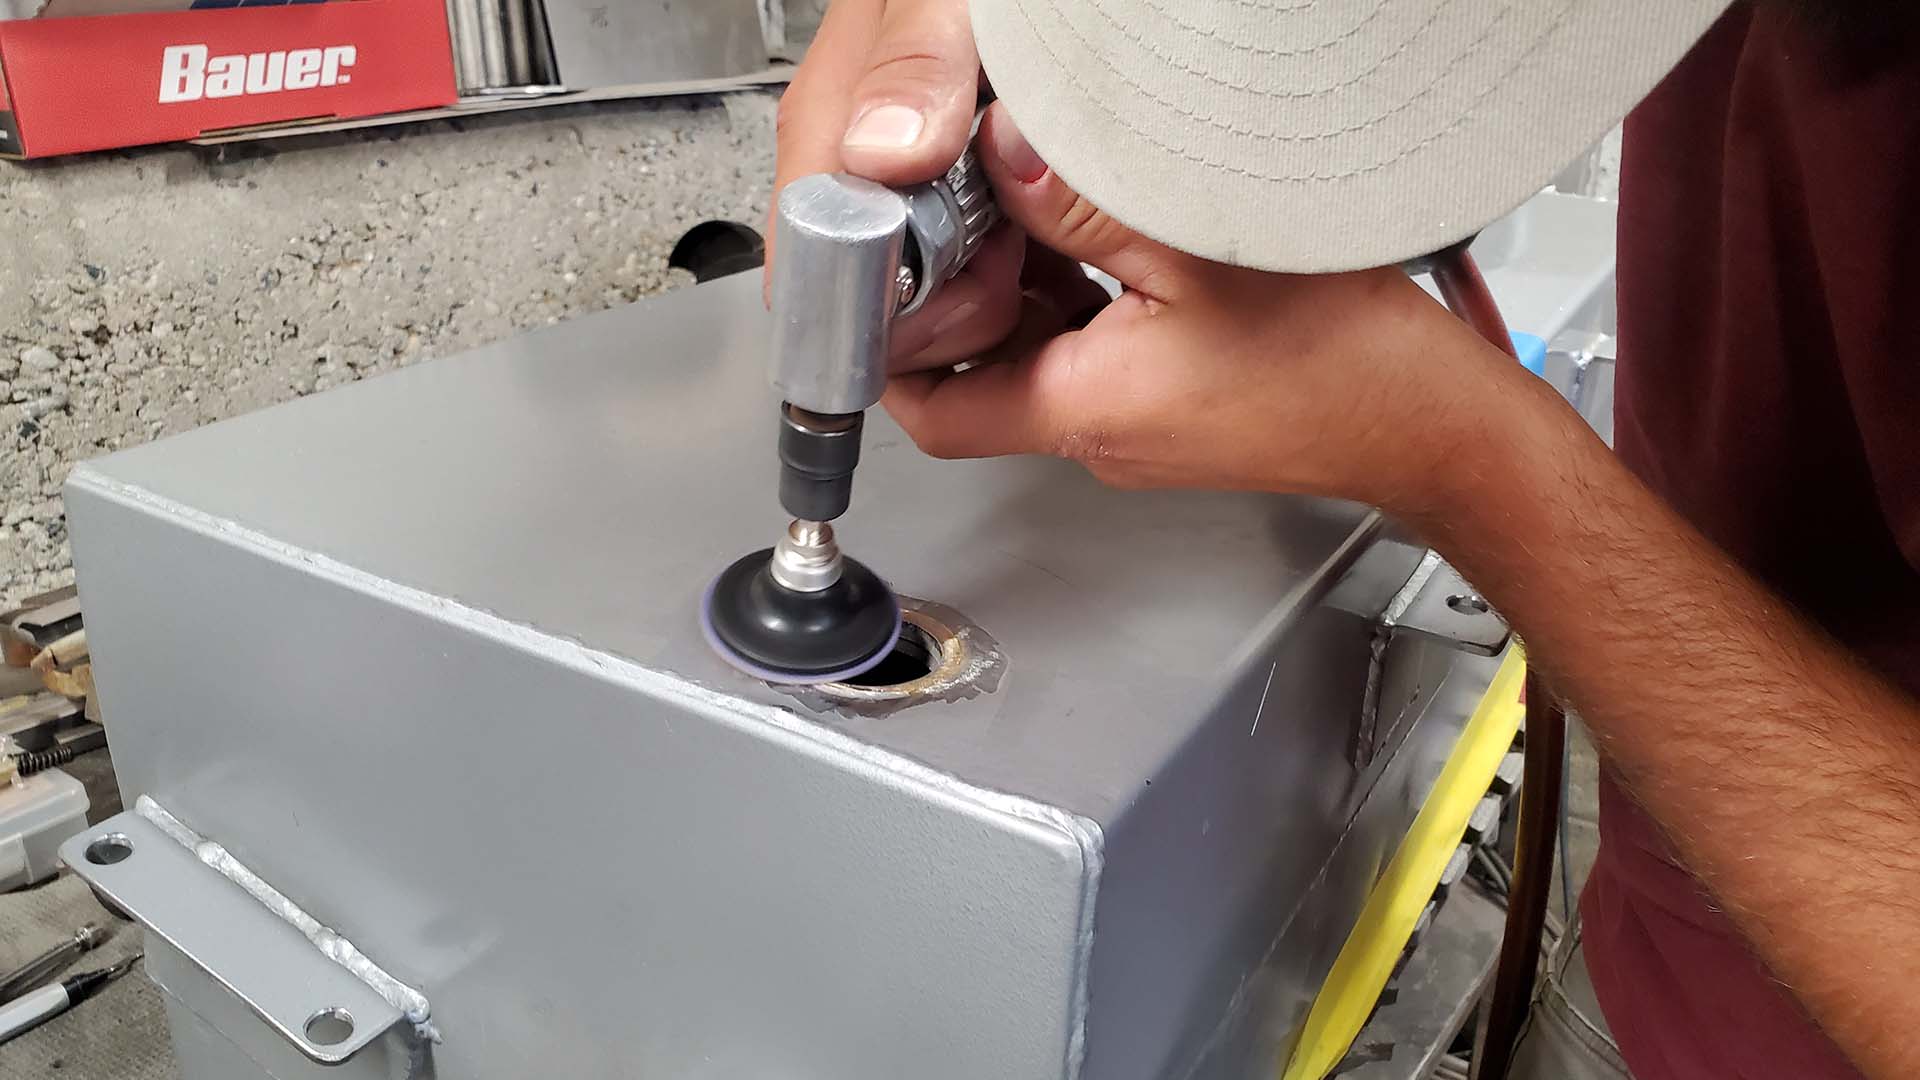


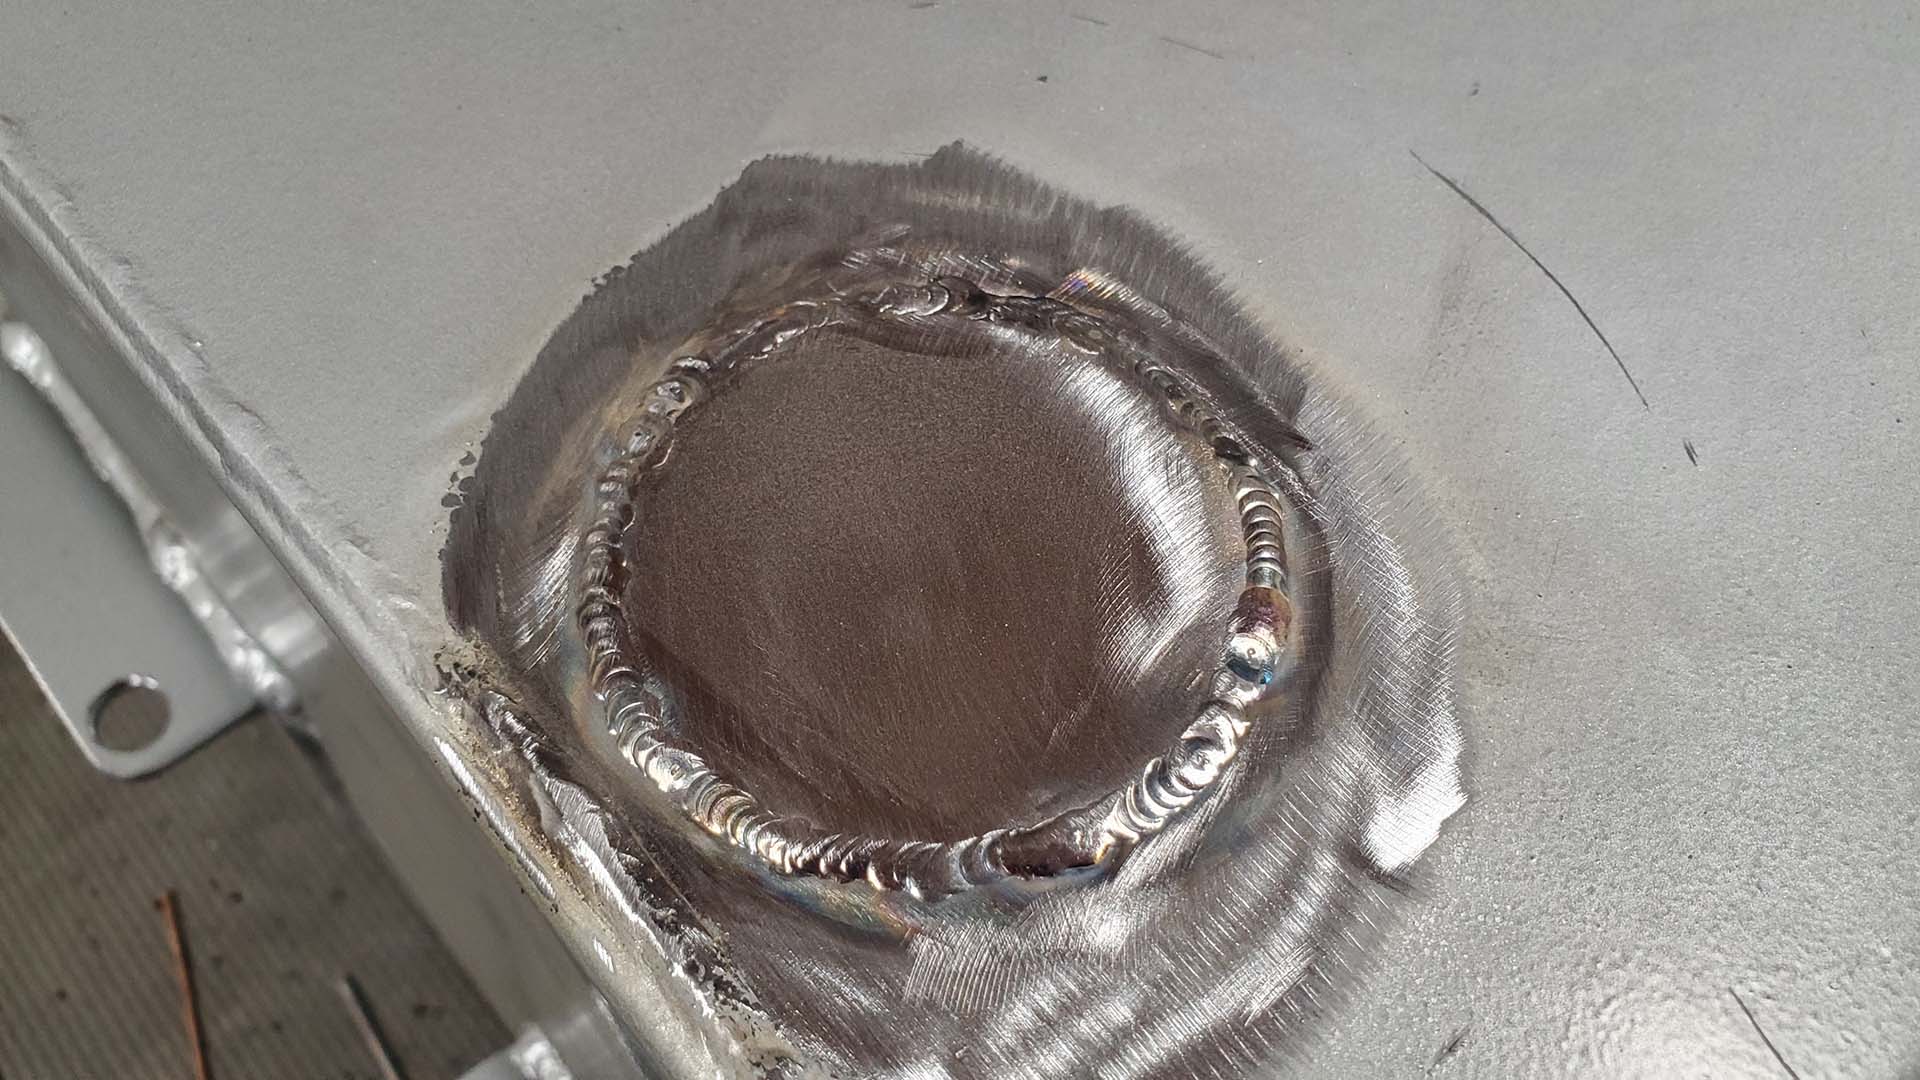
...And a round piece of sheet-metal is TIG welded over the hole to plug it.


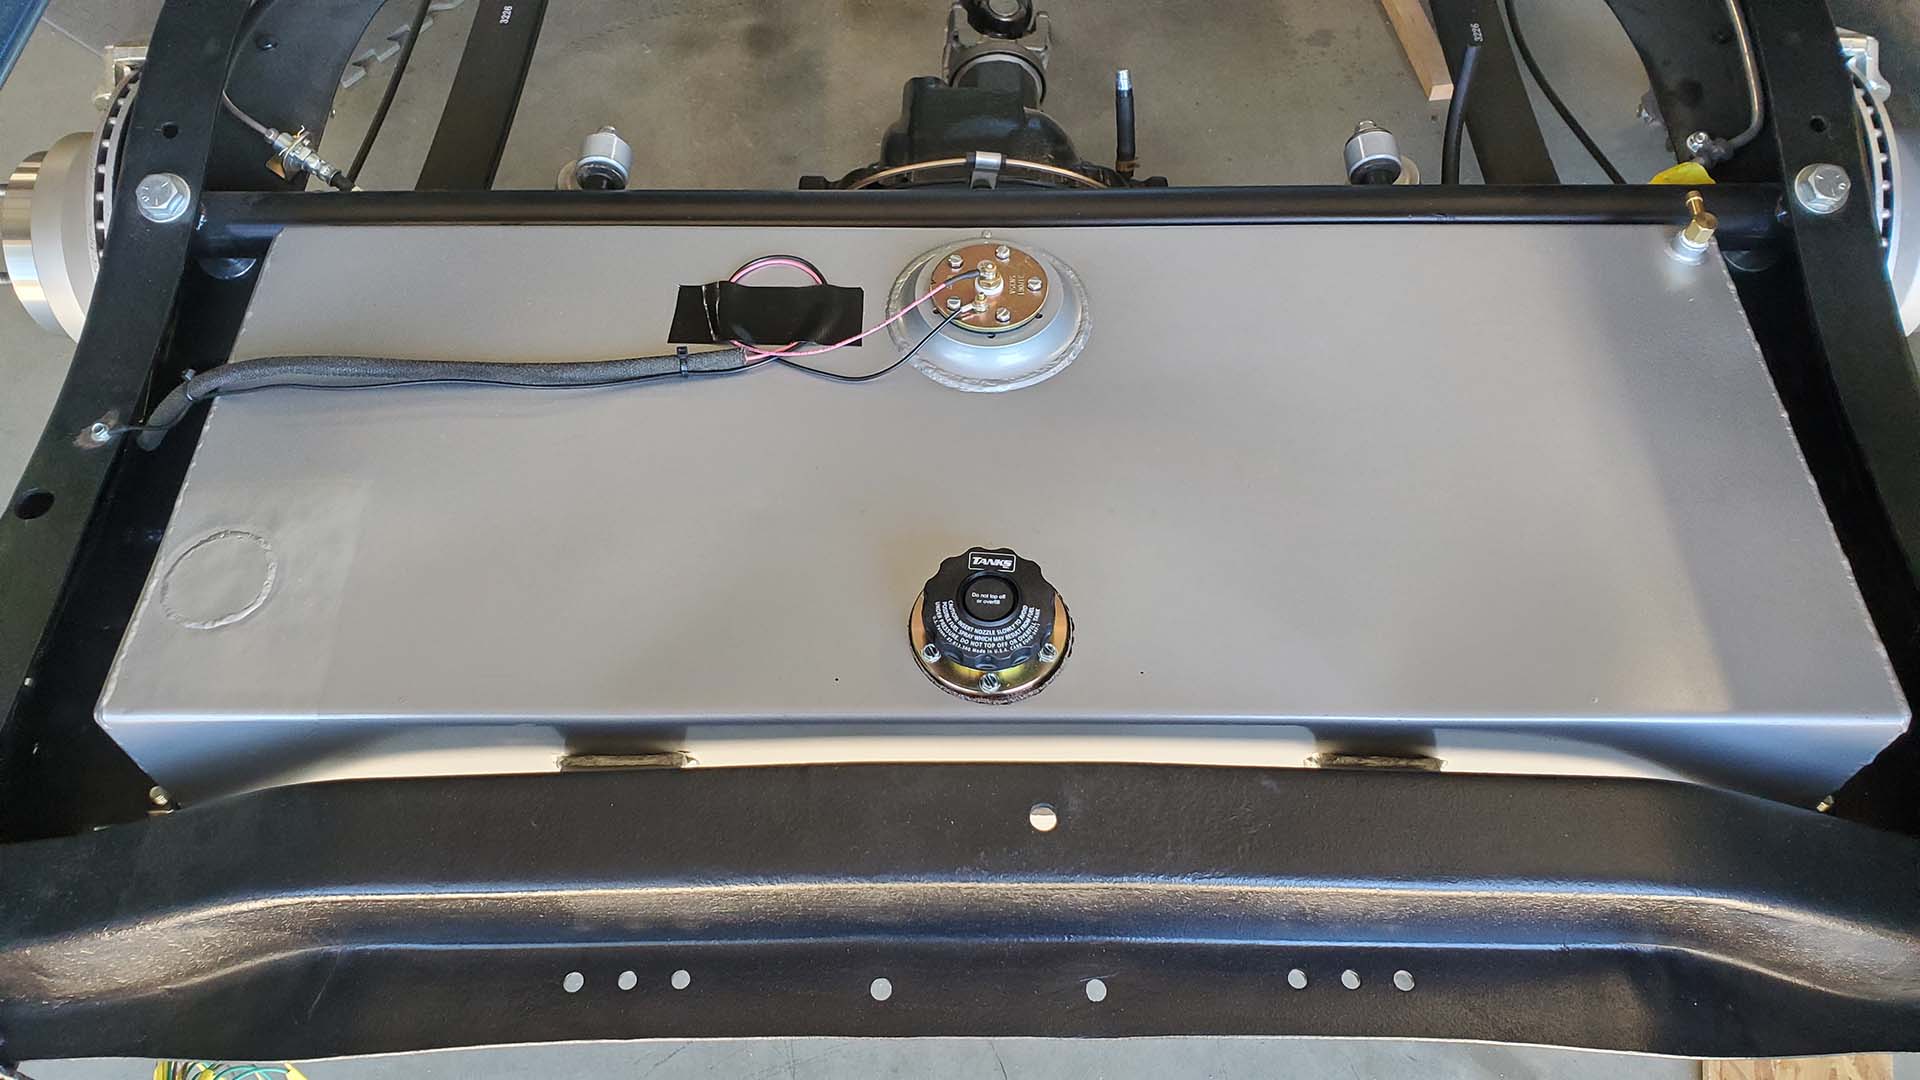
With the new filler neck bolted in place with a gasket, the tank is reinstalled along with the sending unit. The neat thing about the filler cap is, it doesn't have to be removed to put gas in - just push the pump nozzle through the spring load flap.




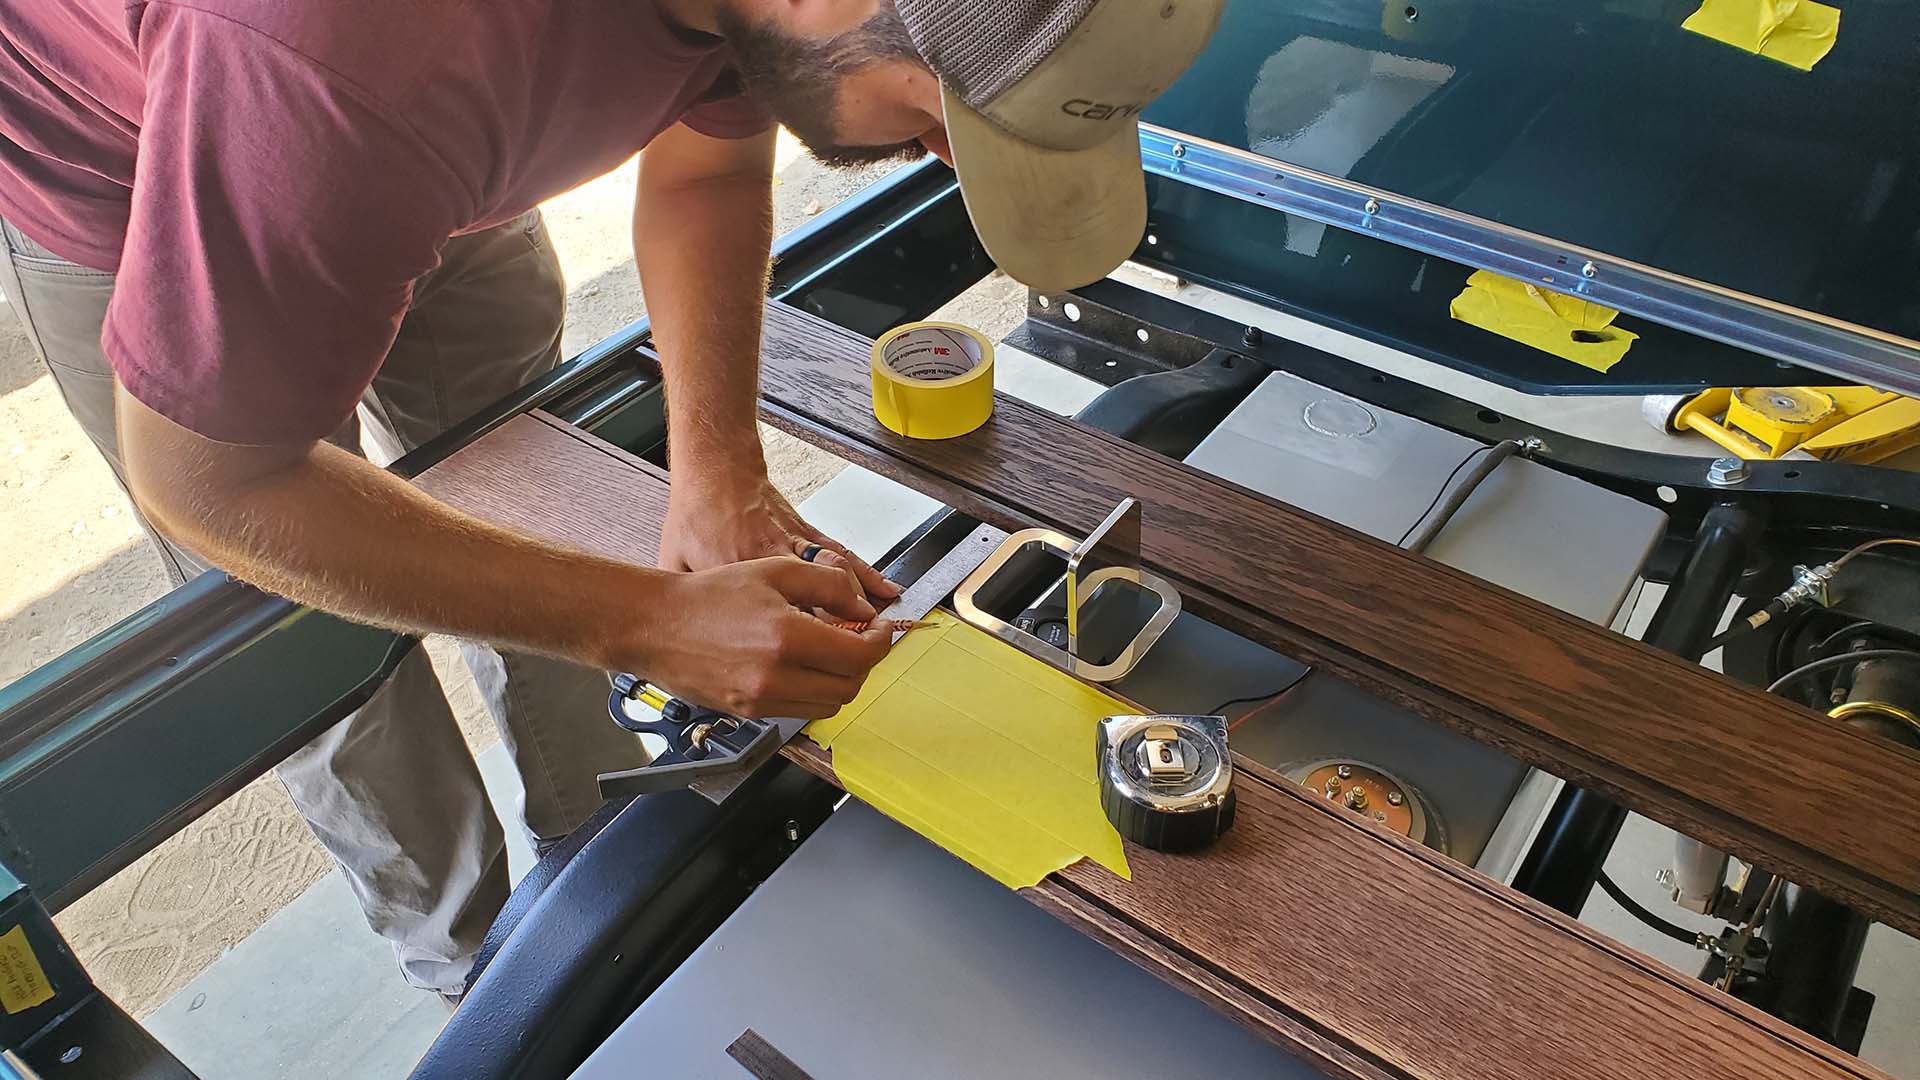
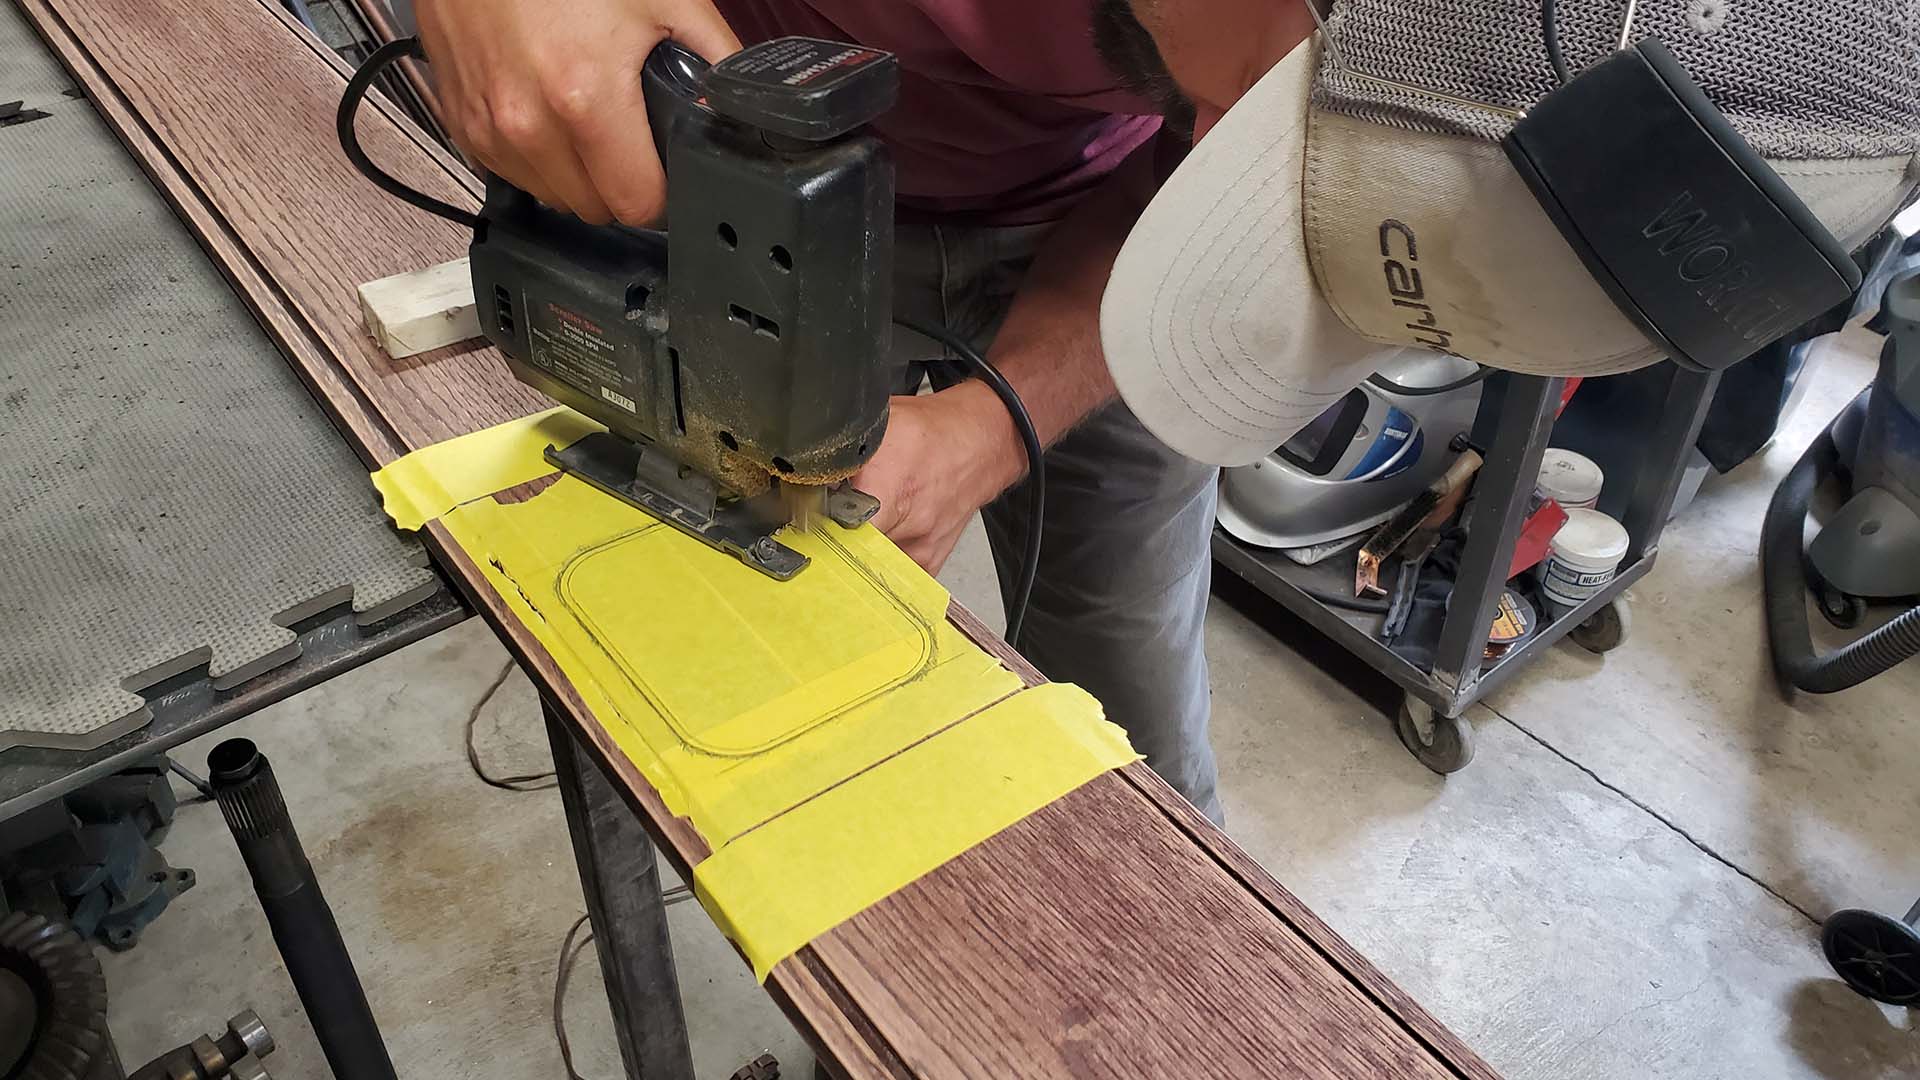
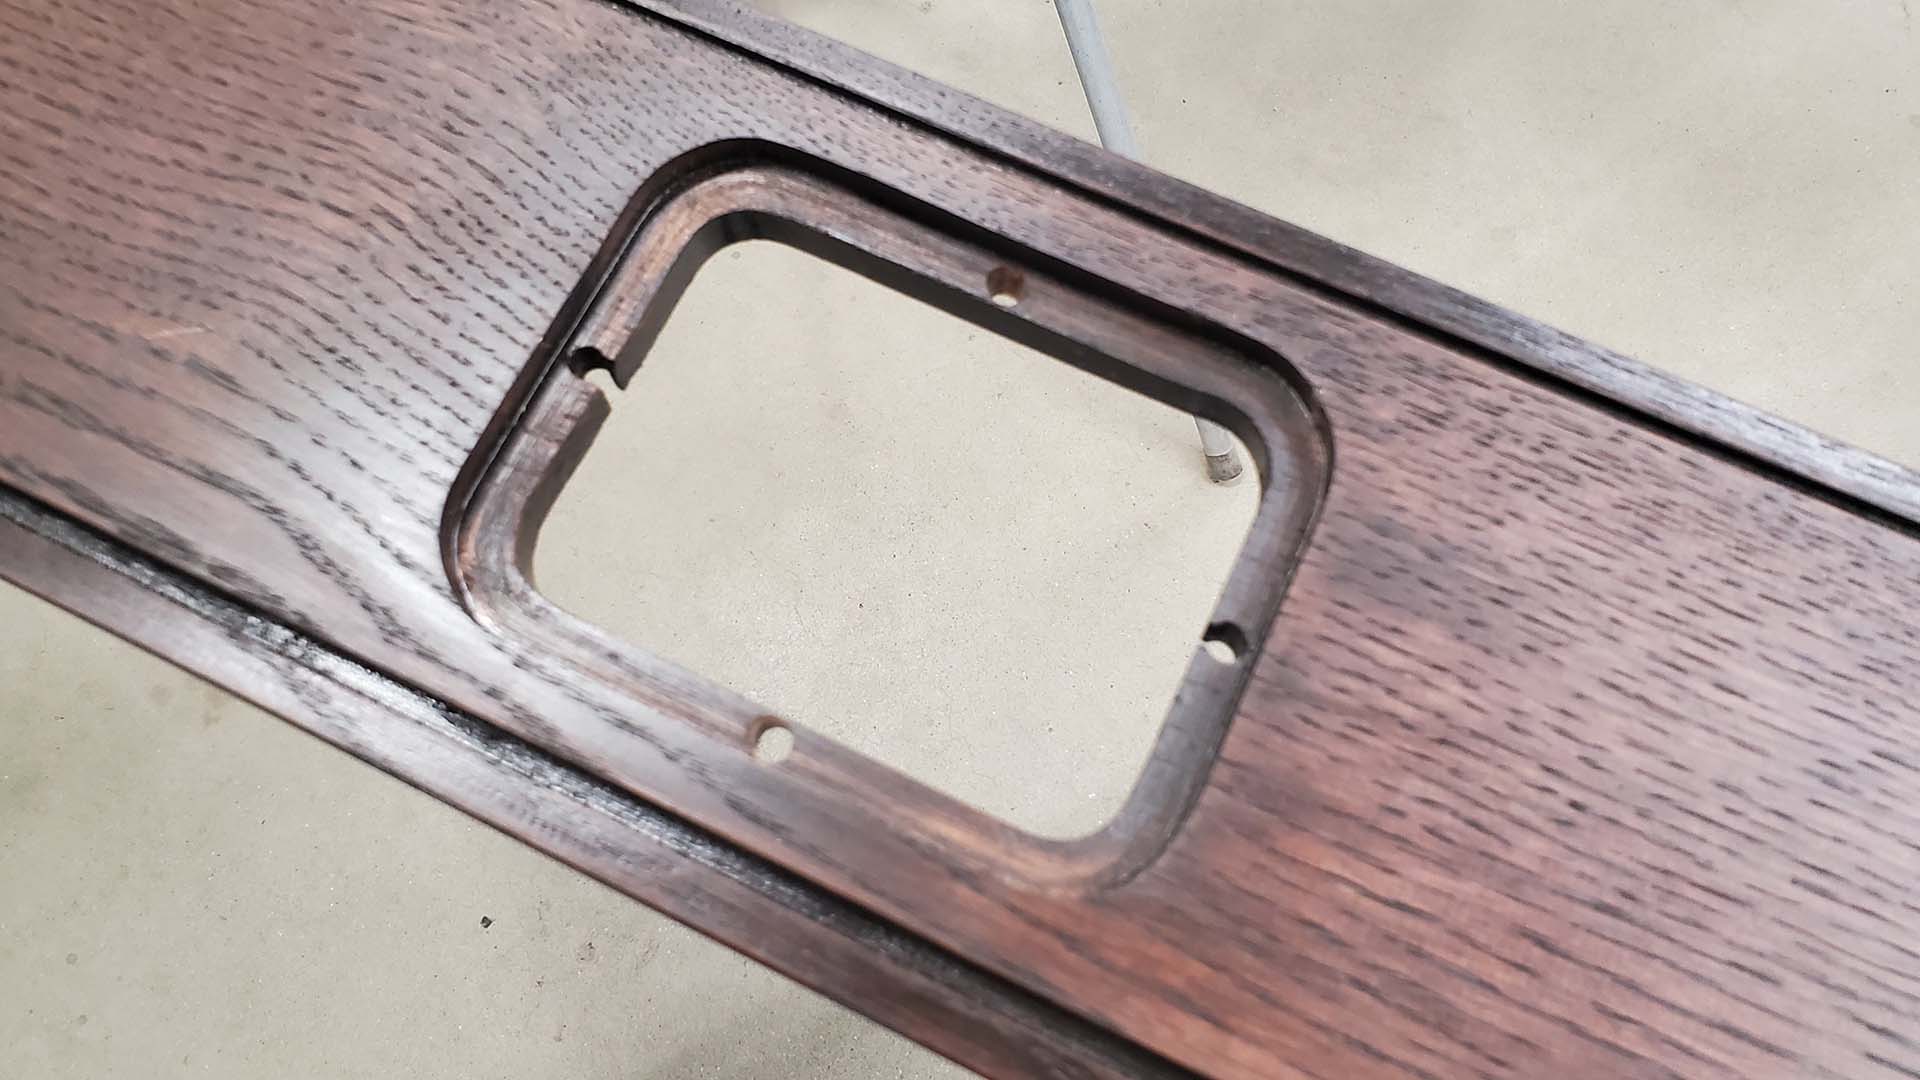
Now we can lay out on the center wood board where the access door should go and cut a hole for it...






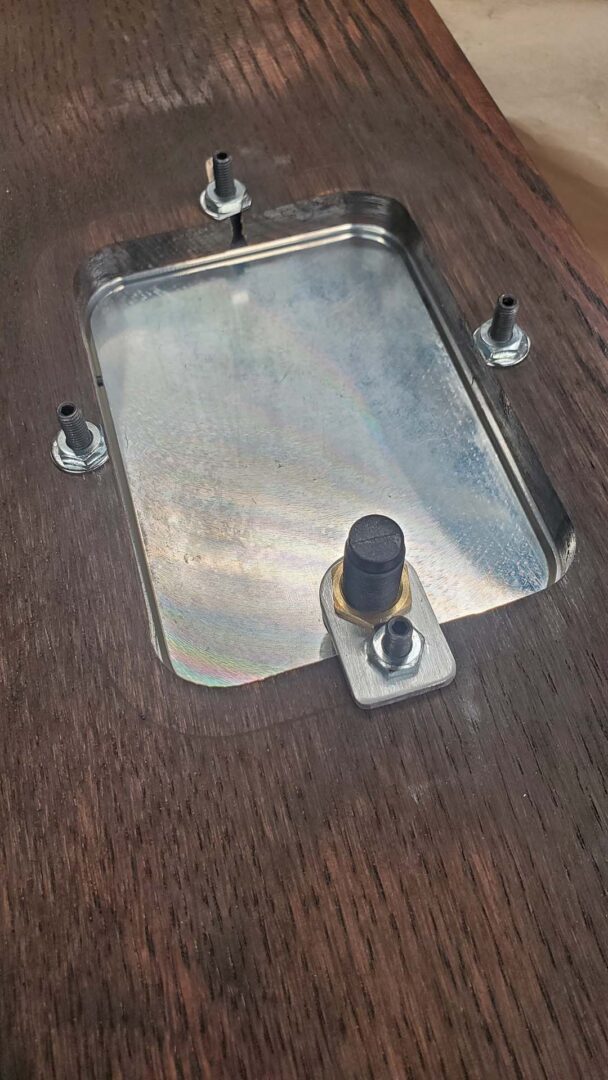


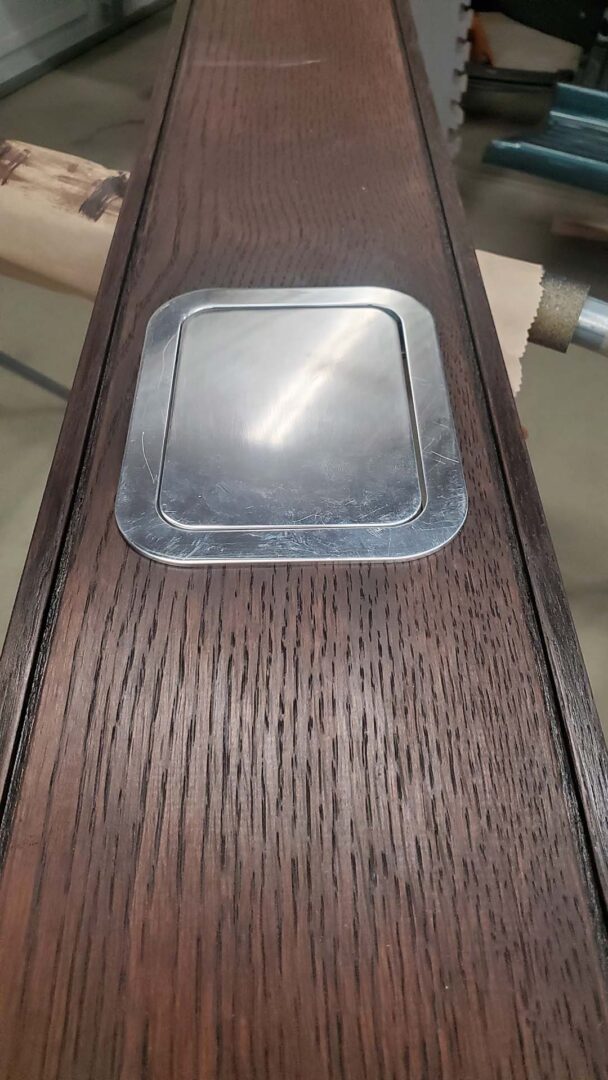


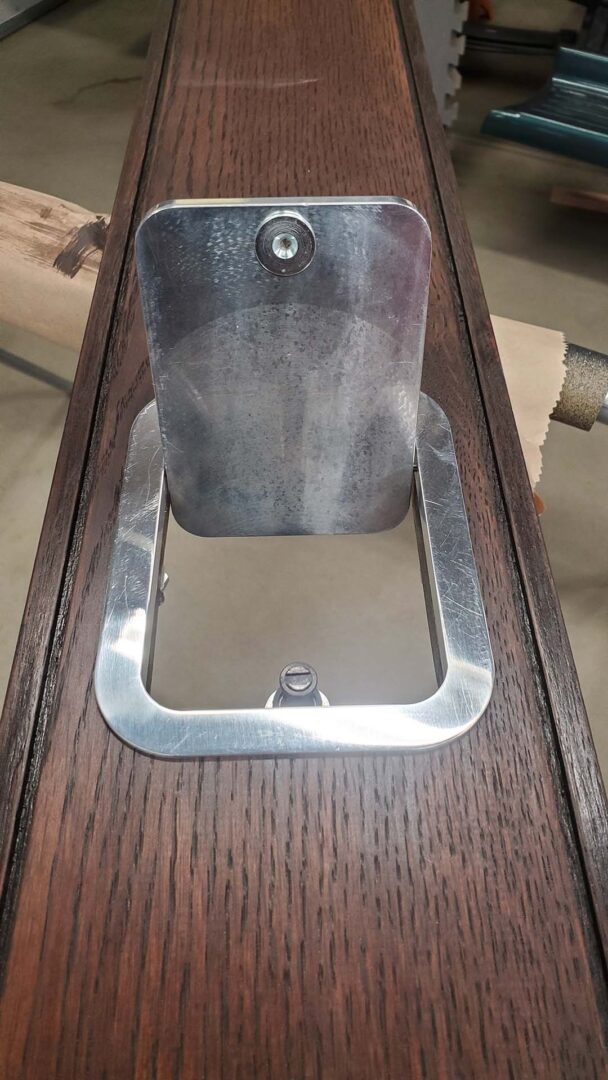


Meanwhile, the remanufactured Carter YF carburetor for a Chevy 235 engine we ordered from Florida showed up after 3 weeks. The problem is, it's wasn't for a Chevy engine. It only looked very similar to the correct one. Apparently they just grabbed a core that sorta looked like it should work - never mind it's actually for a Willy's Jeep.
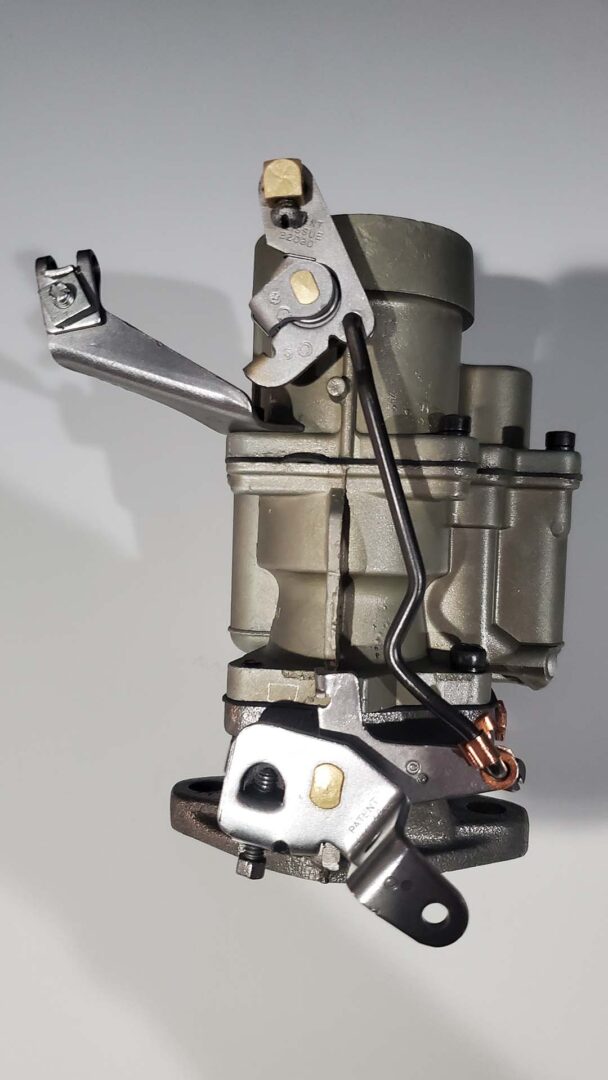


The first clues were the throttle linkage was wrong. The choke cable bracket was different and in the wrong location. The original number stamped on the bowl was 2467s. My research showed it was intended for an AMC/Jeep 226. It could probably be adapted to function. So what to do?
One old-timer (Jon, retired owner of The Carburetor Shop in Eldon, MO and trusted expert on Carter carbs) is a member on the Stovebolt forum. He opined:
"The 2467 is SIGNIFICANTLY DIFFERENT in calibrations than the 2100/2101 (Chevrolet). I would NOT run it on a Chevy 235"
Yeah, we don't need more runability problems. That's what we're trying to solve. National Carburetor in Florida offered no explanation or apology as to why they built/shipped what they did. But they did agree to take it back for a refund. So it went back.
Jon goes by the forum handle "Carbking". He really doesn't sell carburetors any more but later posted on the forum he found a YF 966s core. These were used on '50-'52 Chevy trucks with 235 engines. I called and bought it along with one of his rebuild kits. I trust him more than some eBay listing.
(A Carter YF model 788, 966, or 2100 would all be good candidates if you can find a good core).
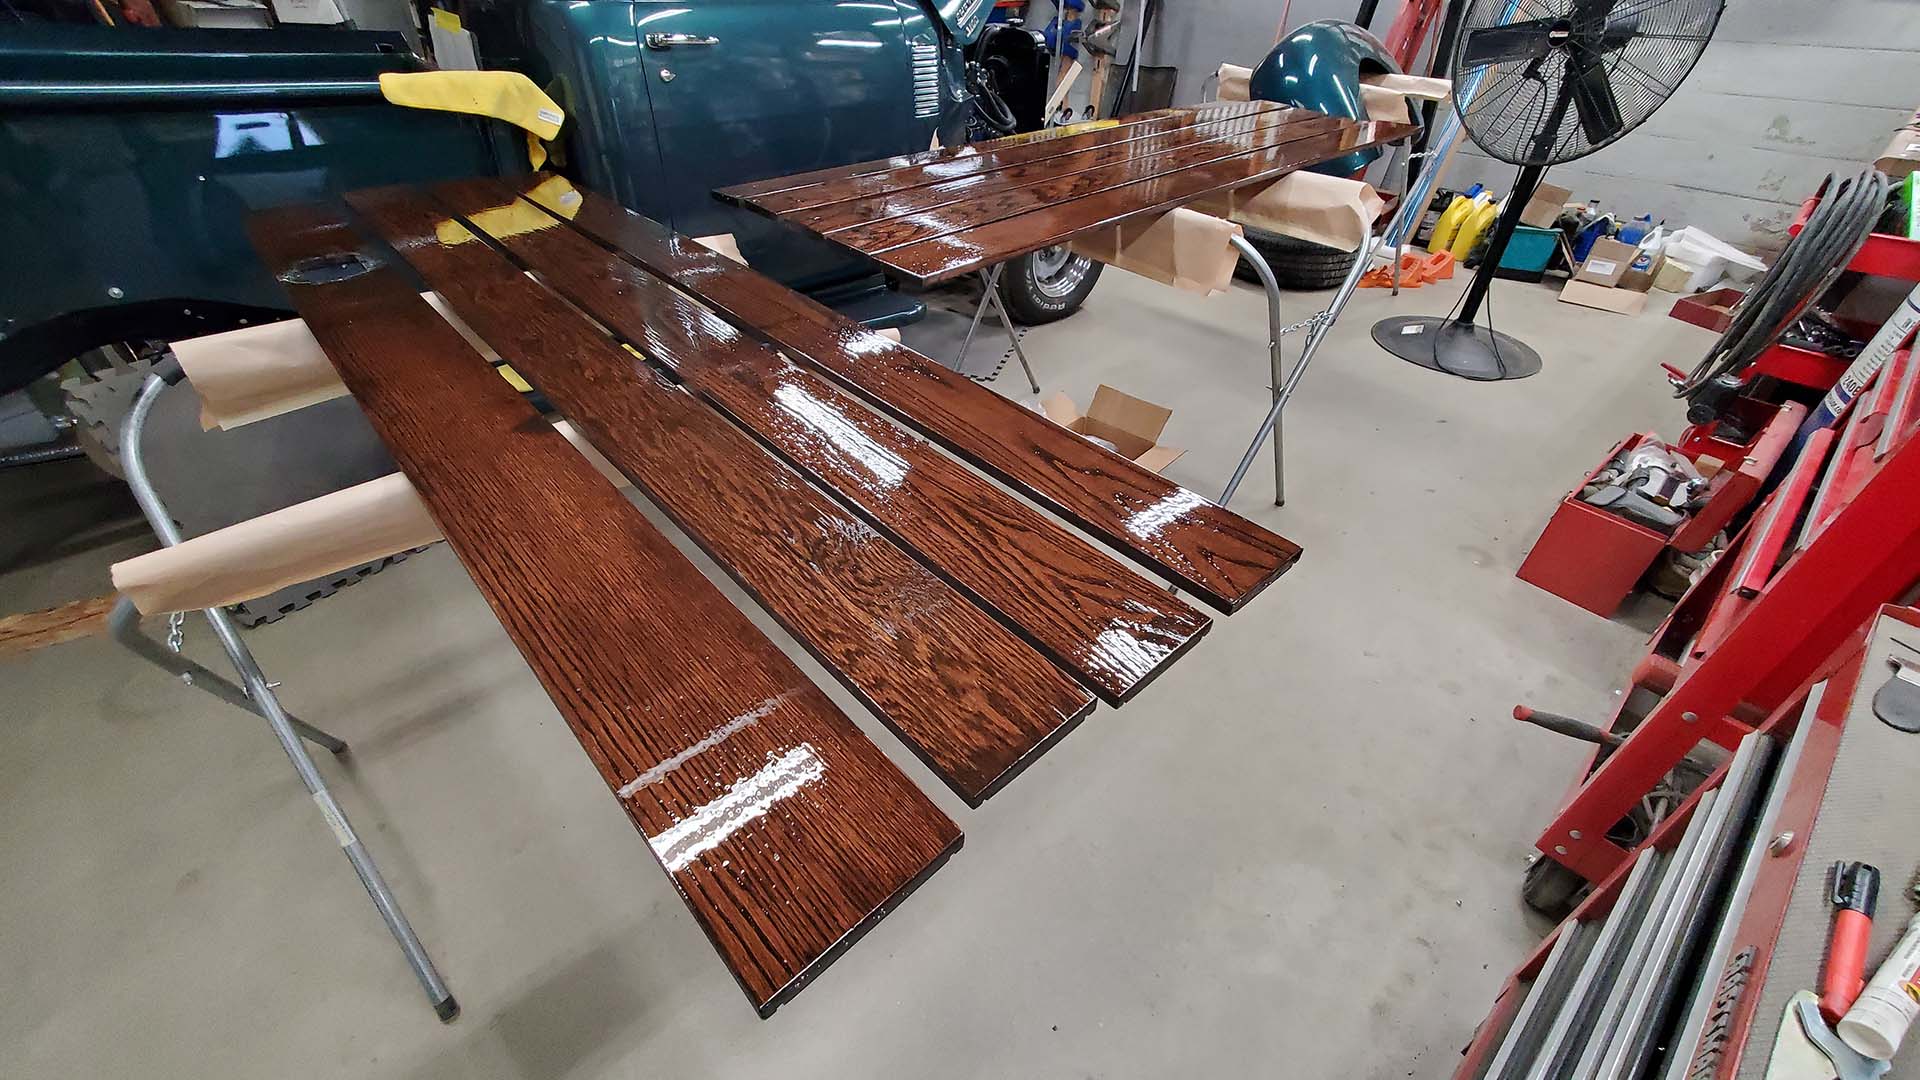
While waiting on another carburetor I've turned my attention to finishing the oak bed floor boards. Satisfied with the stain color, the boards need to be sealed up and top coated for exterior exposure.
Have I mentioned I'm not a woodworker or finisher?
I'm sure some guys would happily apply a bazillion coats of marine grade varnish over several weeks. That would be fine if you have the time and enjoy redoing varnish finishes periodically - and don't mind taking the bed off and apart to do it each time. I don't think the owner wants that. So I'm trying something a little different: a product that will cure faster through chemical reaction rather than wait for solvents to evaporate.
Regardless of the final top coat the wood needs to be sealed against moisture. I'm using a two part penetrating epoxy sealer used for boat building and repairs. It should not only seal but act as a primer or tie coat for a final top coat.
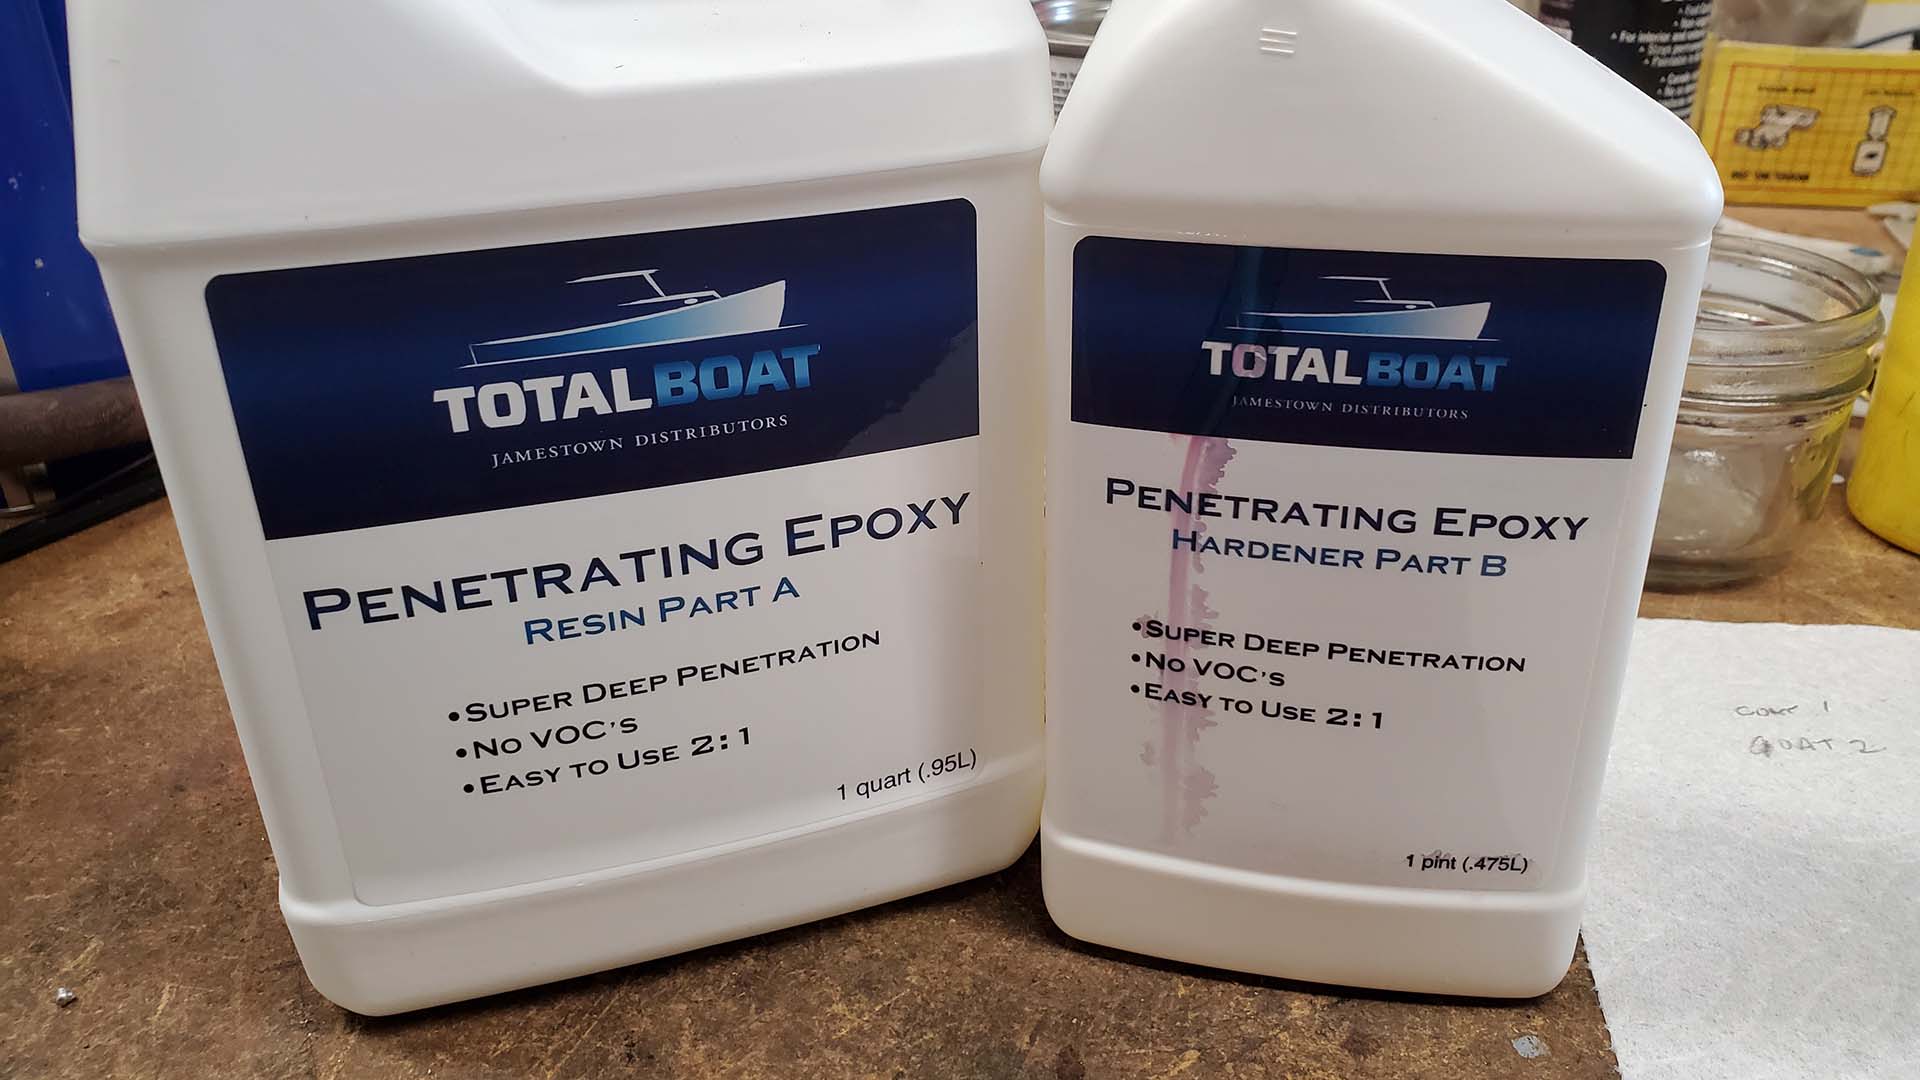


The grain structure varies quite a bit from board to board. I'm starting on the underside of the boards to see how the epoxy and oak behave. The course and porous grain of the oak soaks it up and then blows small bubbles back to the epoxy surface well into the cure. Not cool. I was hoping the first coat would stop this but it hasn’t. I guess bubbles are a common problem and I’m still experimenting with technique before doing the visible top side.
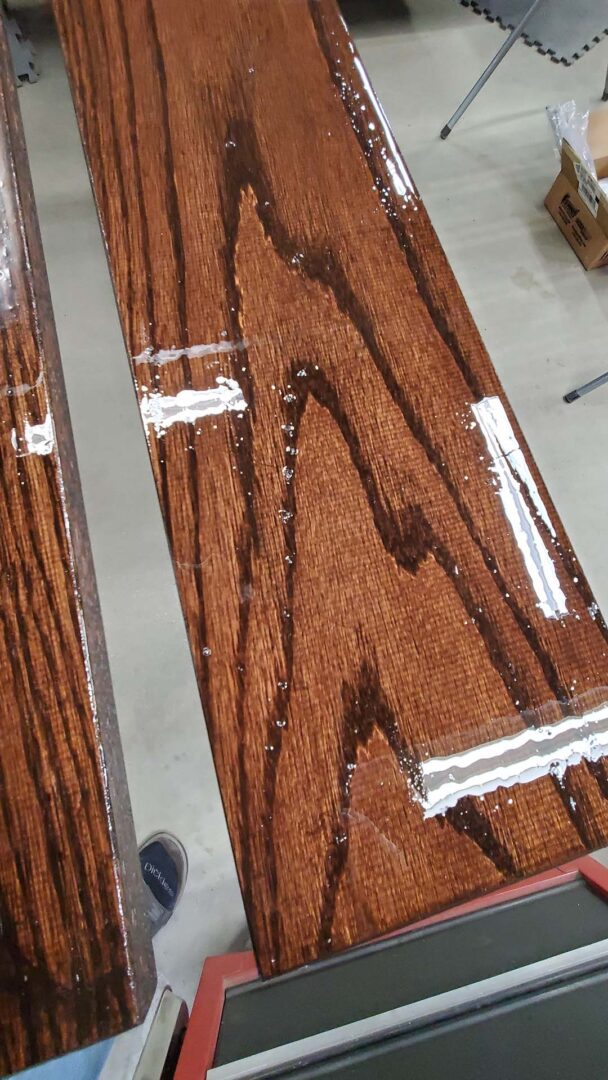


I mentioned I'm not a woodworker or finisher, right?
Once I get it sealed to the point where it won't blow bubbles then I'll top coat it with automotive clear coat. This should provide the UV protection it needs to last a while. That's the plan anyway. The truck will spend most of it's time in a garage.
