Catchin’ up With The ’50 Chevy Truck
Now that winter's behind us (along with a door latch fiasco), we've got some catchin' up to do. Here are the highlights on a hodge-podge of little projects and often overlooked details. You might want to grab some coffee...
When the cab was painted several years ago they also sprayed bed liner inside and out. Not only does this offer some corrosion protection but also improves the appearance. There are plenty of places where water can get into the cab - past rubber seals, through vents, holes in the firewall - and do real damage if it sits over time. I wanted to take extra steps to keep water out and deter any new rust from forming.
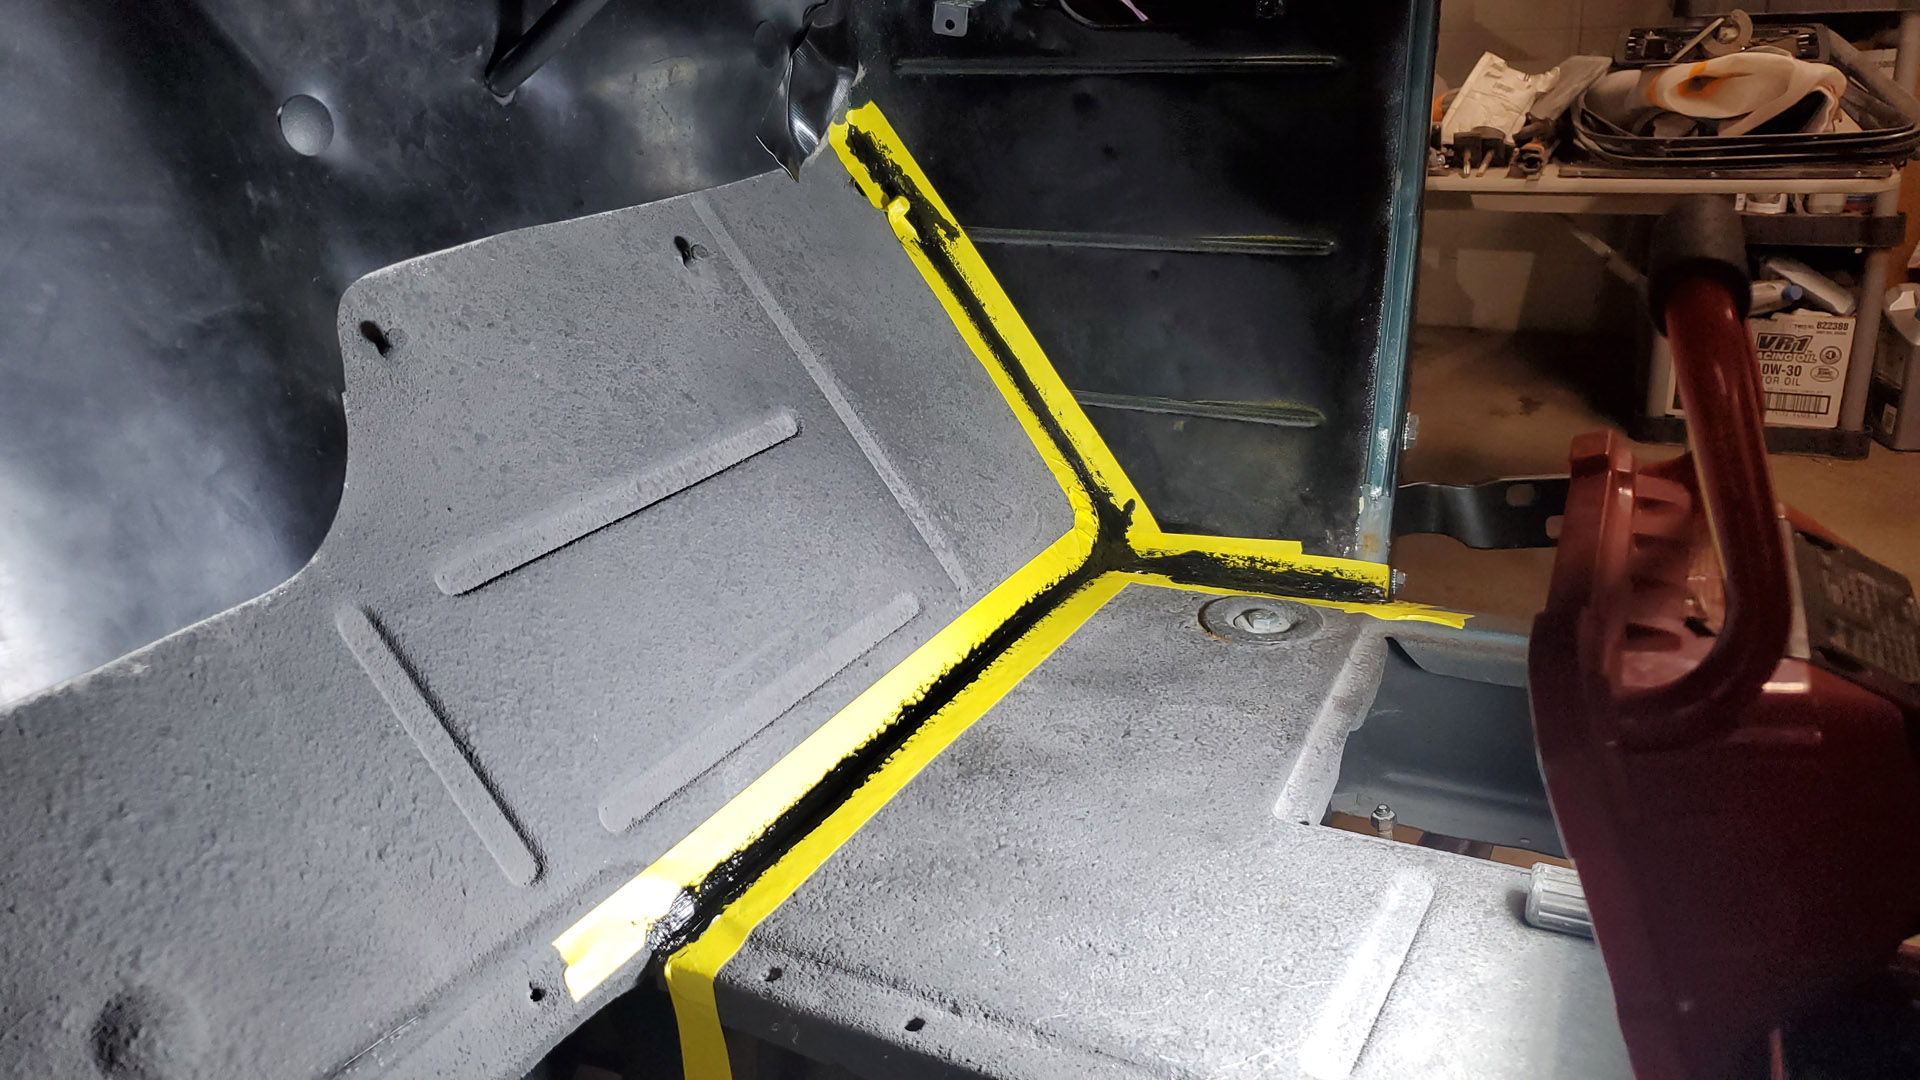
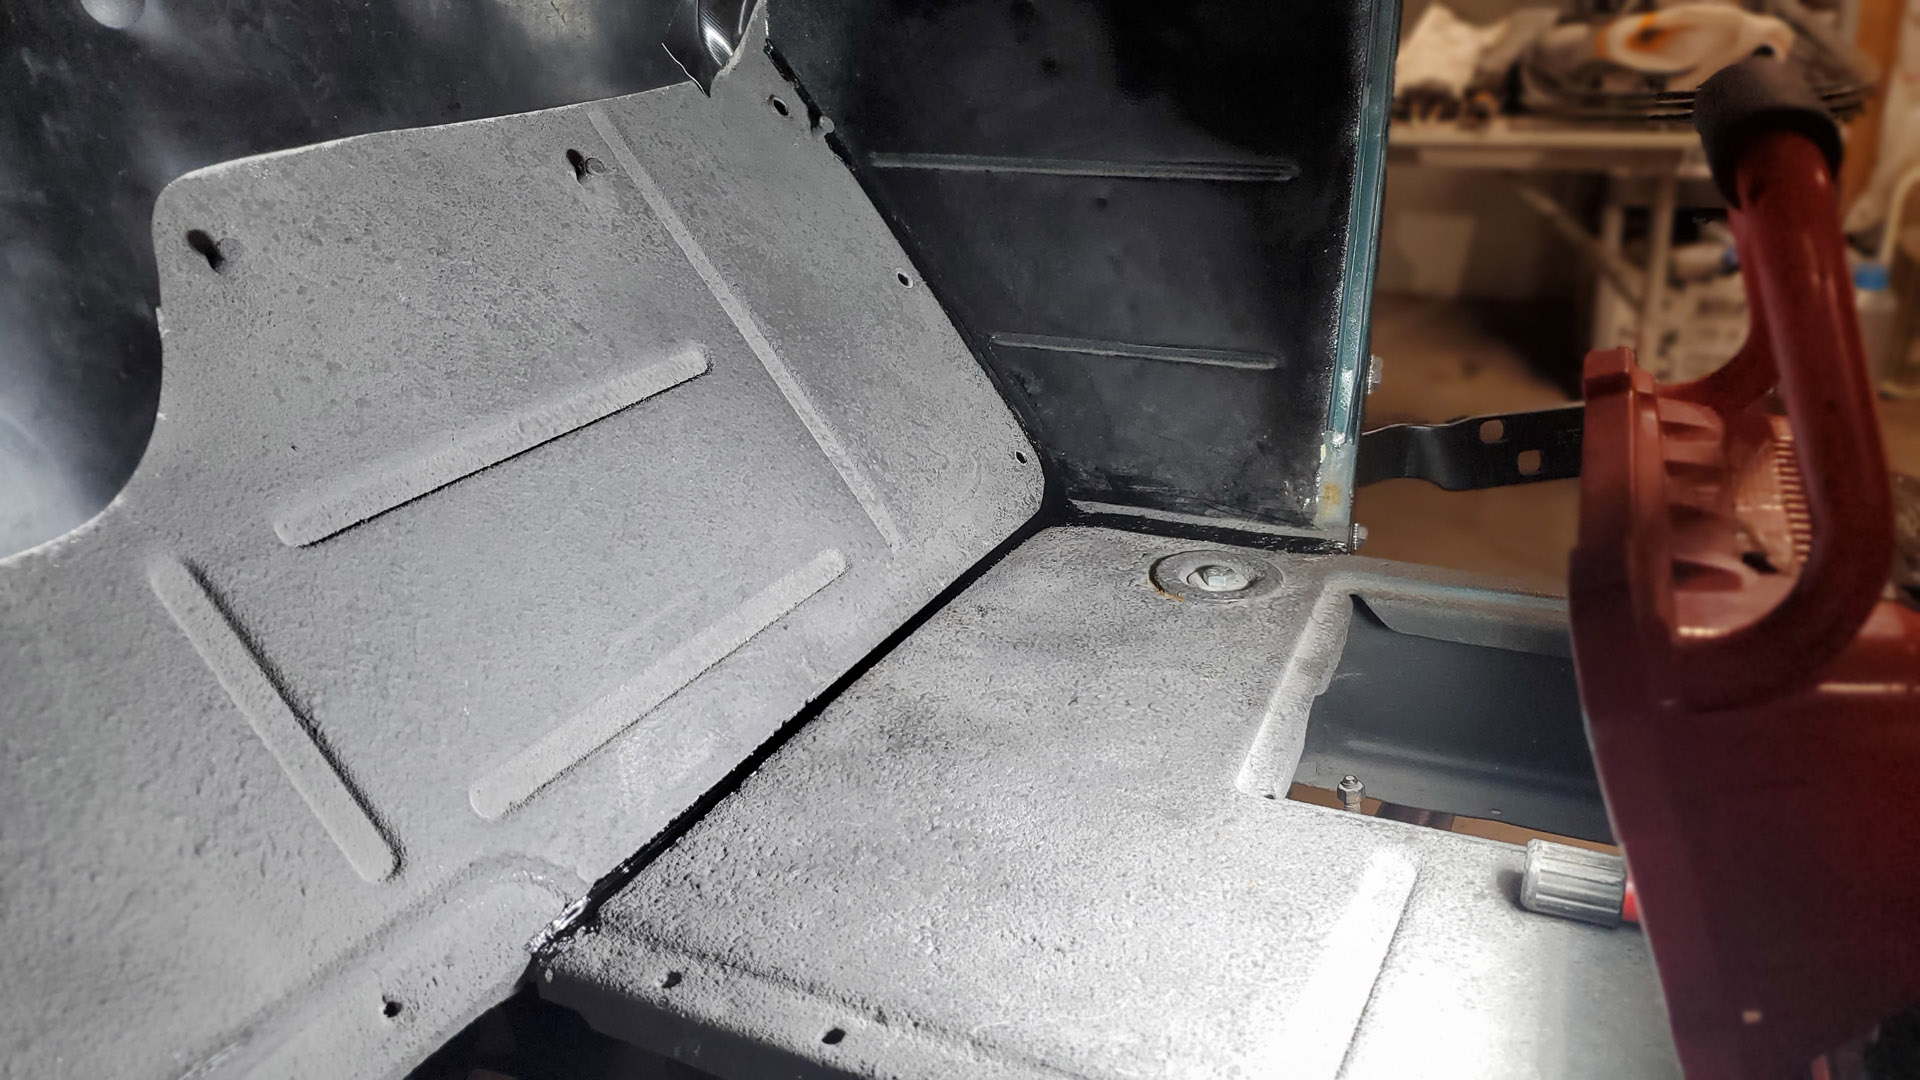
I noticed some light shining through pinholes (old rust spots) along seams in the floor. The bed liner might be hiding things so for extra insurance I applied seam sealer to the front floor seams and areas of the cowl, just like the factory did.
Mask, apply urethane sealer, pull the tape for a nice finished look:



We need throttle linkage that will connect to an original pedal, maintain proper geometry while passing through a hole in the floor, and do some gymnastics to connect to the new dual carburetor linkage on a non-original engine. Piece of cake.
I grabbed the rod off our donor chassis and engine (remember that?)
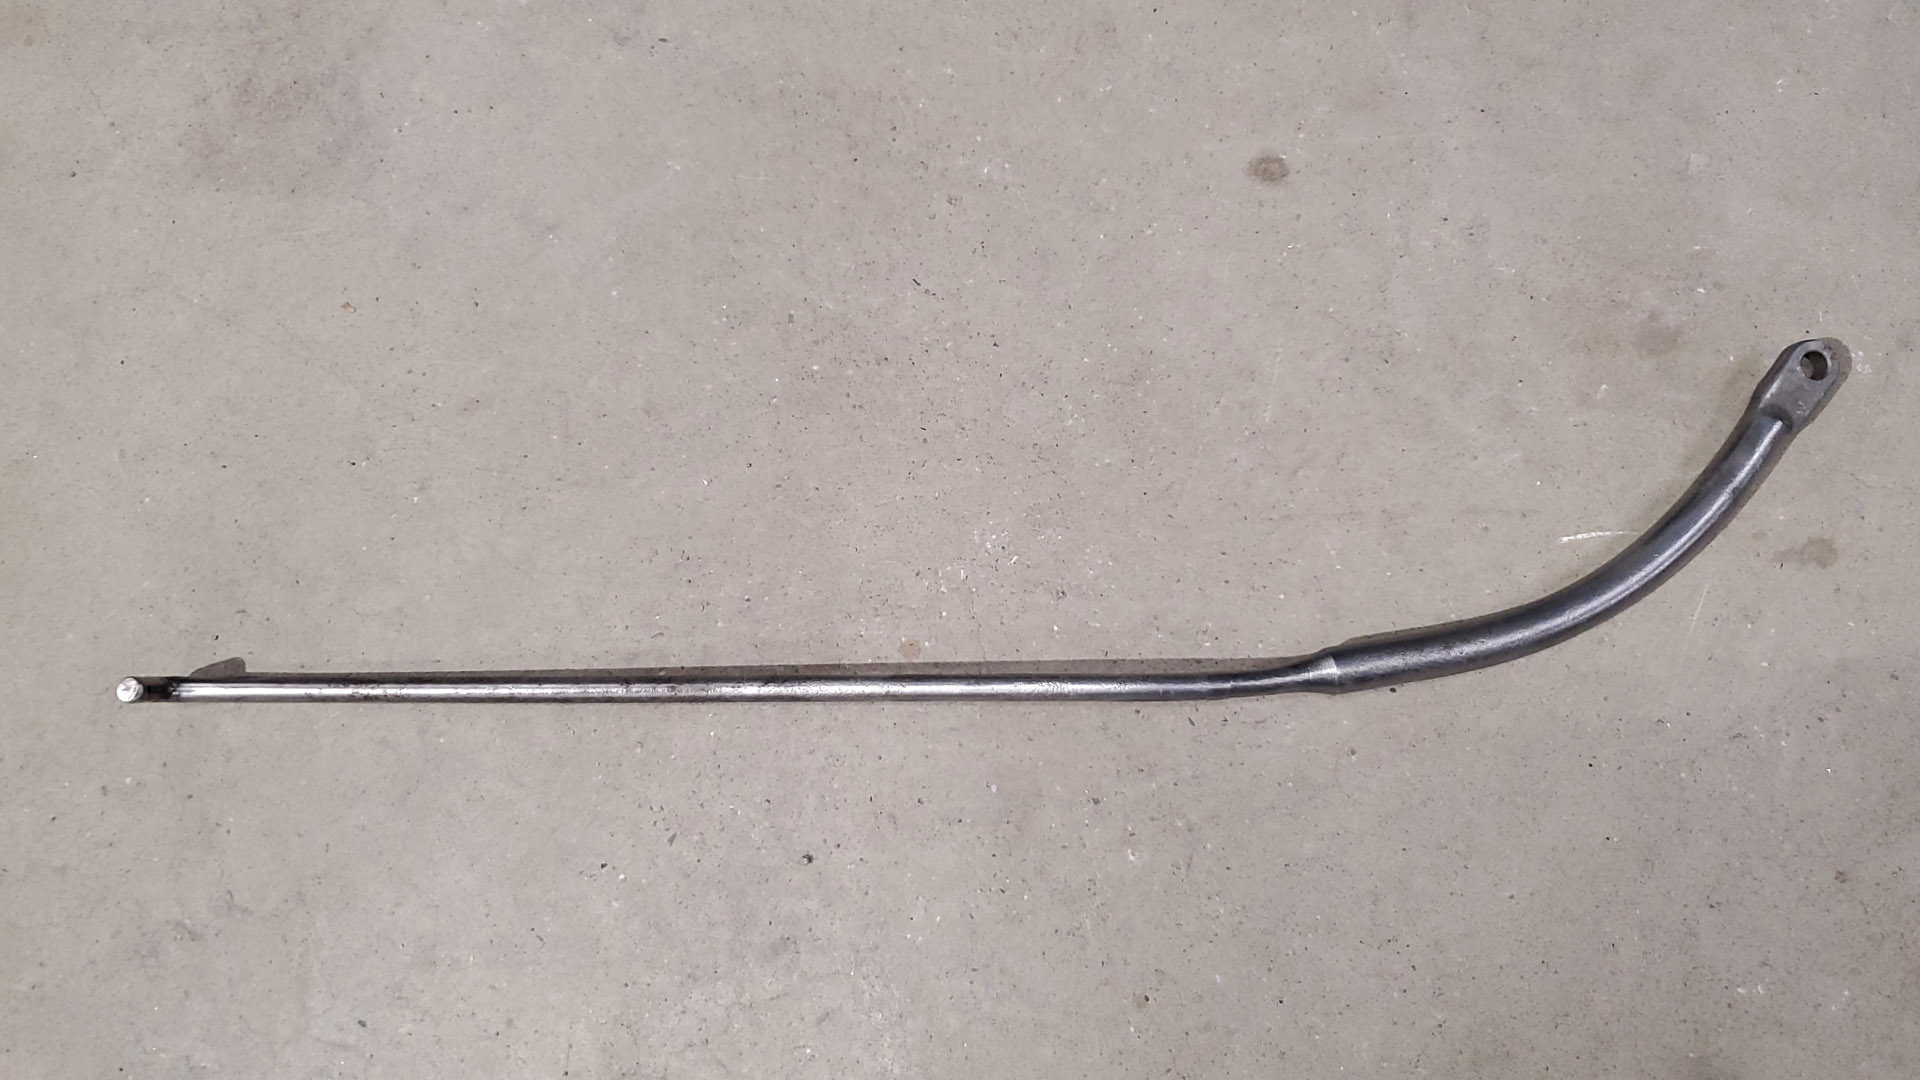


The pivot point where it connects for the dual carb linkage is much lower and farther back on this 235 engine. The excess length of the rod is put to use with a couple of bends. It looks wonky but the travel and geometry is maintained so that the rod does not rub through the cab floor. If this had been a stock single carb setup then the rod would only have needed to be shortened a couple of inches.
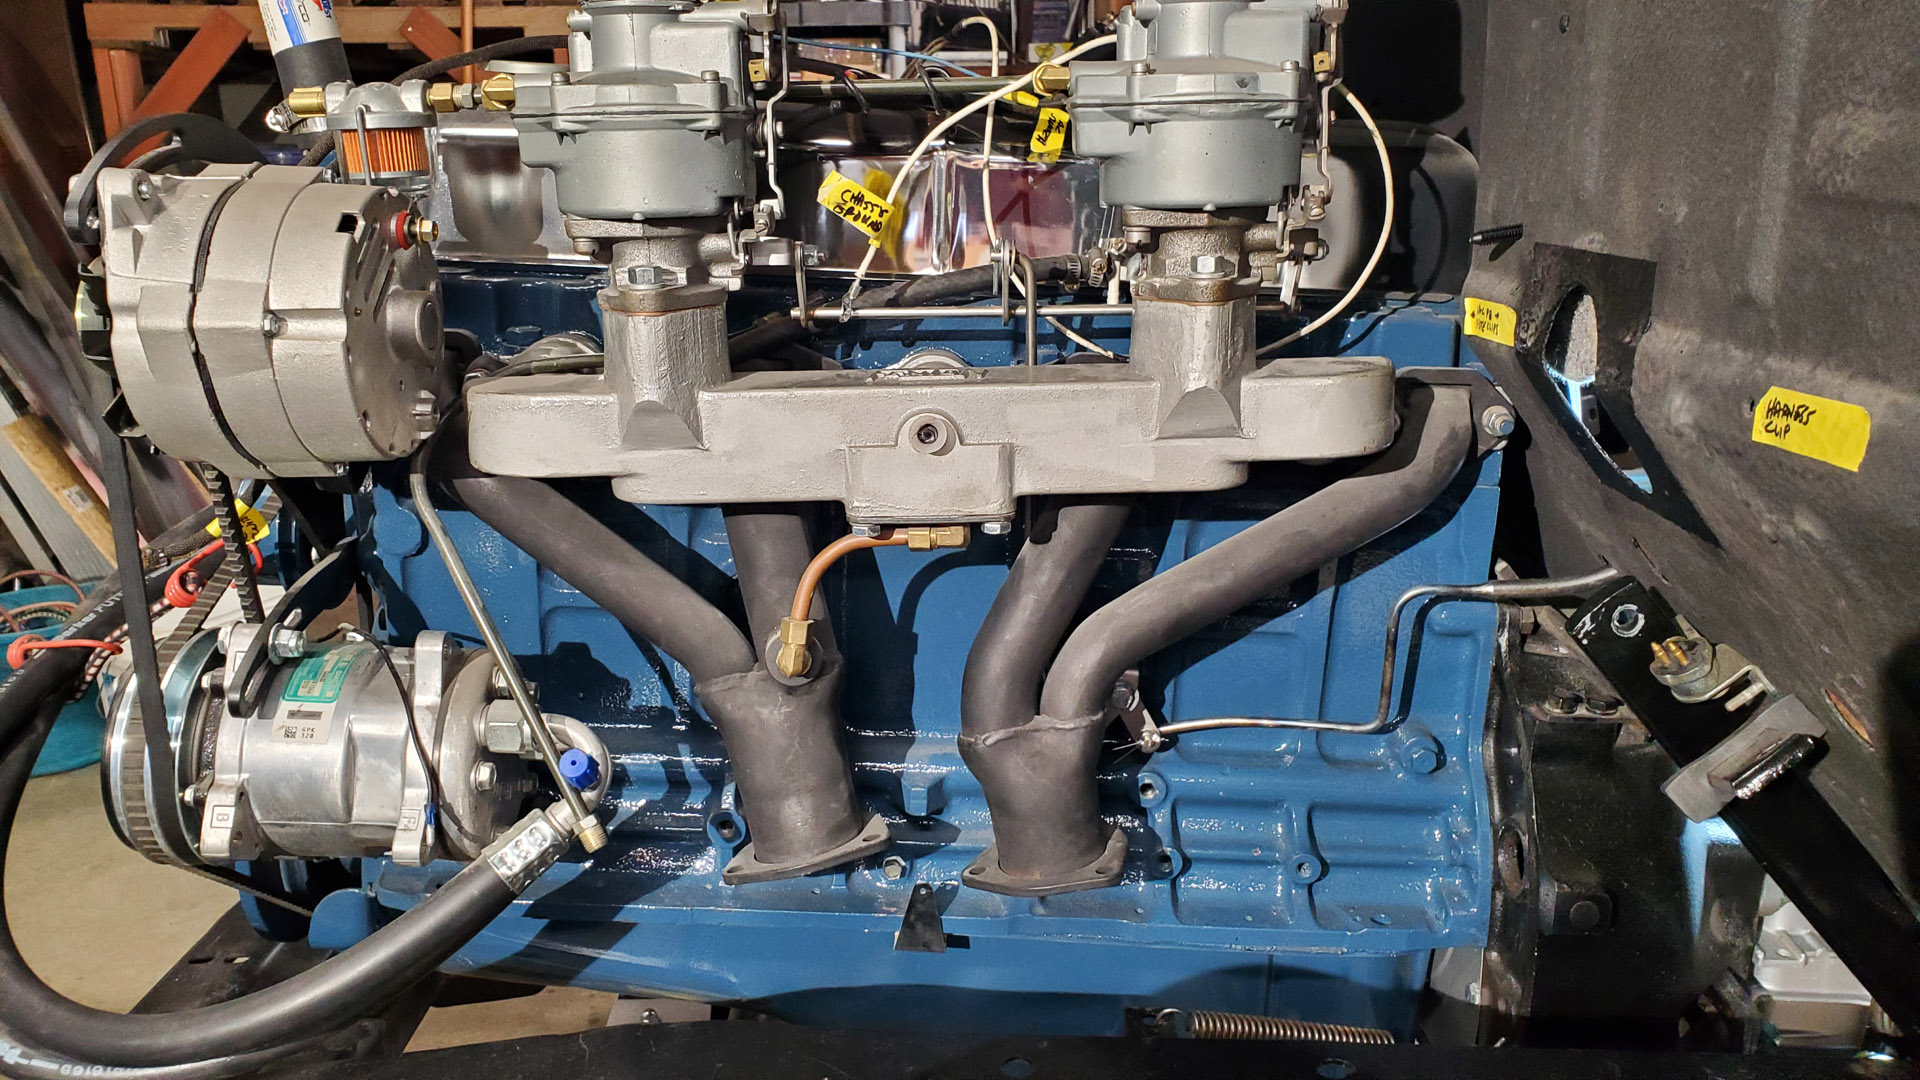


Yes, the rod could have been cut, shortened, and angled down for a more direct approach, but where's the fun in that?
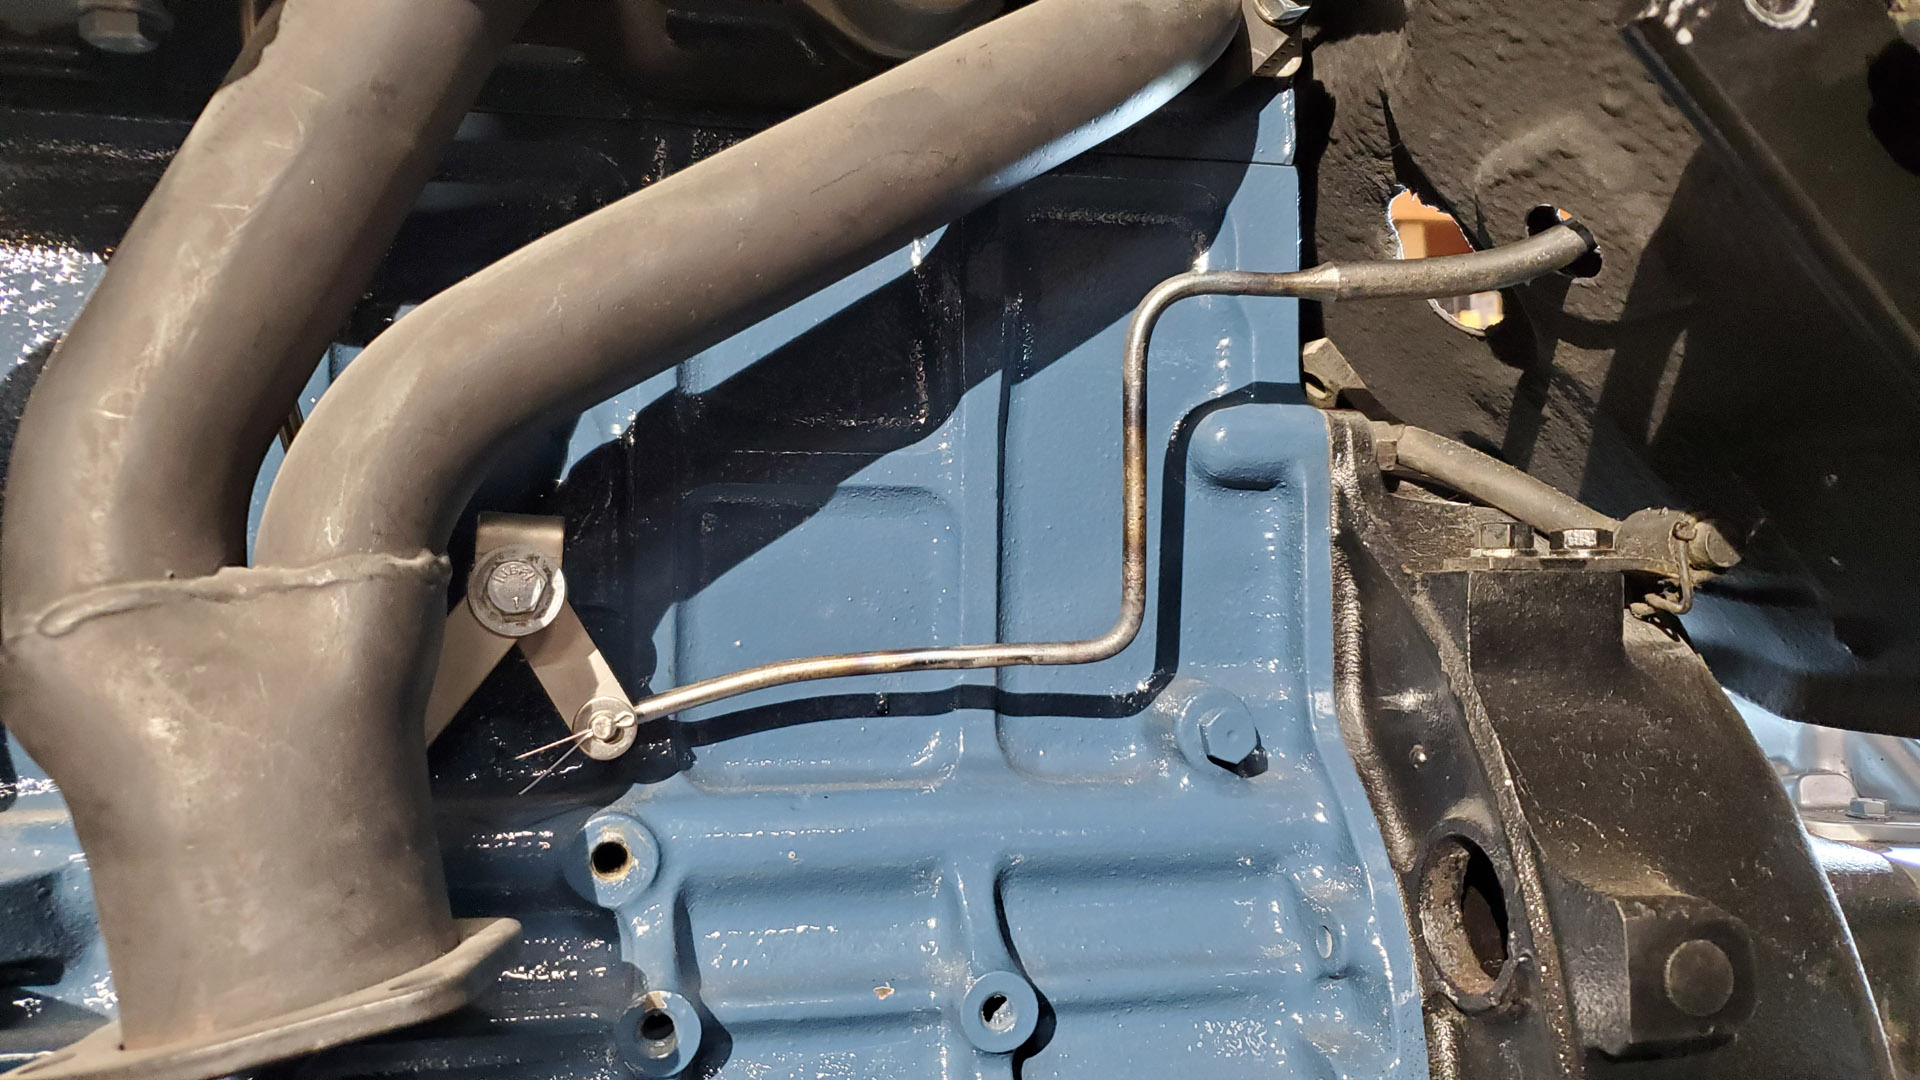


Consistent with the plan to assemble the dash from the firewall out, the next system was wipers. Originally I had planned to replace the vacuum wiper motor (which was missing some bits) with an electric wiper motor conversion.
Vacuum motors run on a vacuum signal supplied by the engine. While they're kinda neat from a nostalgic perspective, there are some drawbacks: The engine has to be running. Under hard acceleration or if pulling a hill, engine vacuum naturally drops - which means the wiper motor will slow or stop completely!
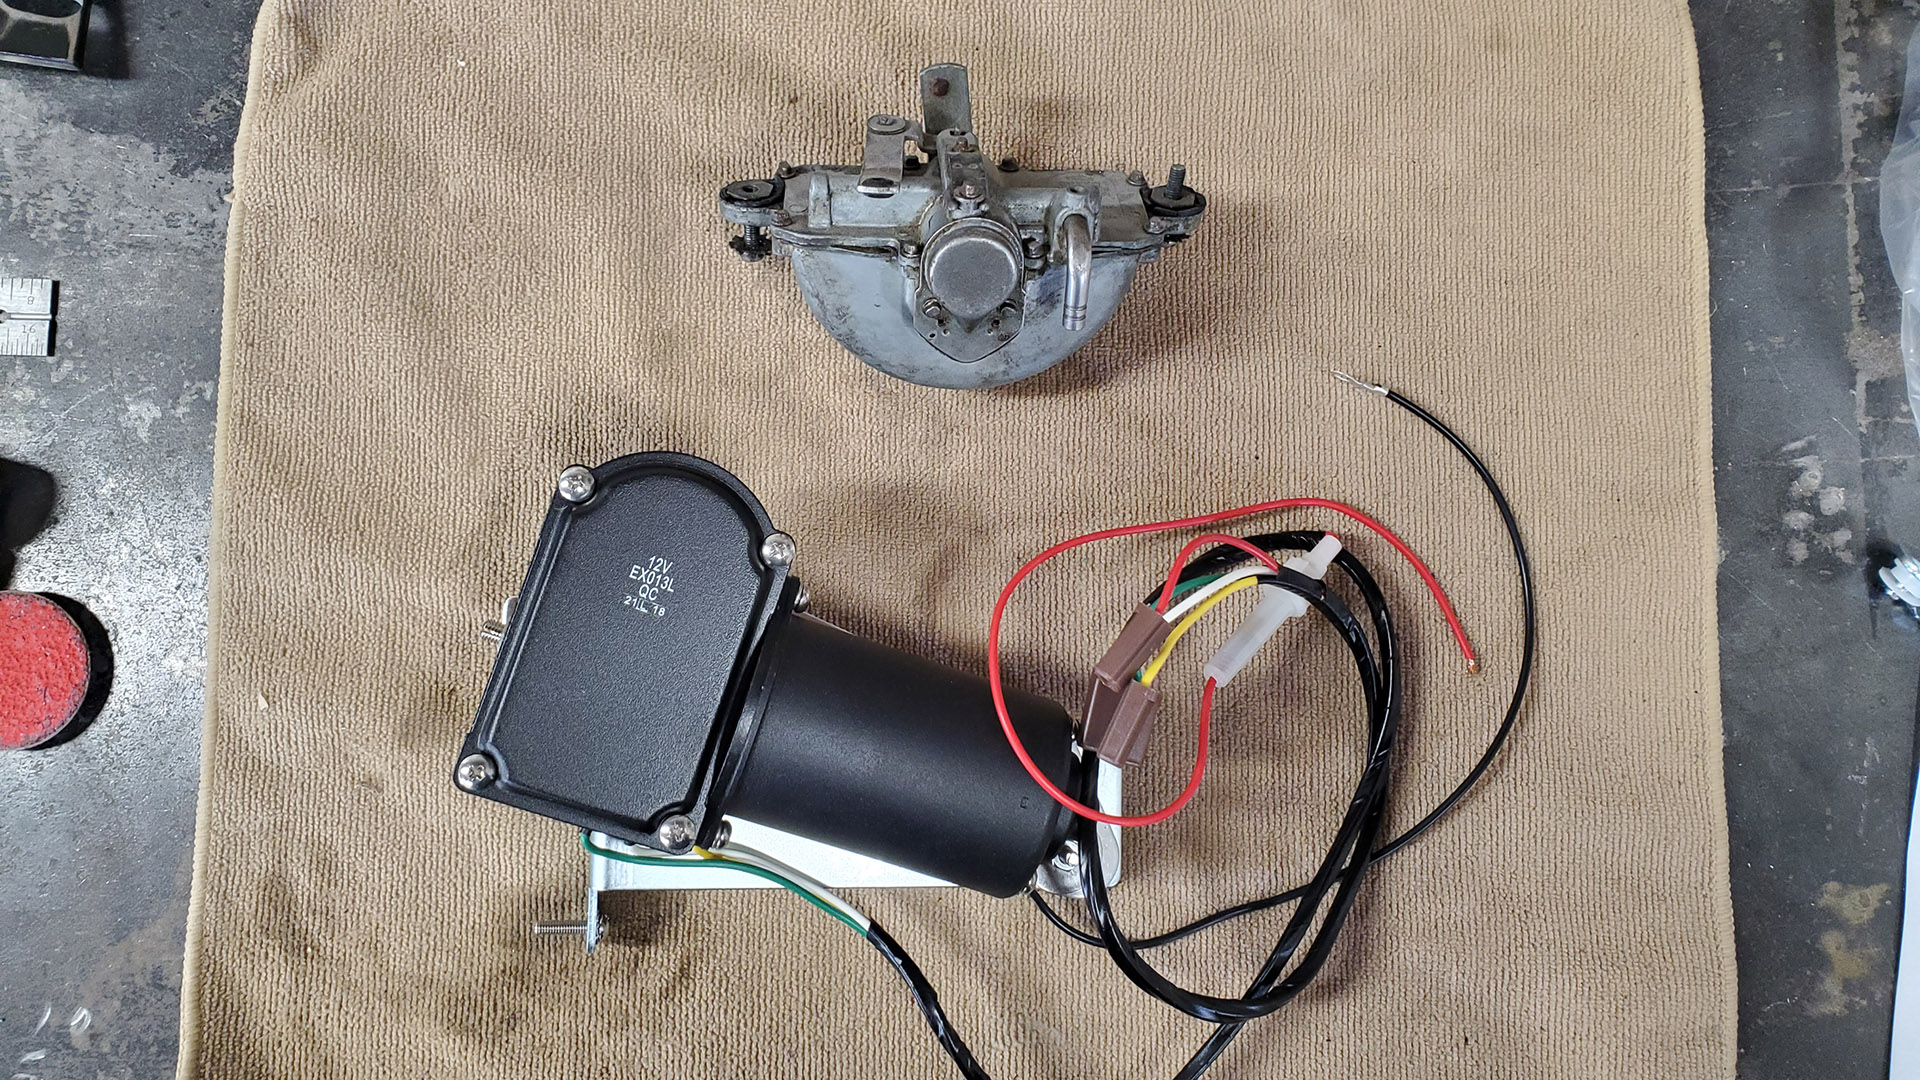


As it turns out, a test fit of this particular conversion kit indicated that it not only interfered with other things behind the dash, the wiper linkage did not connect to the motor in a secure fashion. It was poorly engineered and downright hokey in places. It was also spendy, though not as spendy as a better kit.
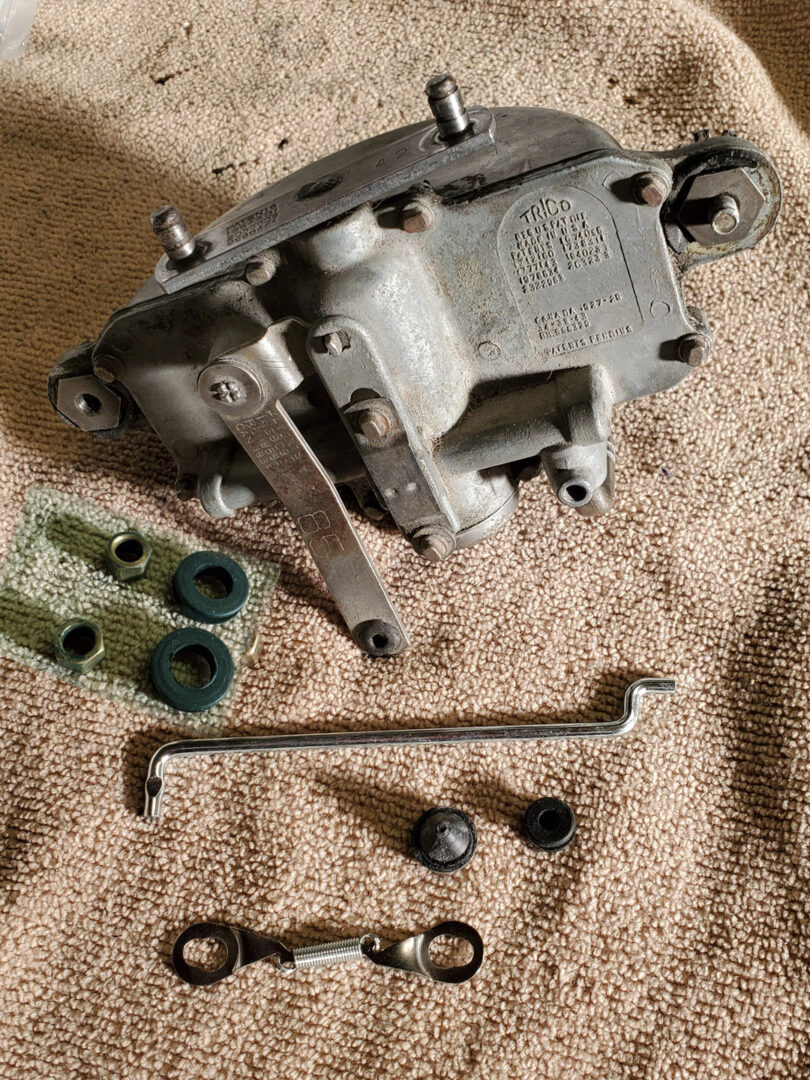
I pulled the lowly vacuum motor out of a box of parts and connected a vacuum pump to it. Low and behold, it still worked! If I could round up all the missing bits, the conversion kit was going back for a refund. I could, so that's what I did.
All it needed were new rubber linkage bushings, a control rod with its own bushings, and a mechanical 'switch' to control it from the dash. Most of this, except for the switch, is available as reproduction parts. The switch is NOS and scored on E-Bag.


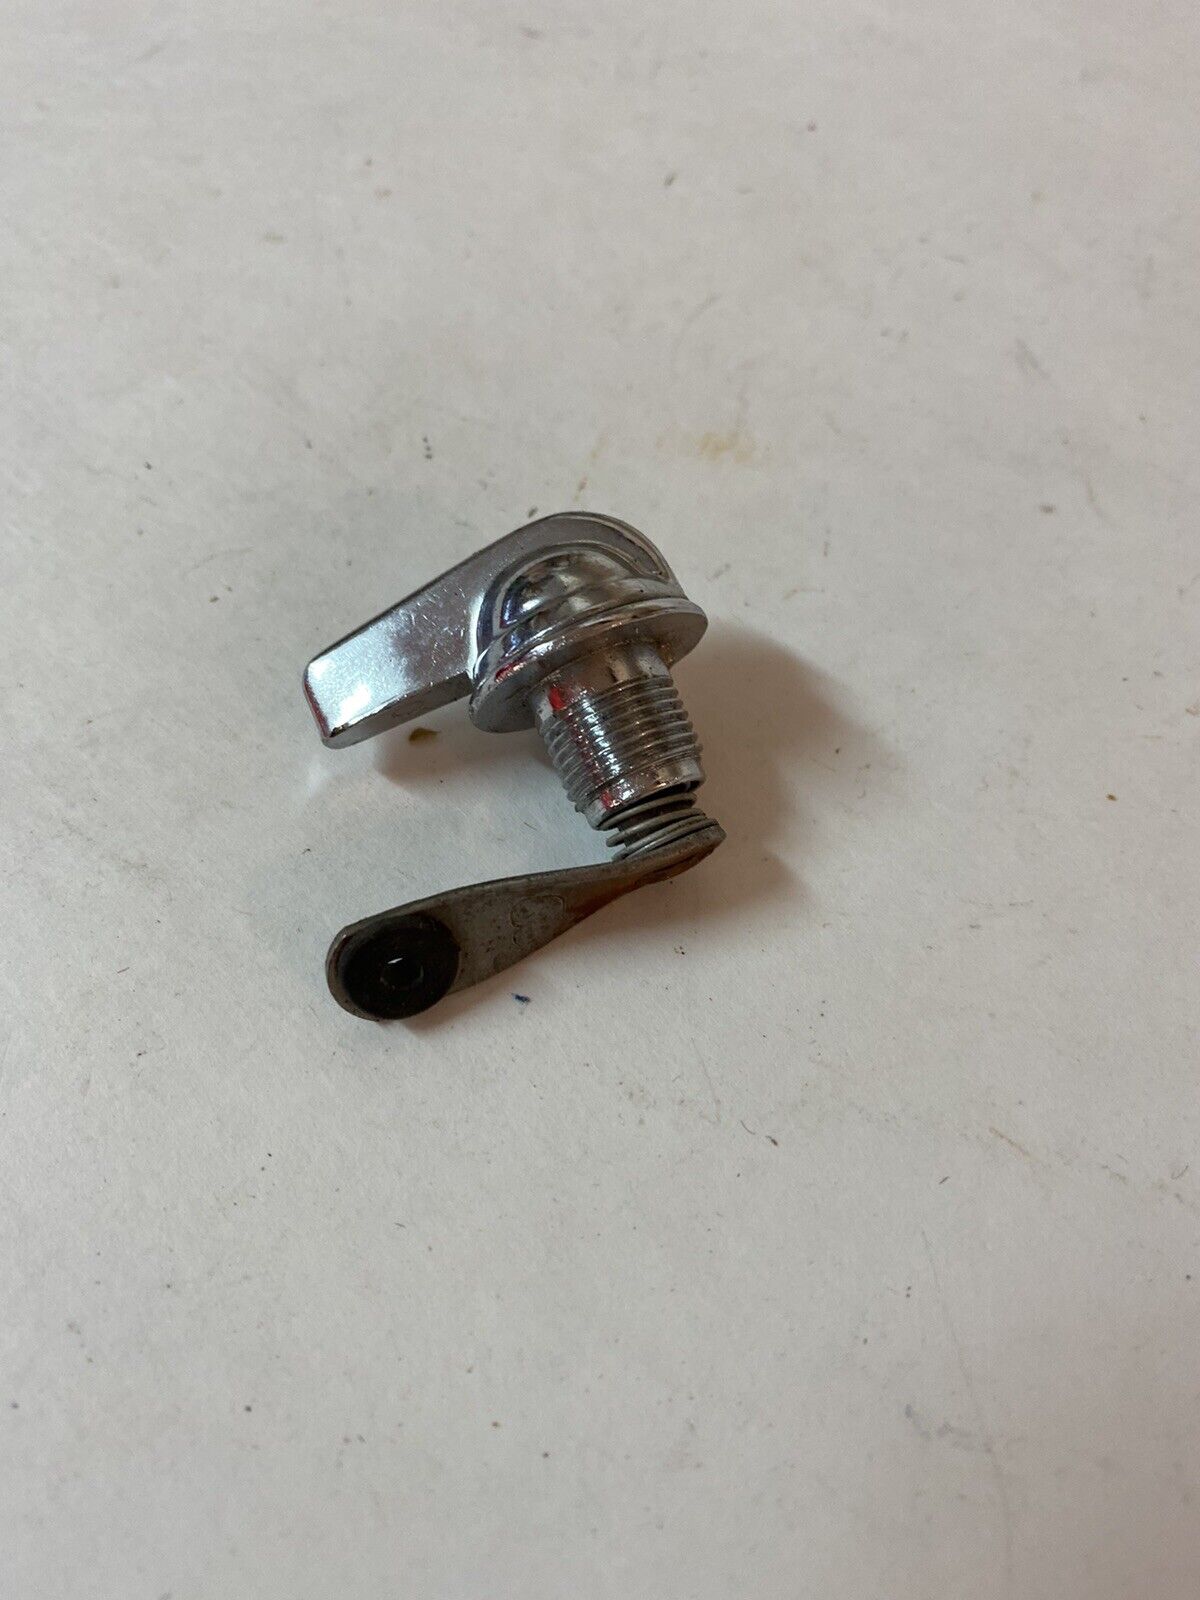


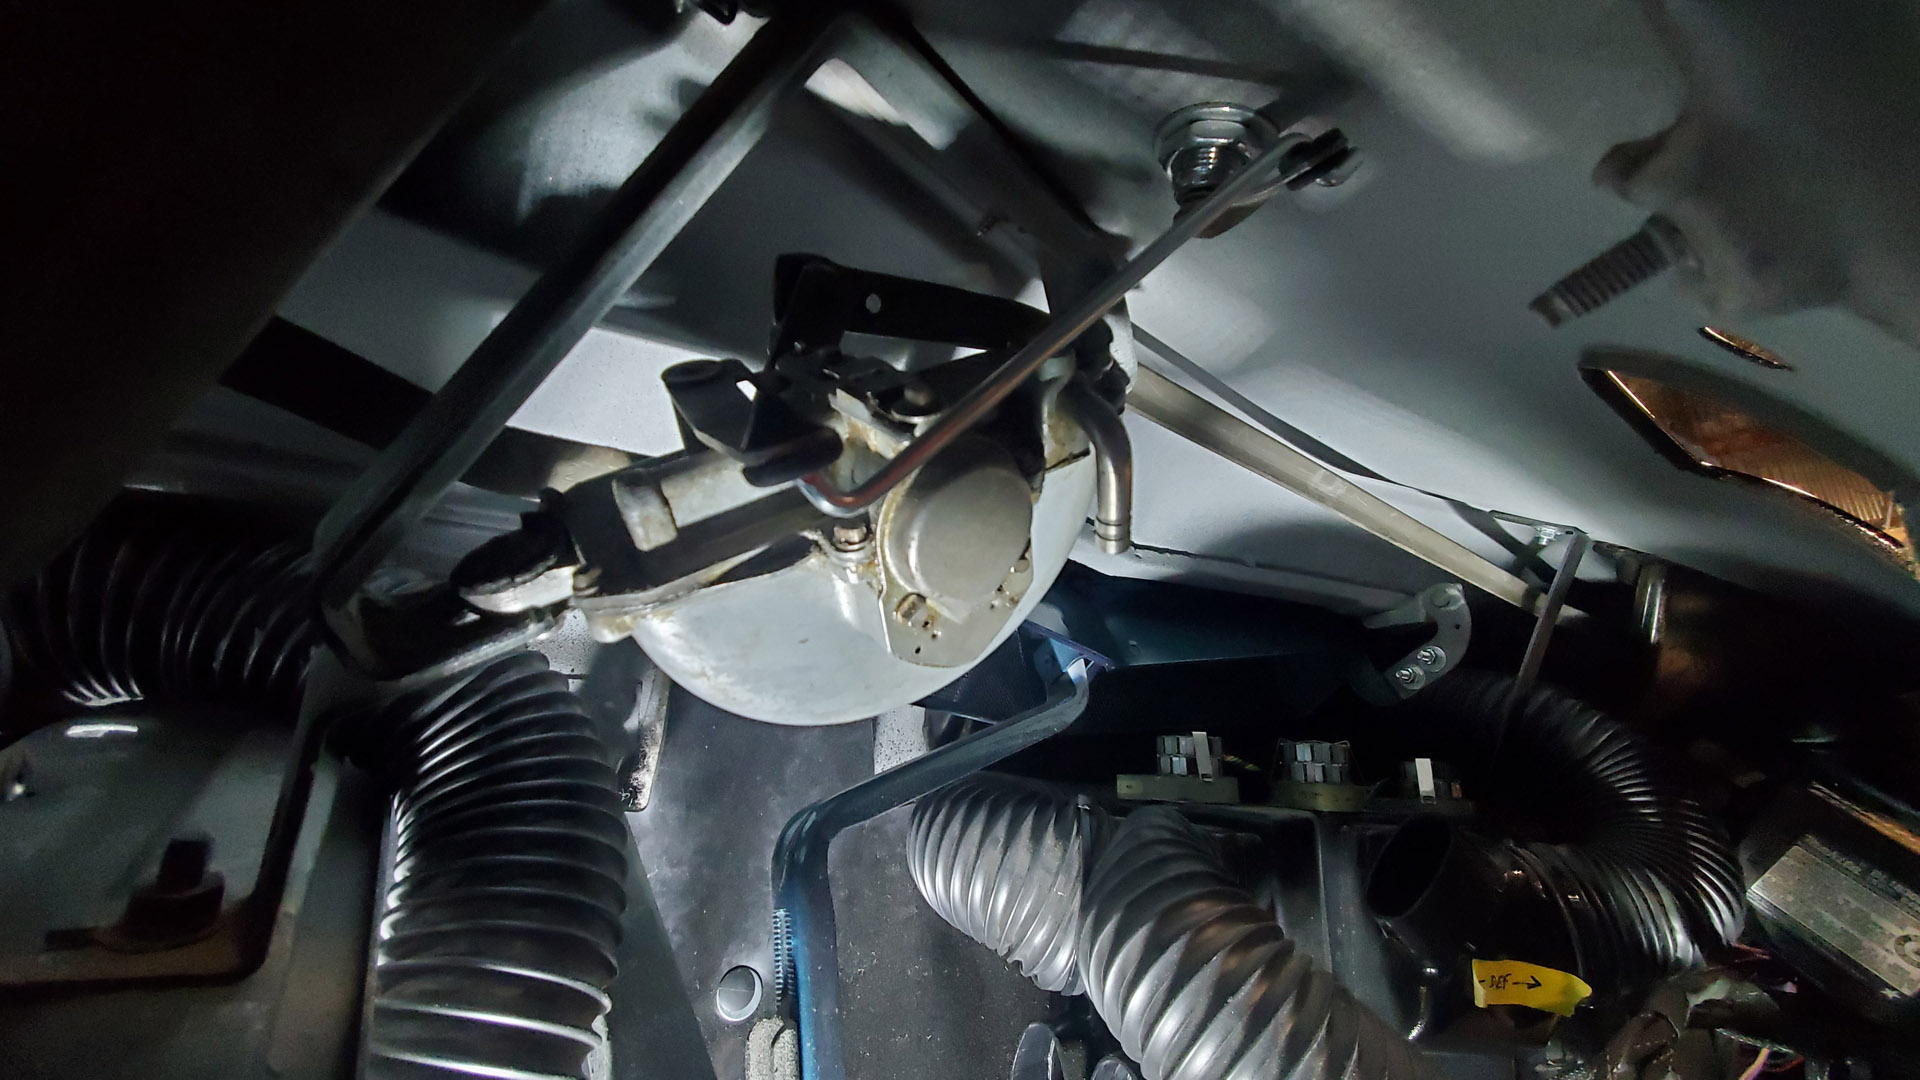


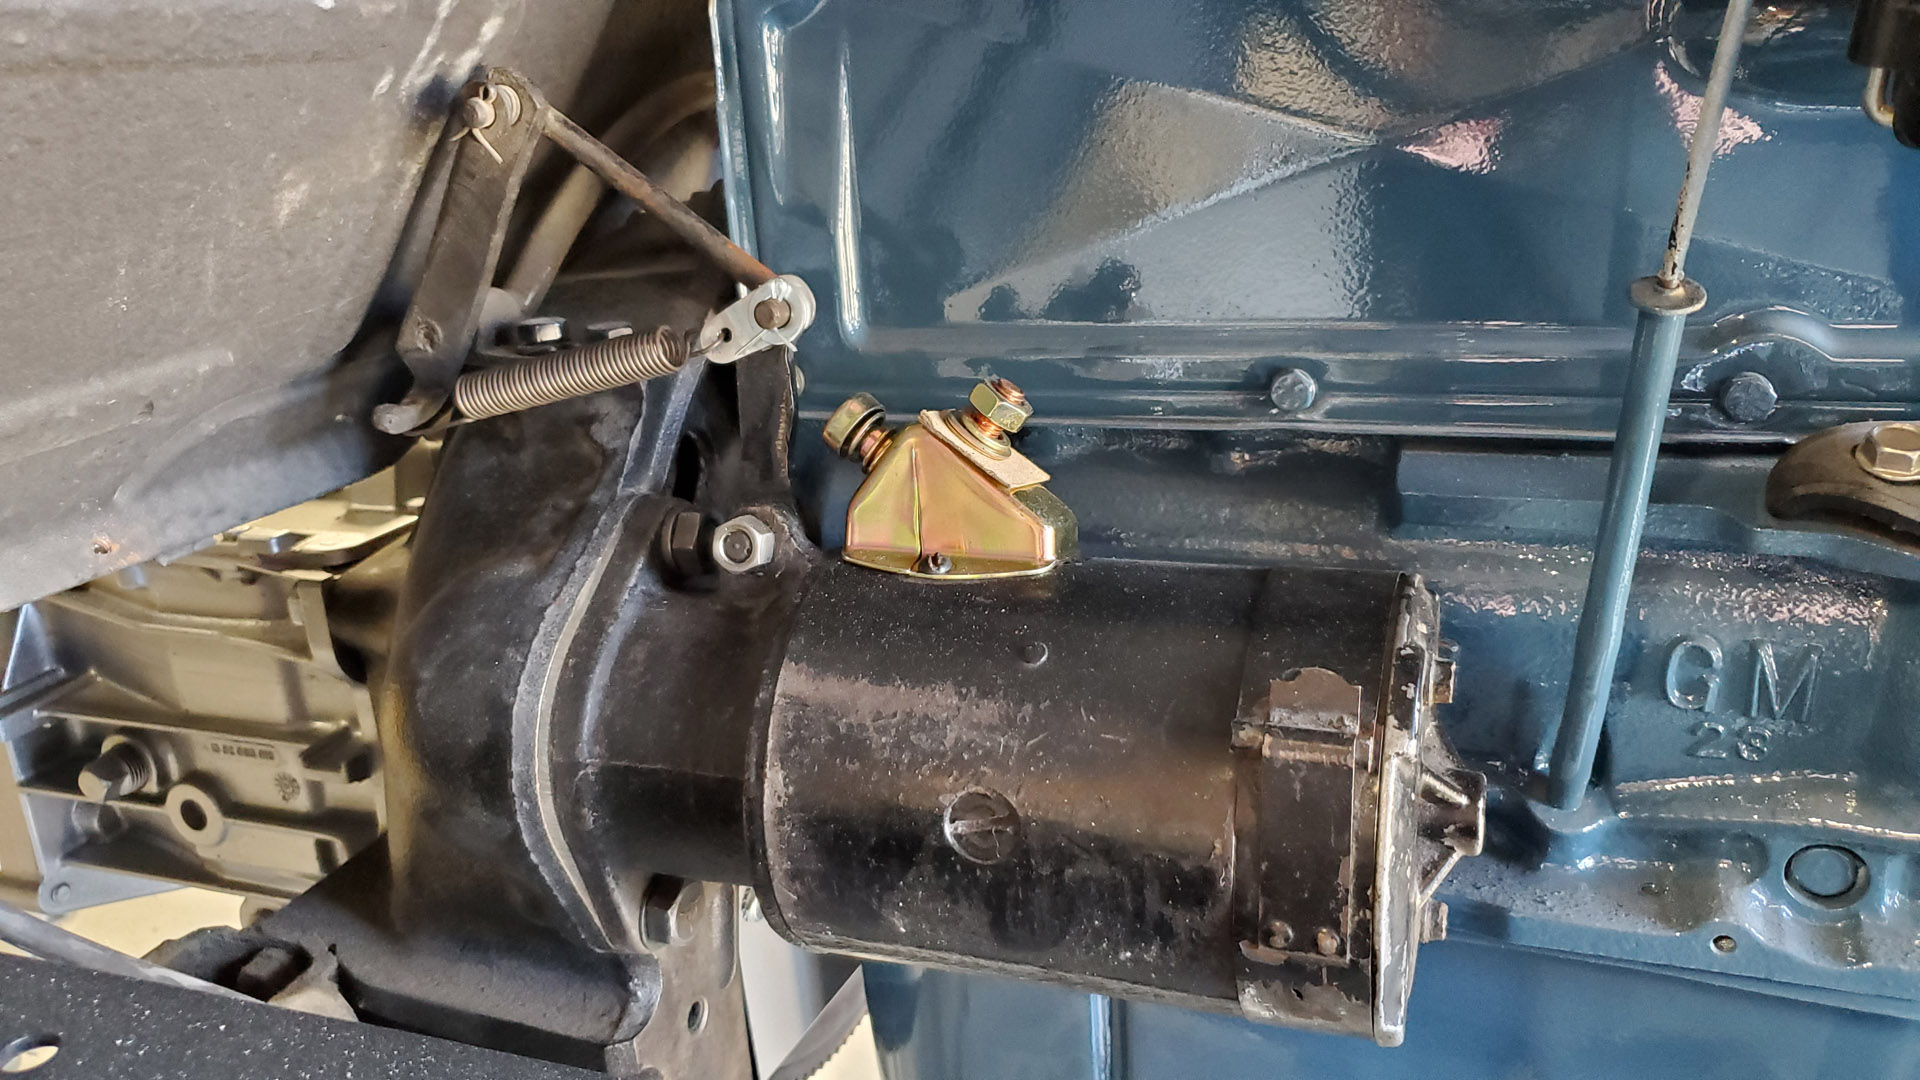
I pulled the original style 'foot stomp' starter motor off for bench testing to make sure it still energizes the way it's supposed to. It worked, but not reliably.
Yes, this is high-tech stuff (1930's through the early 1950's) involving a pedal with rods, springs, and levers. At the end of the linkage a lever on the starter motor pushes a button that closes contacts at the battery connection and energizes it. Whew!
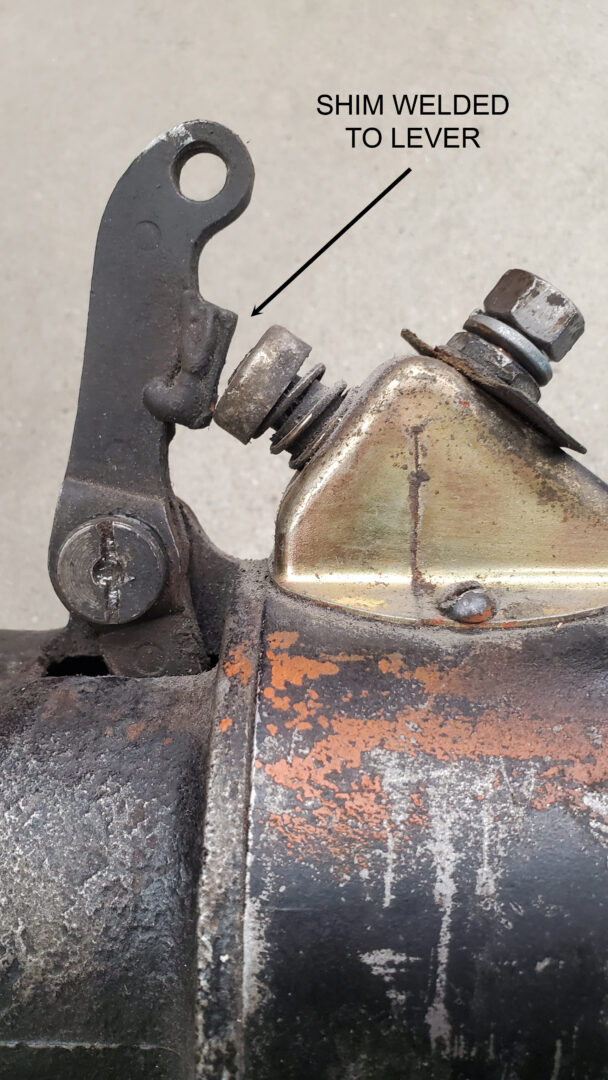
I noticed someone had welded a shim to the lever, presumably to make closing the switch contacts easier.


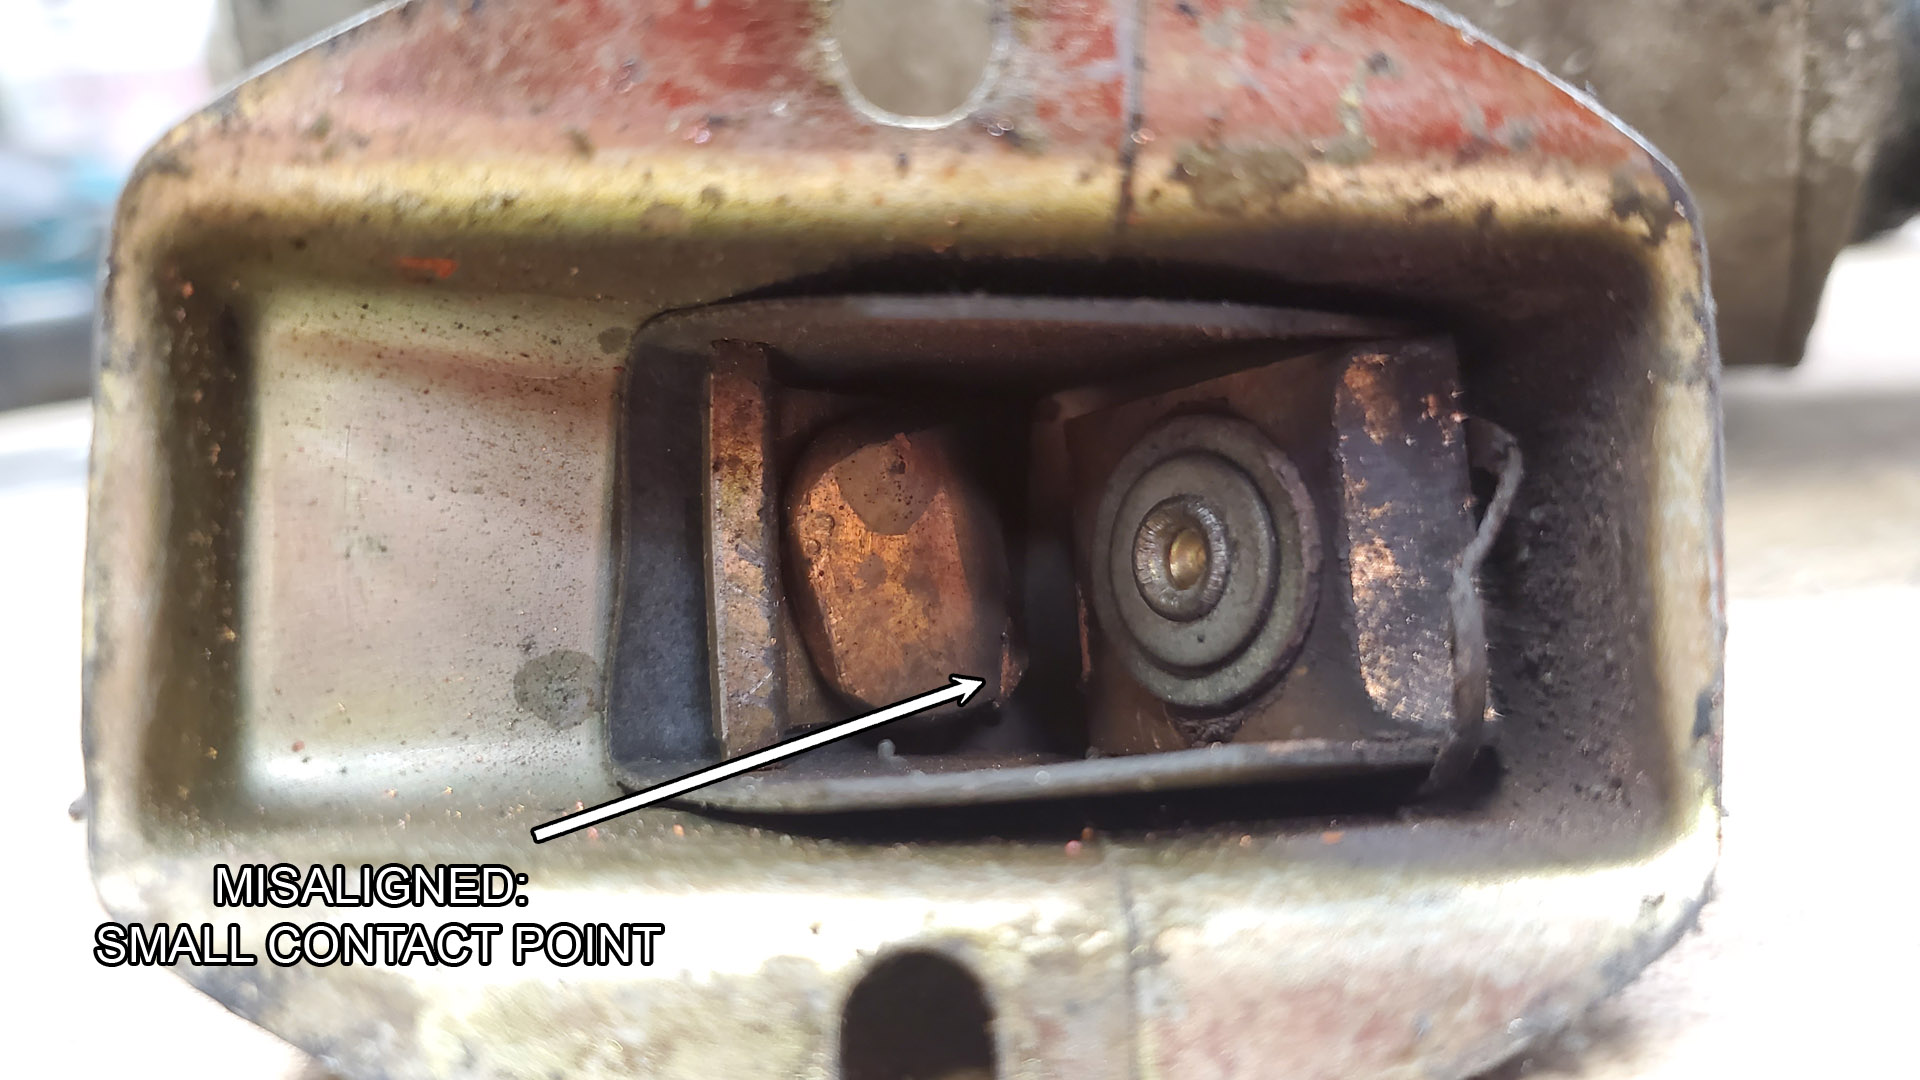
The inside of the switch was more telling. The battery stud had twisted leaving only a small and less reliable point of contact when the button is pressed.
I could have straightened it out and cleaned up the copper but the insulation, inside and out, was deteriorated. If the insulation fails and you stomp that pedal, then you have a direct short circuit from the battery to ground - lots of arcing, smoke, and fire. Not fun.


I cut the shim off the lever and installed a new switch. After adding some missing bits to the linkage, it should be good to go.


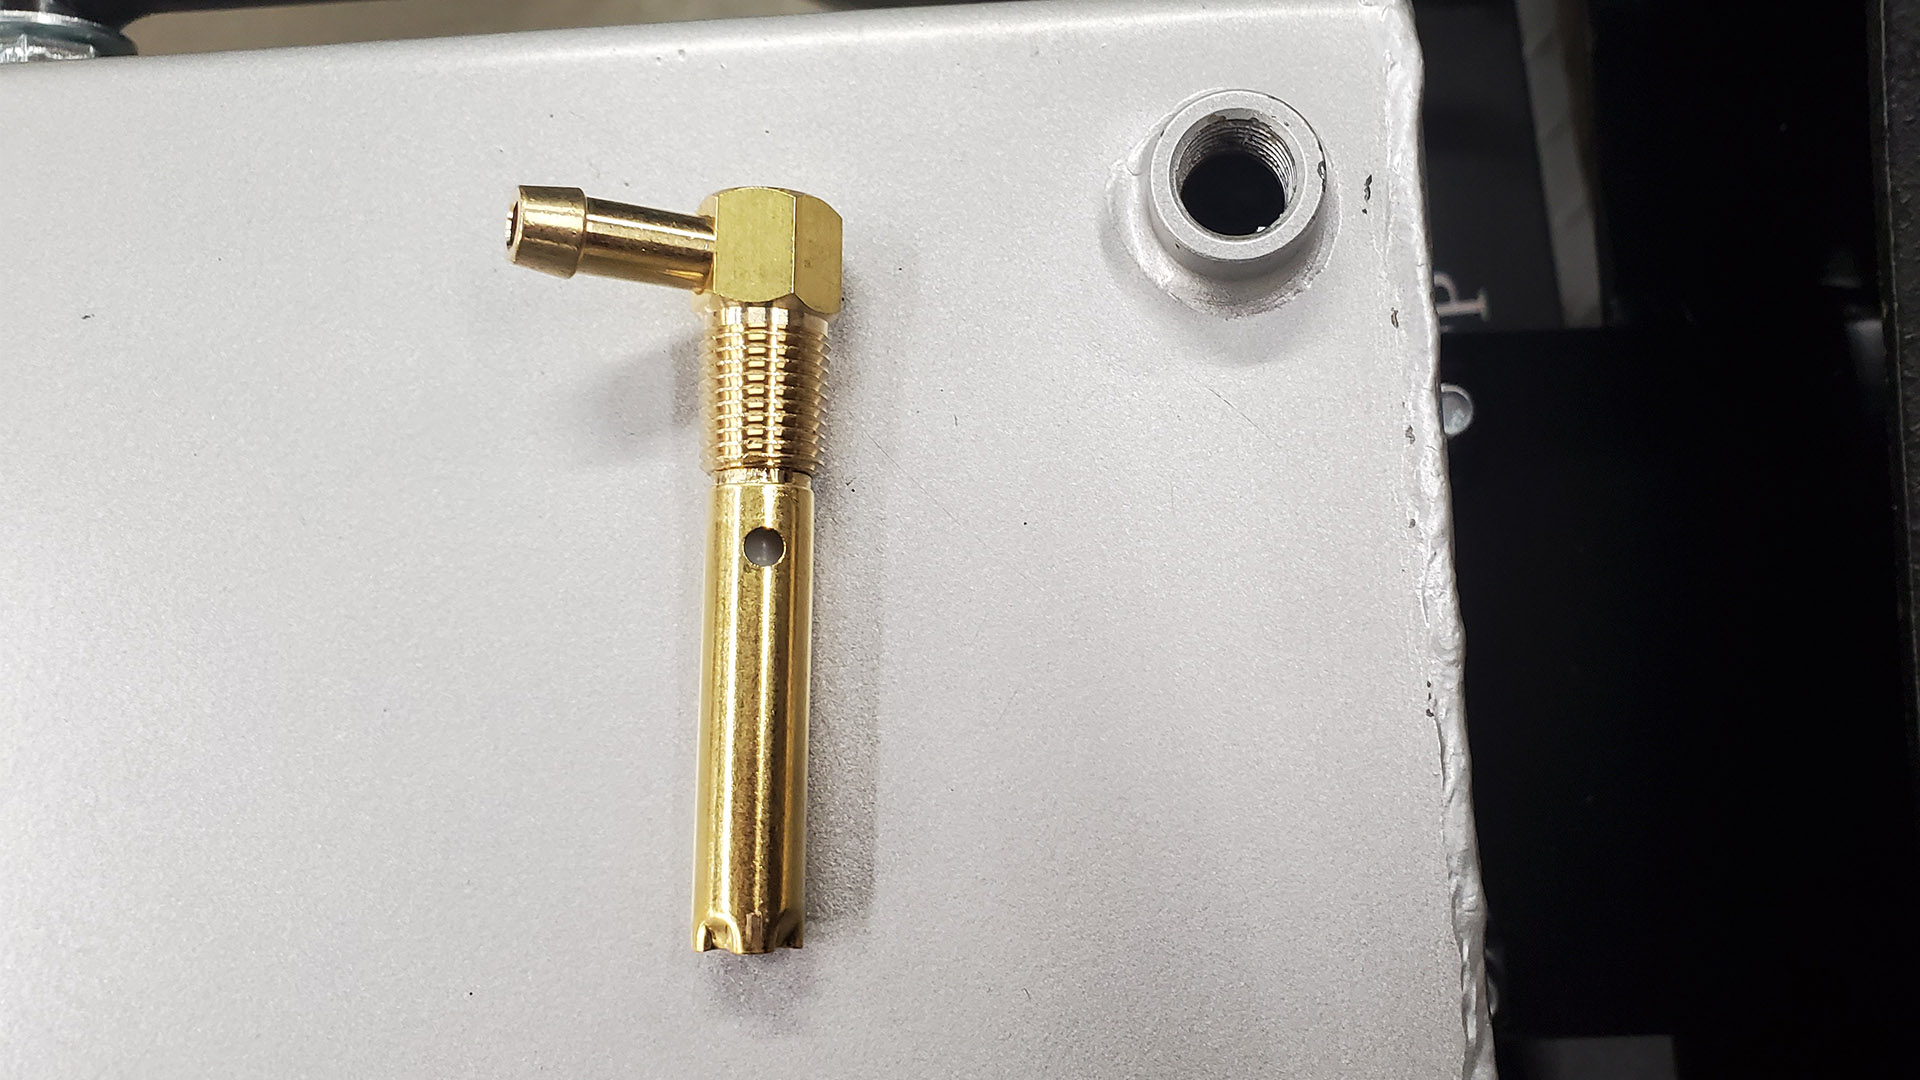
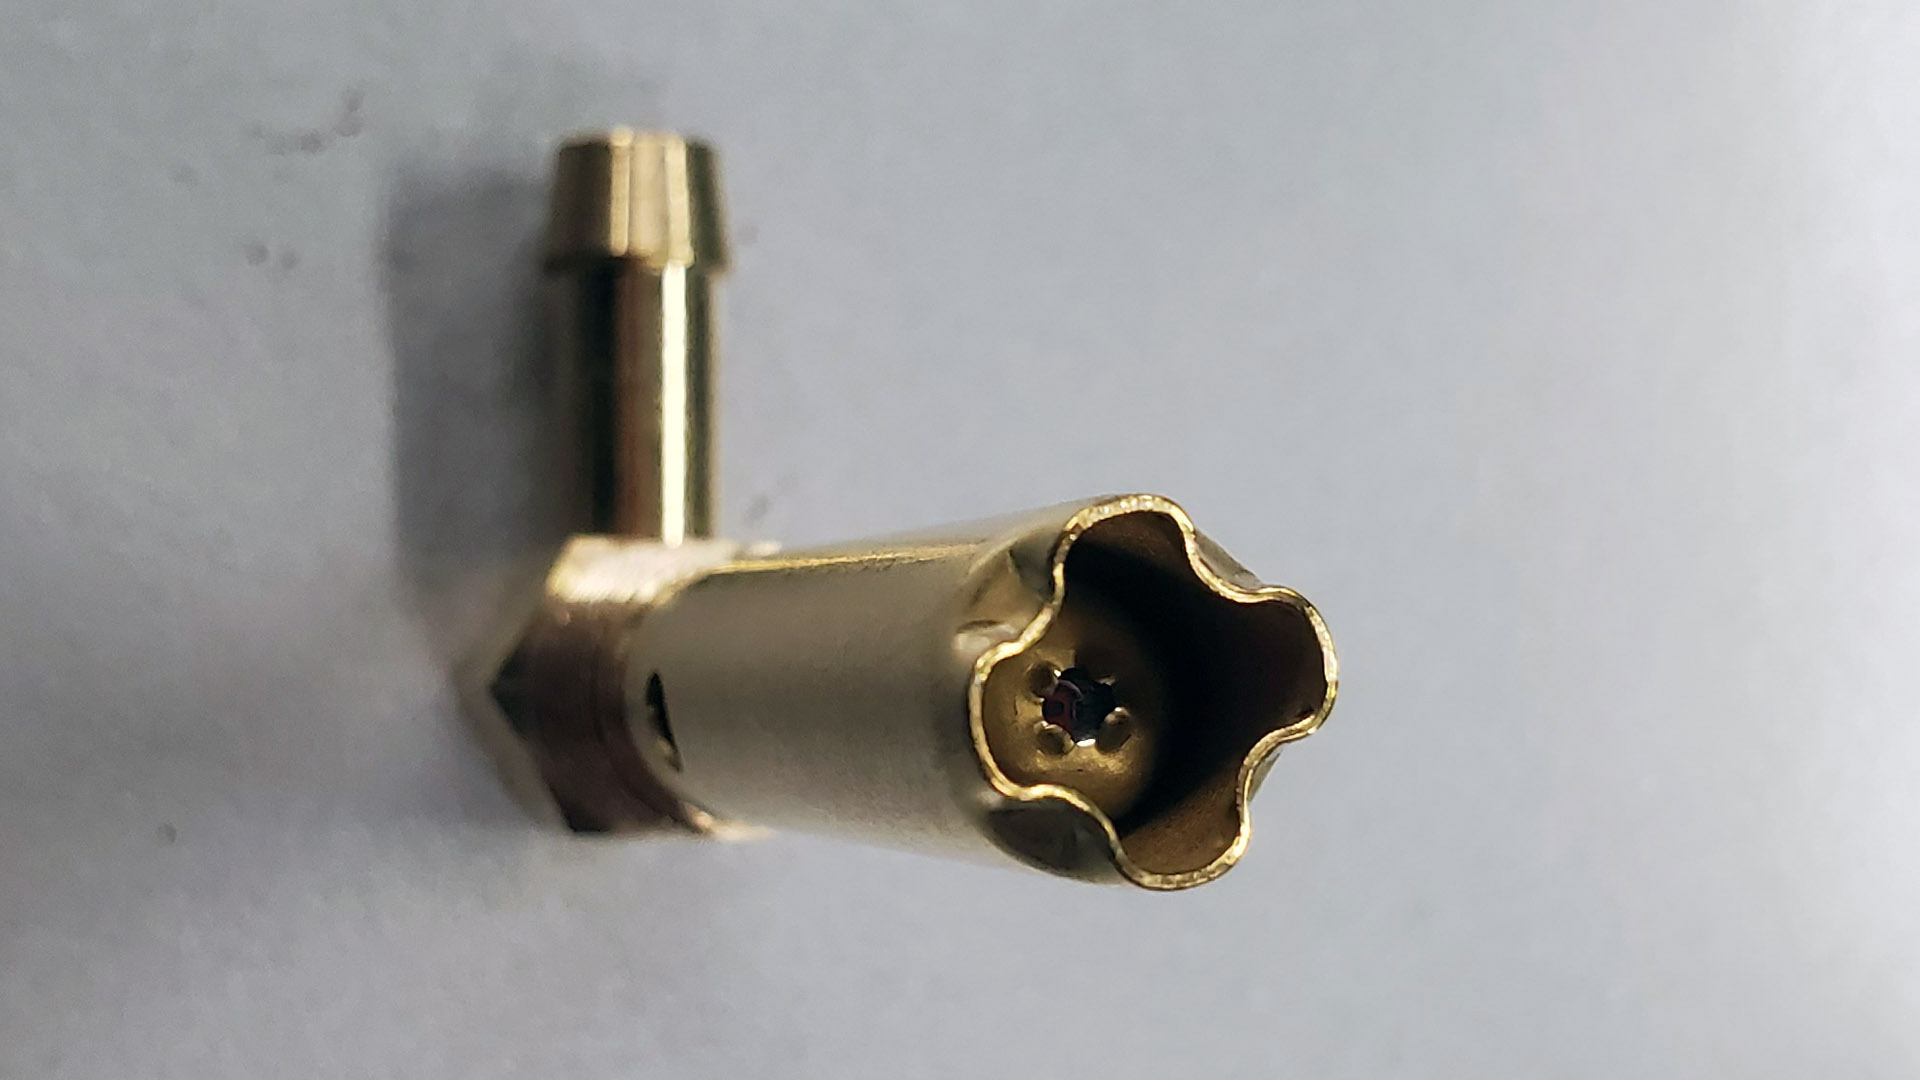
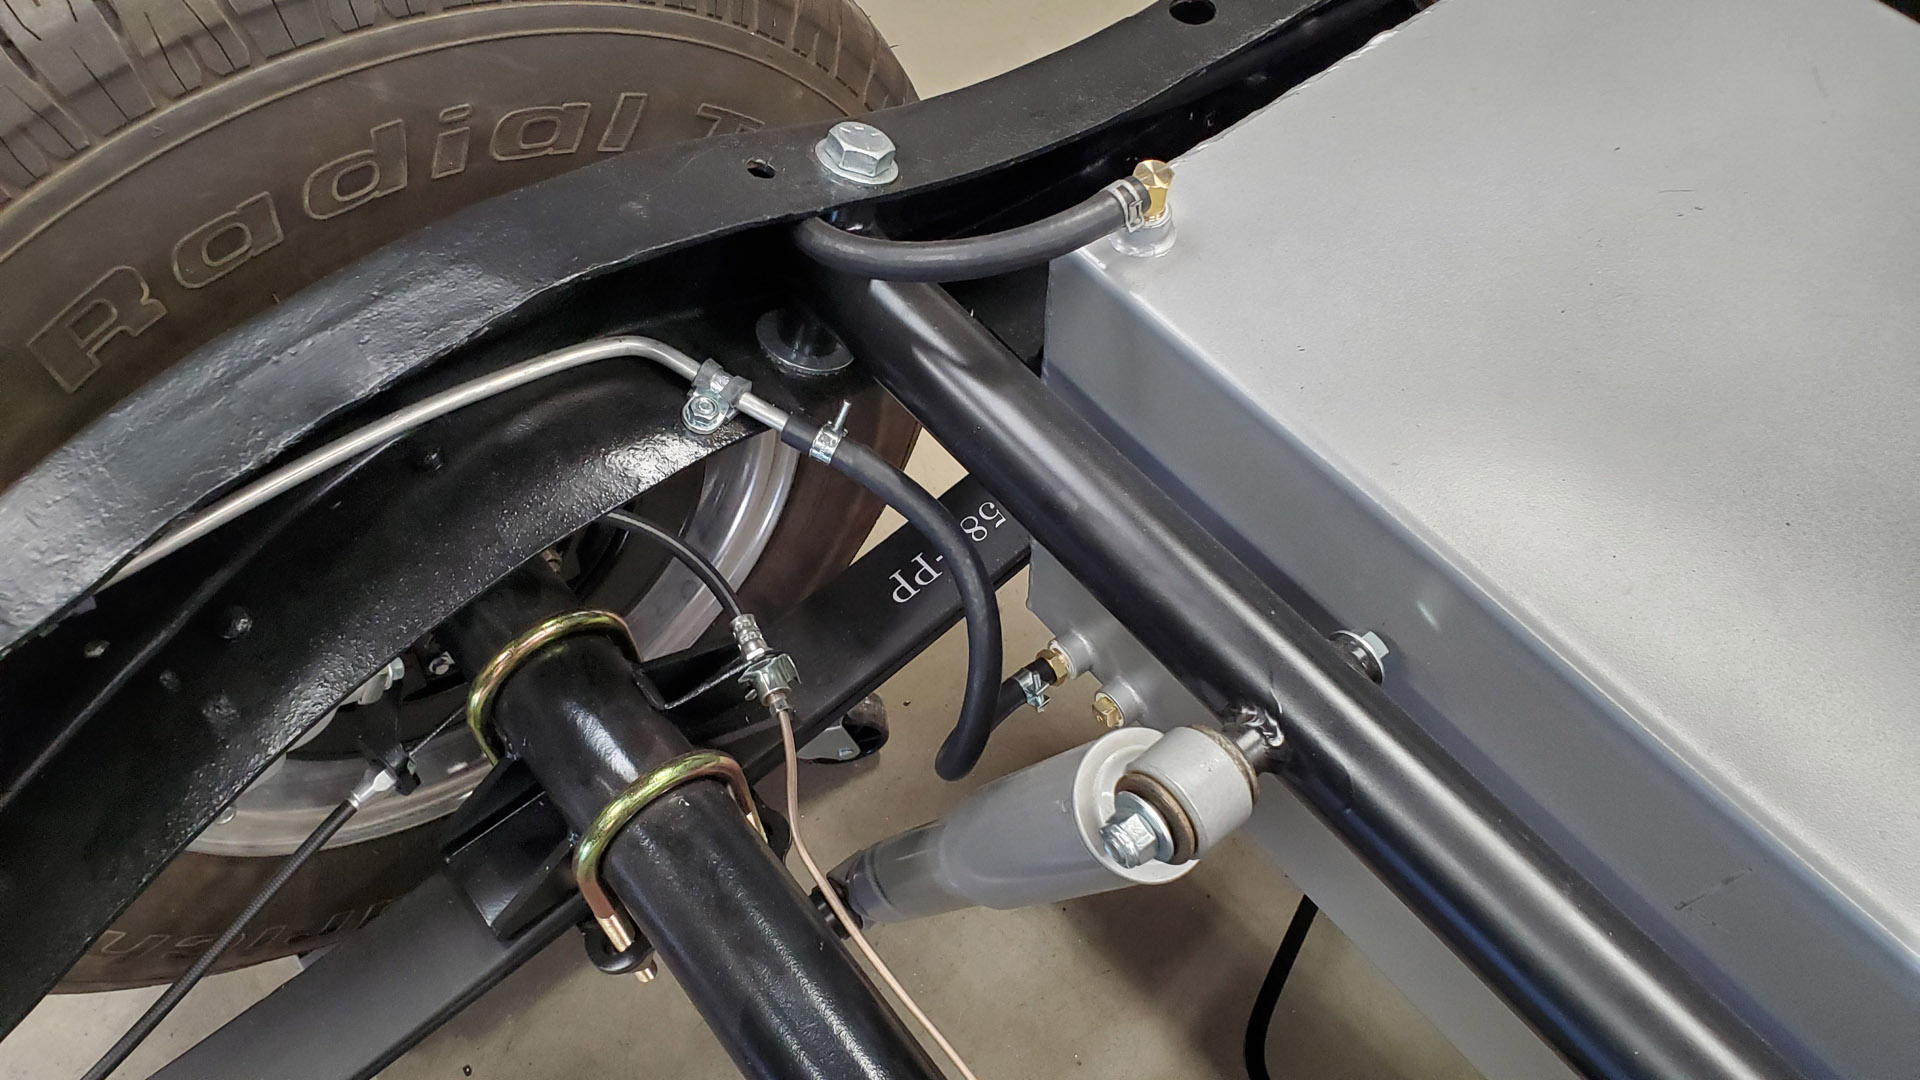
Fuel tank fittings were installed including a rollover/vent valve on top. In the albeit unlikely event of a rollover accident the valve has a check ball inside that's supposed to close and prevent fuel from spilling everywhere. The tank does need a vent so that the system will work correctly so I'm hoping the check ball will also help keep sloshing fuel from burping out. A hose to the rear will handle any incontinence.
A hard fuel line was fabbed and installed up to the fuel pump on the engine. System is now complete.






By mid March mother nature teased us with slightly warmer weather so we tackled some painting tasks. First up were the side windows with metal frames. They were rusty and crusty so they were stripped, primed, and painted gloss black with any automotive grade paint. A kick panel access cover and a couple other small bits got the treatment too.
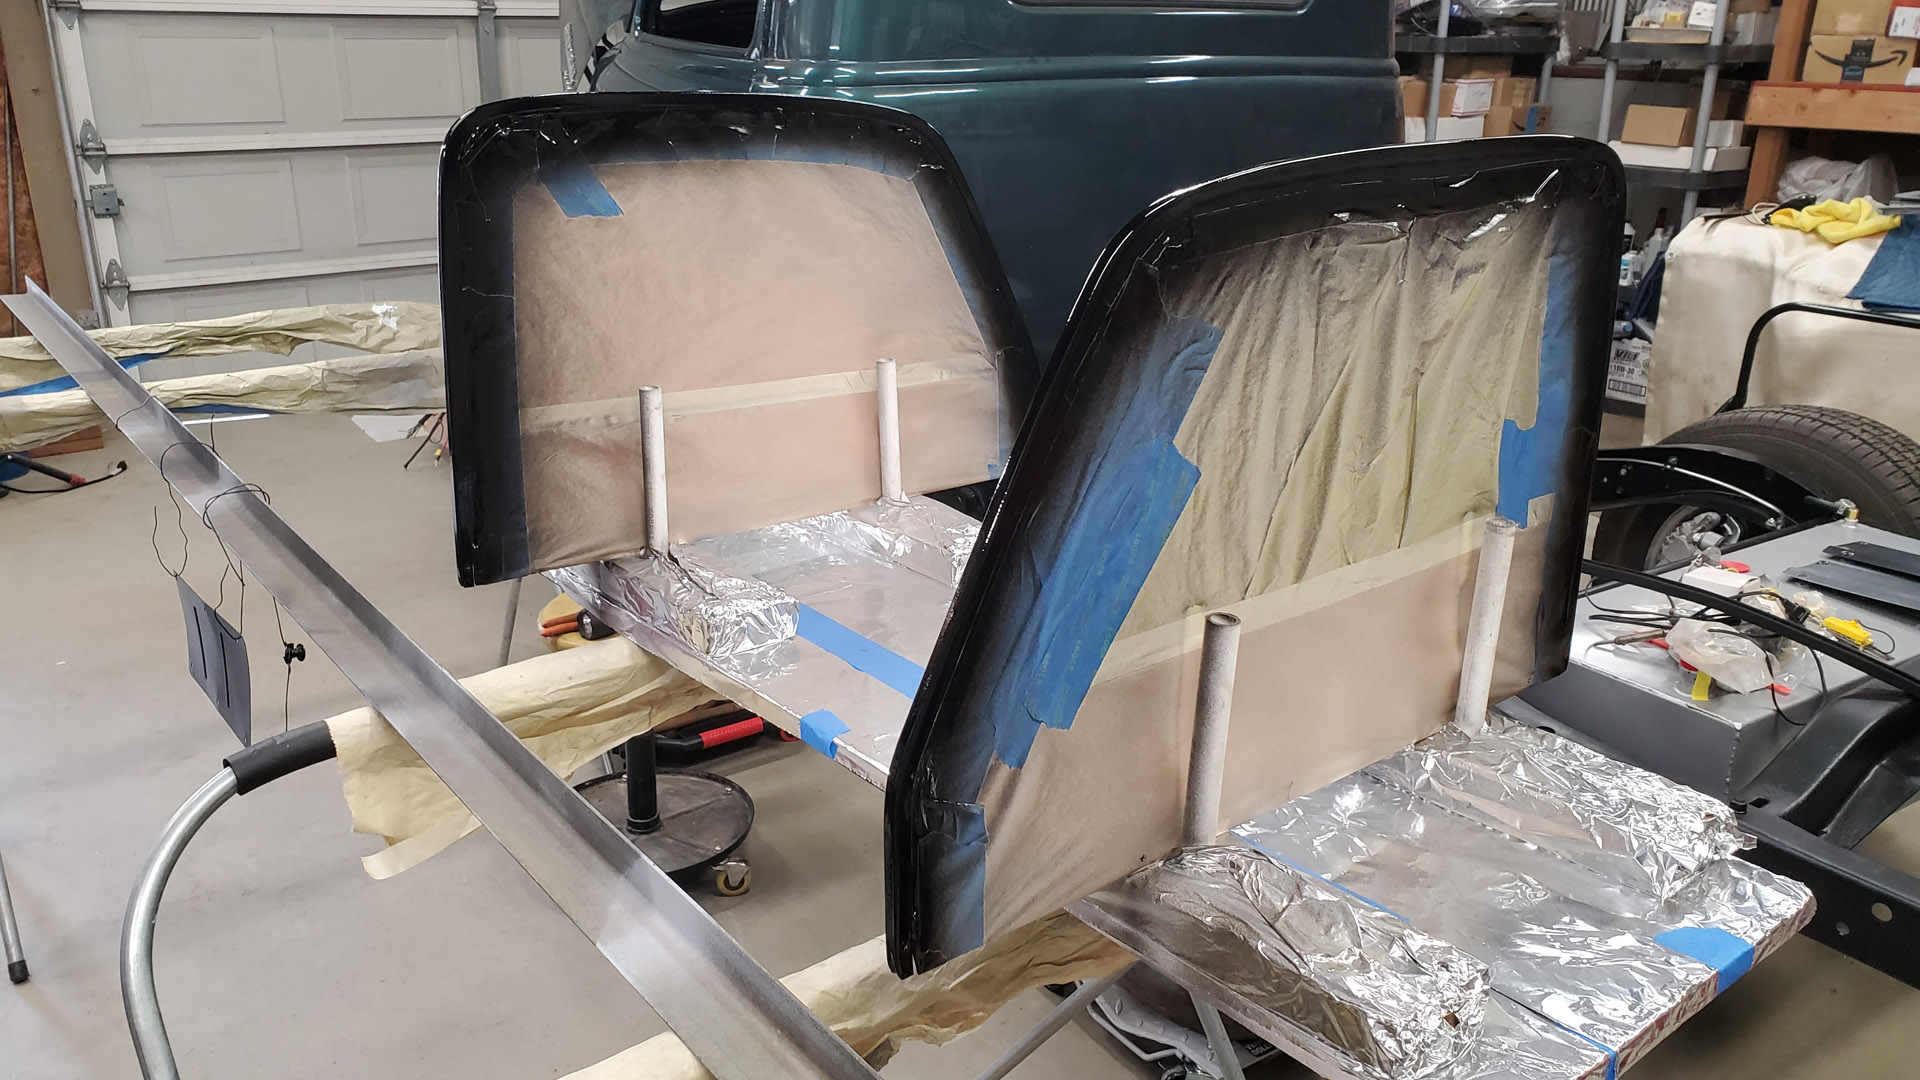


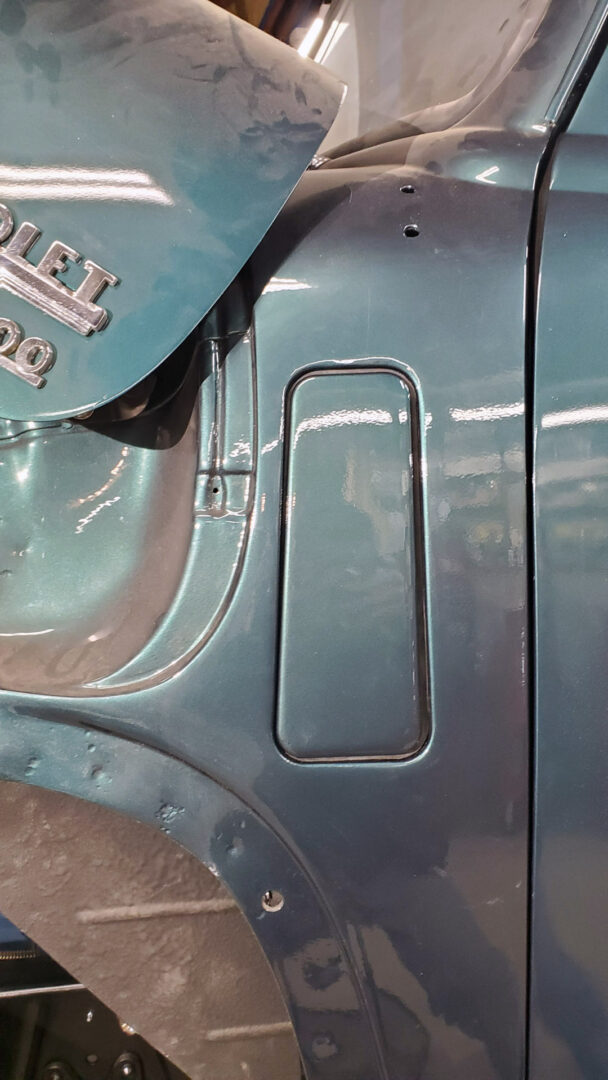
Next were parts needing a green base/clear-coat finish to match the truck. They included the garnish moldings around the inside of the windshield, garnish moldings around the side glass, some door panels, and the side cowl vent door. It's a beautiful metallic green.
All the old moldings were first stripped to bare metal.
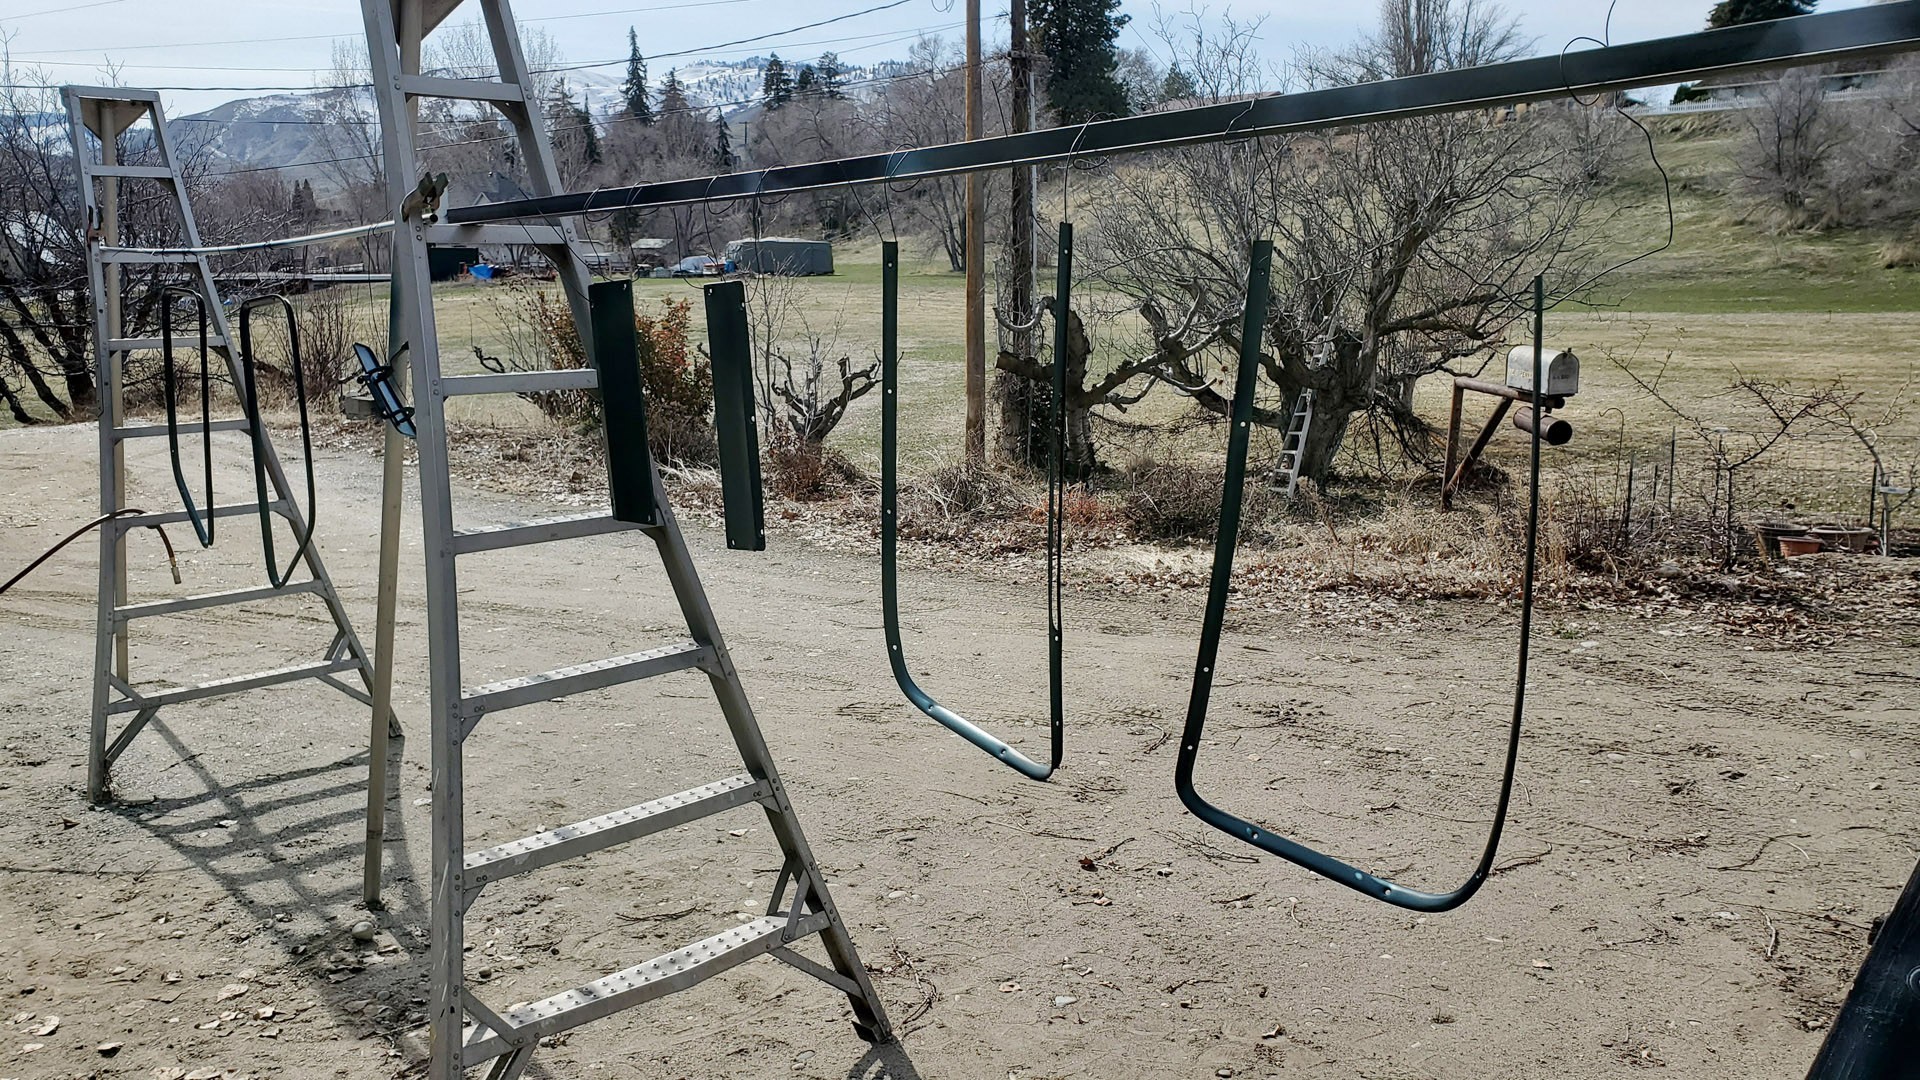


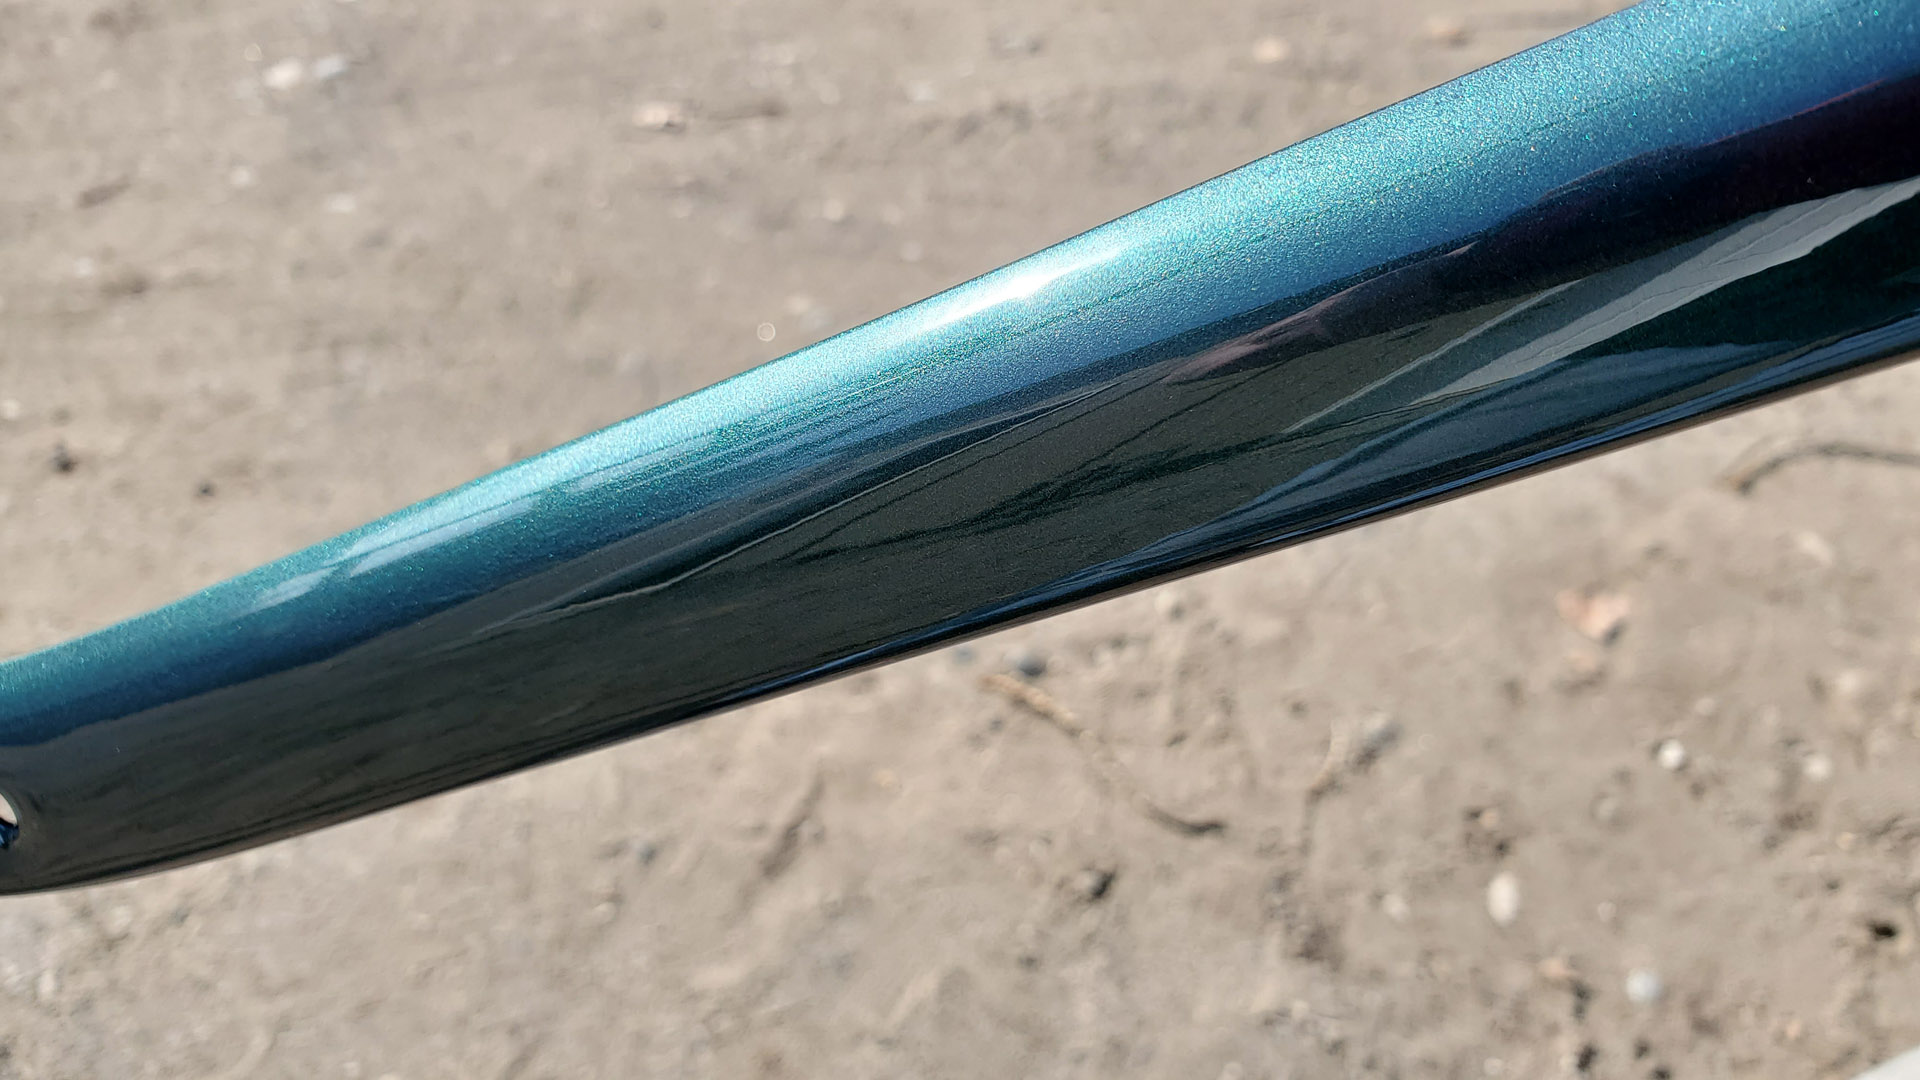


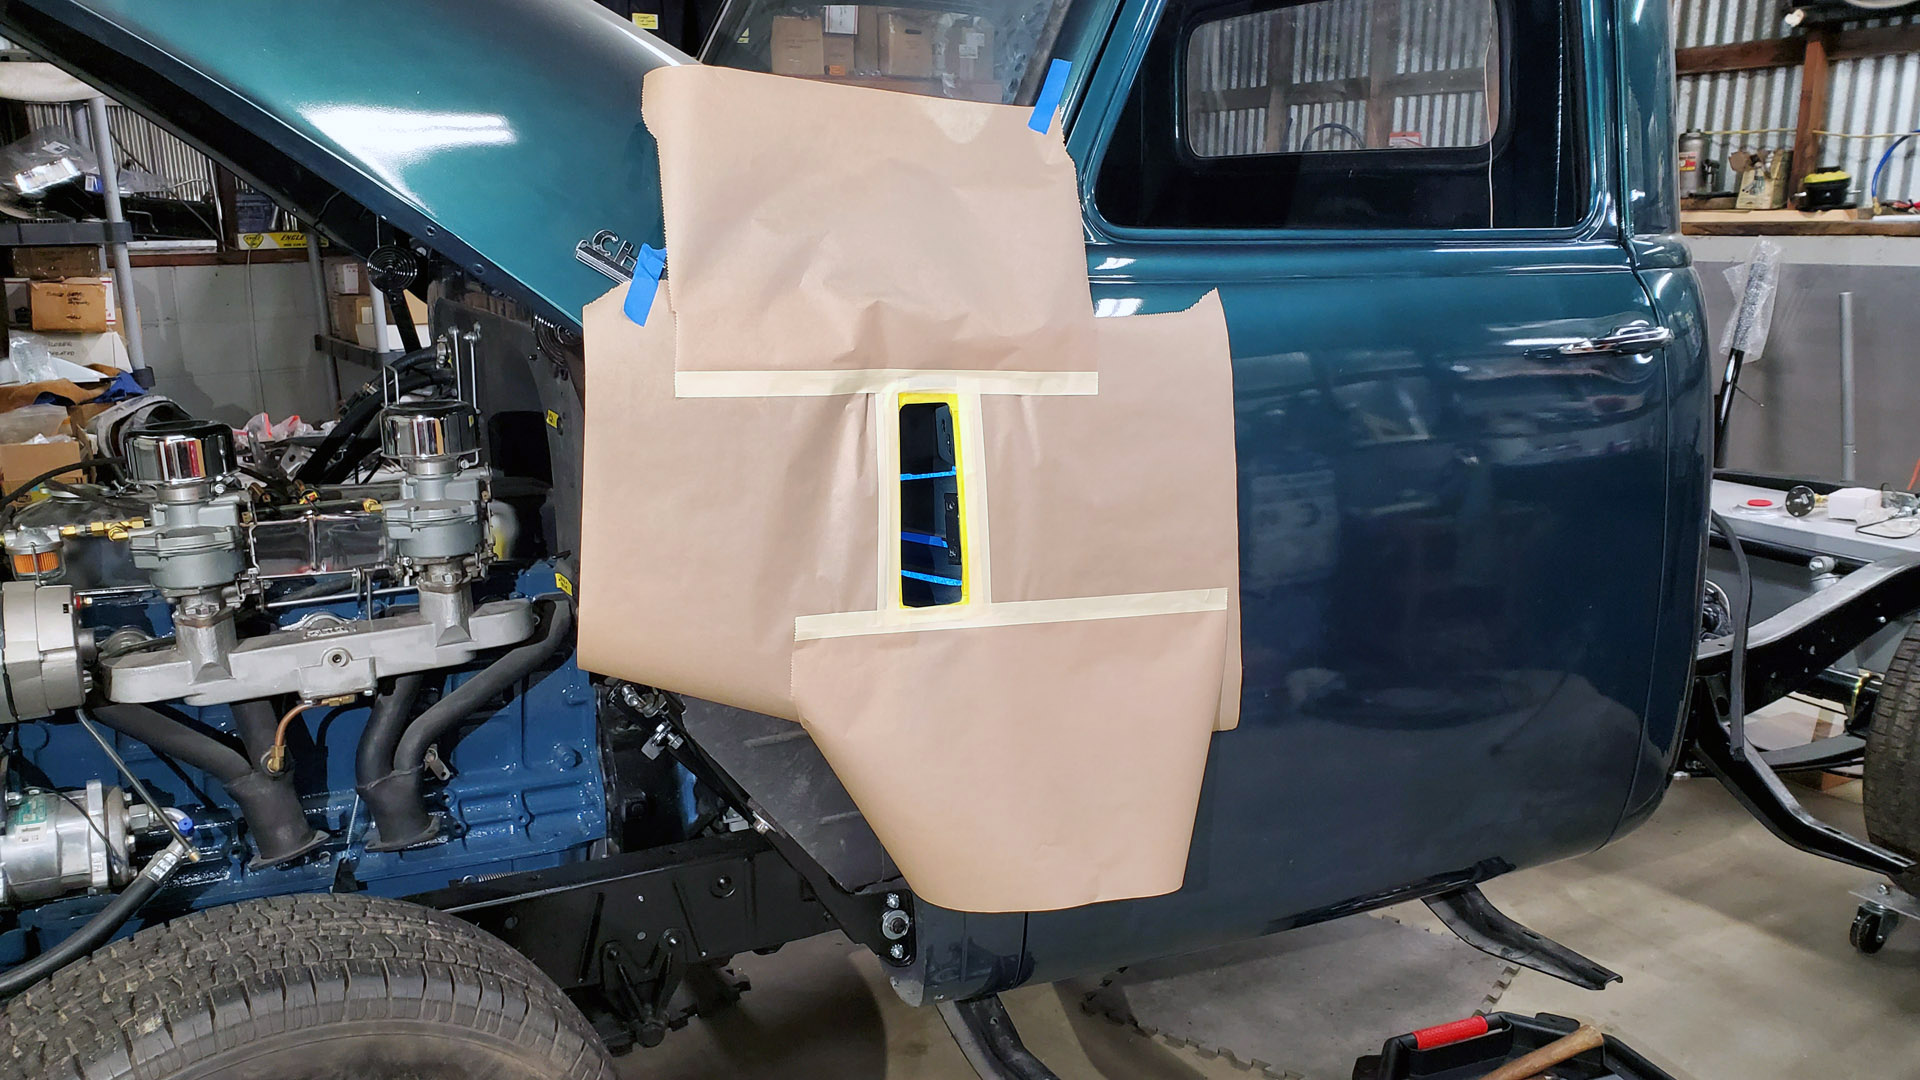
Once all the pieces have cured we can begin installing them. The cowl side vent opening was first masked so we could spray a little black paint inside to hide ugly gray primer over spray. This was done for cosmetic purposes when the vent is open.


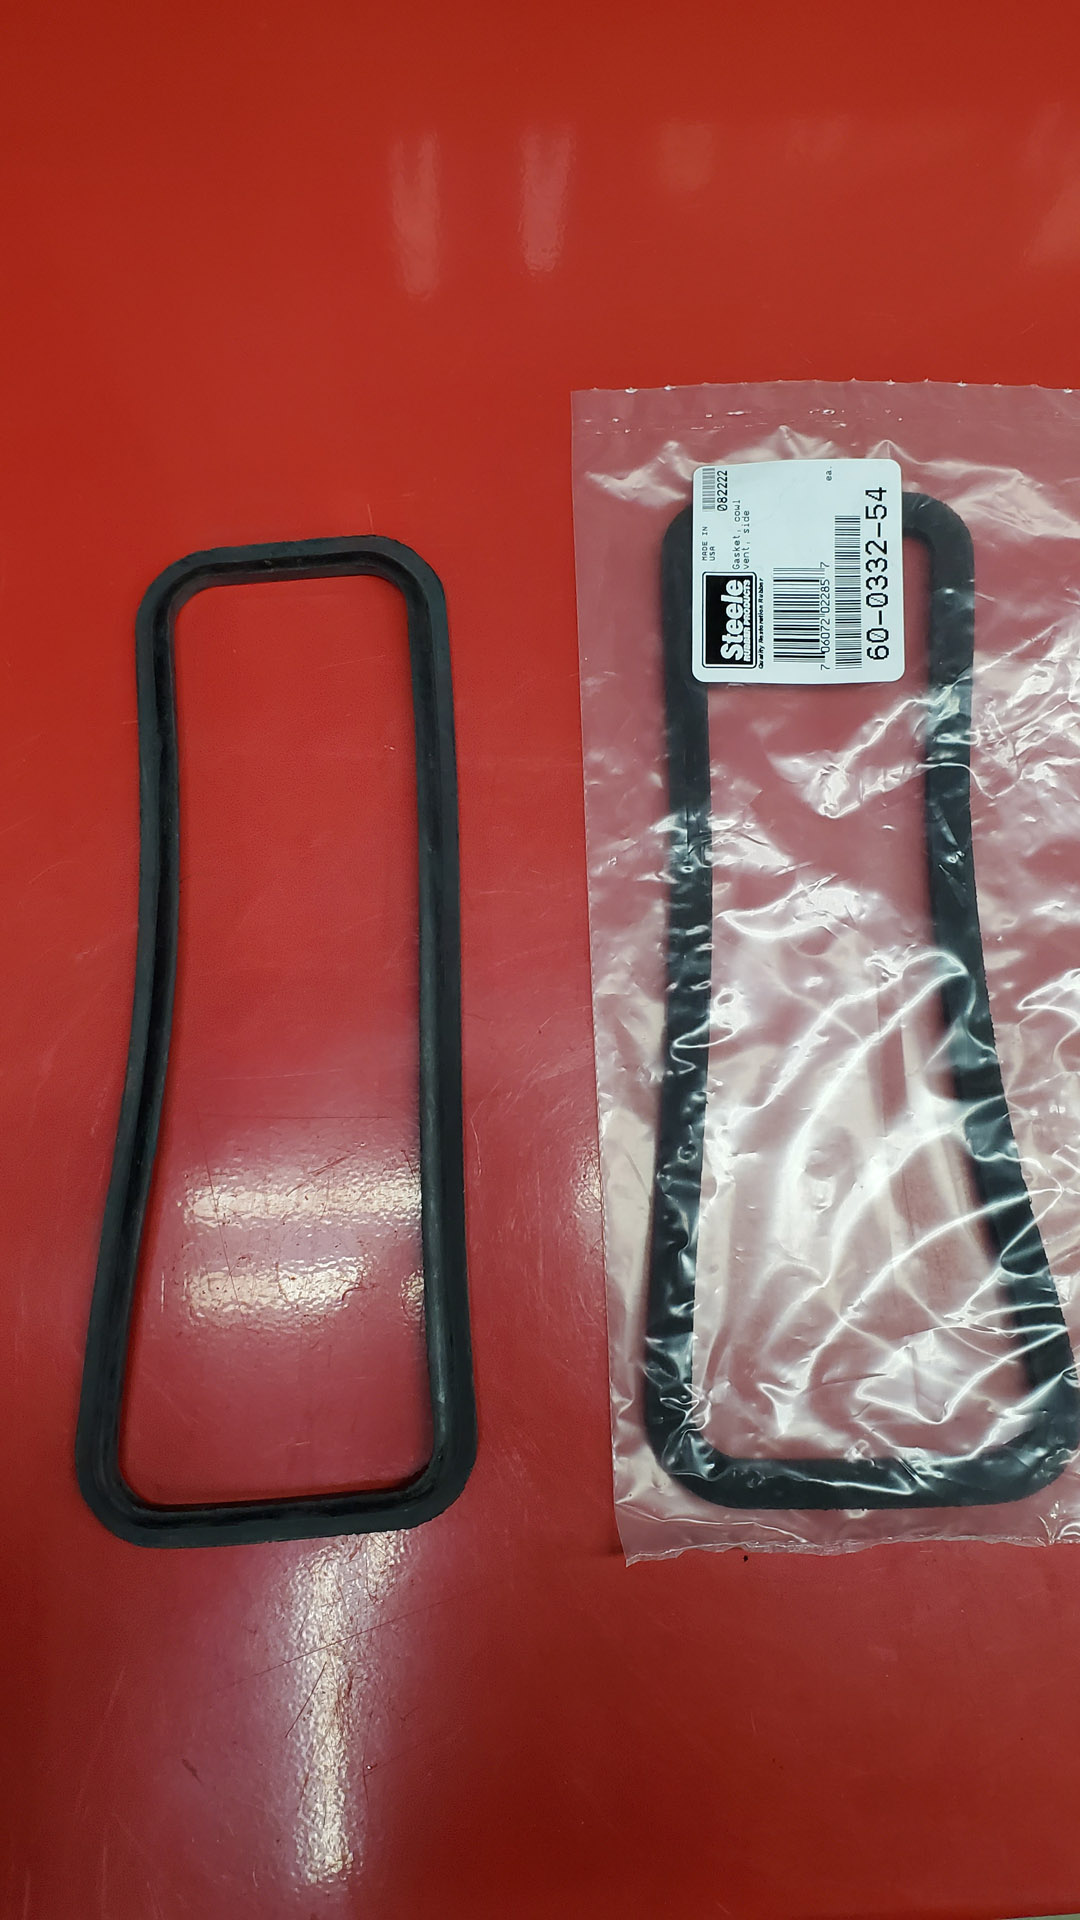
There are two cowl side vent door seals available. One is properly molded rubber like the original (left) for a good seal. The other (right) is just flat foam - meh. The molded seal should work better and last longer.


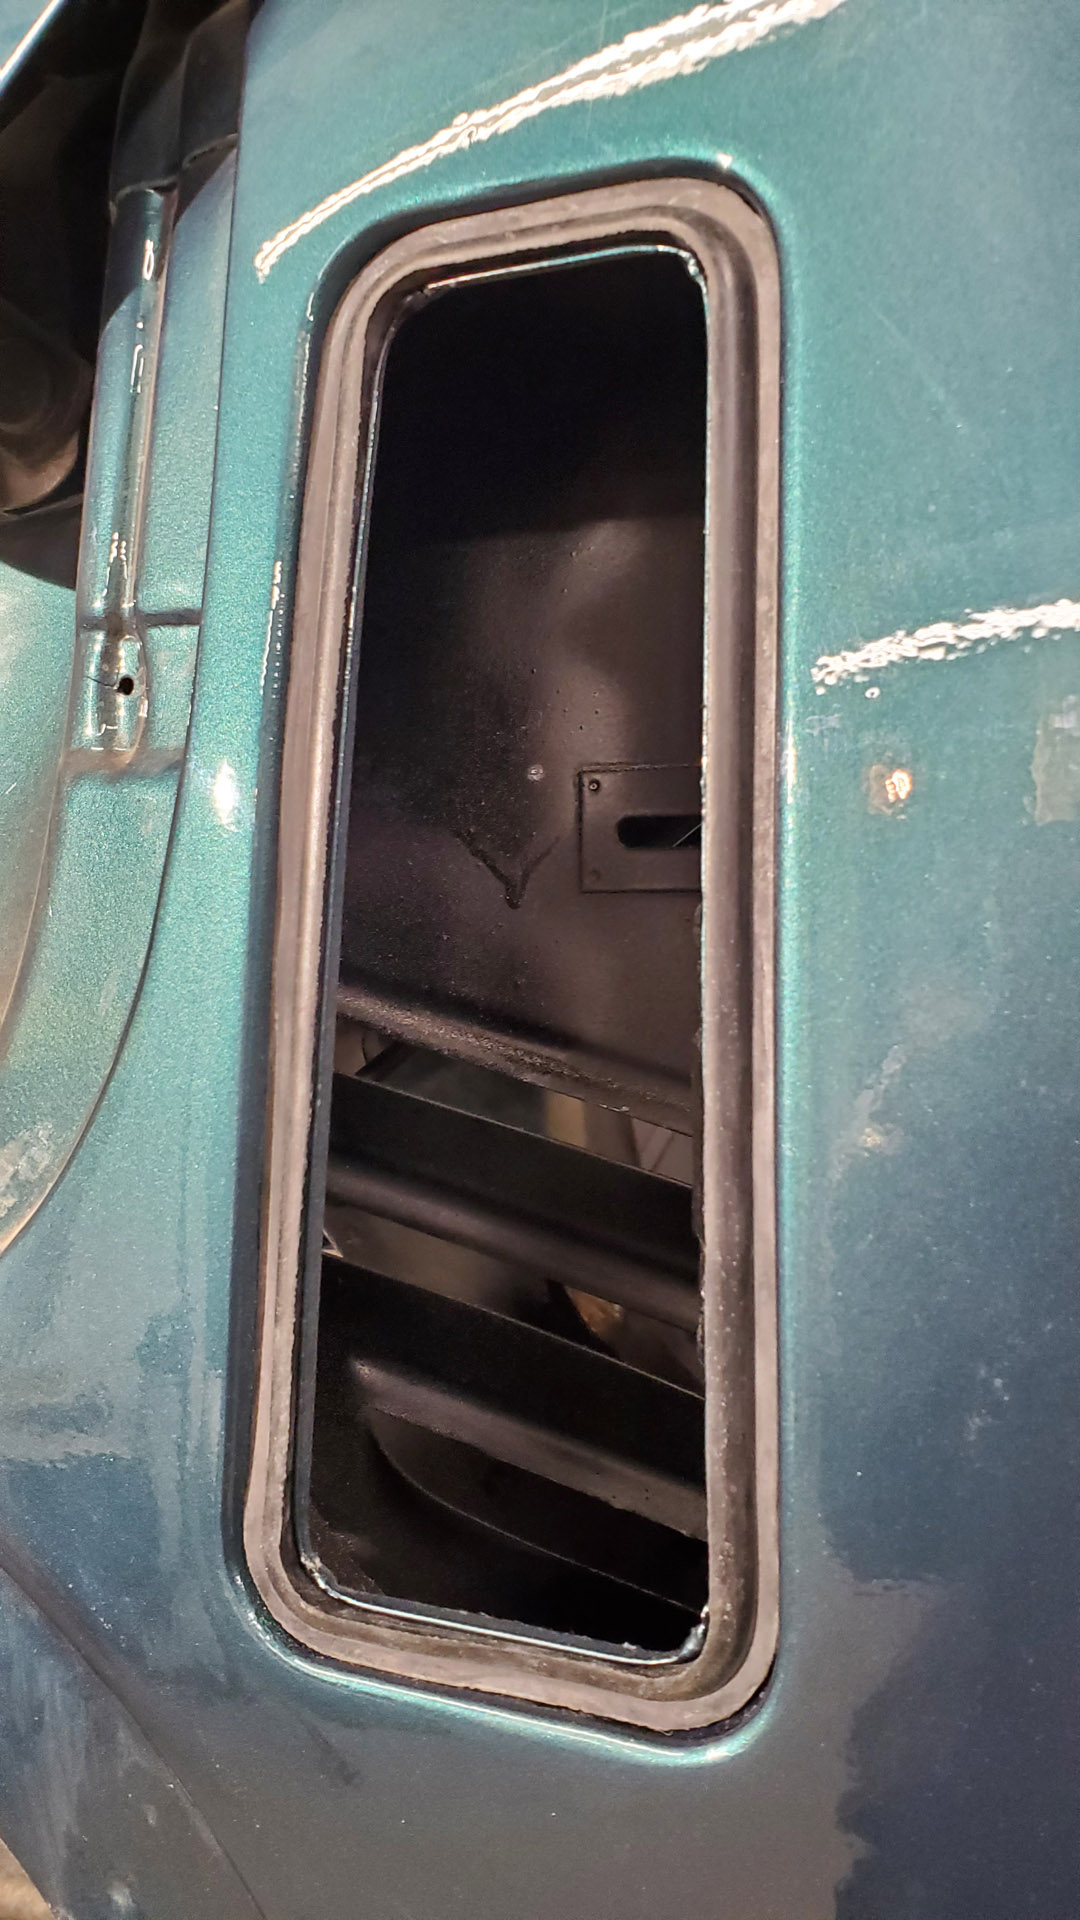


The E-Bay find cowl side vent door is finally installed. A small hand lever on the inside at the top of the kick panel operates it. Opening this vent should direct some serious fresh air to your feet! GM discontinued the vent in '51 when they when to a wing window.


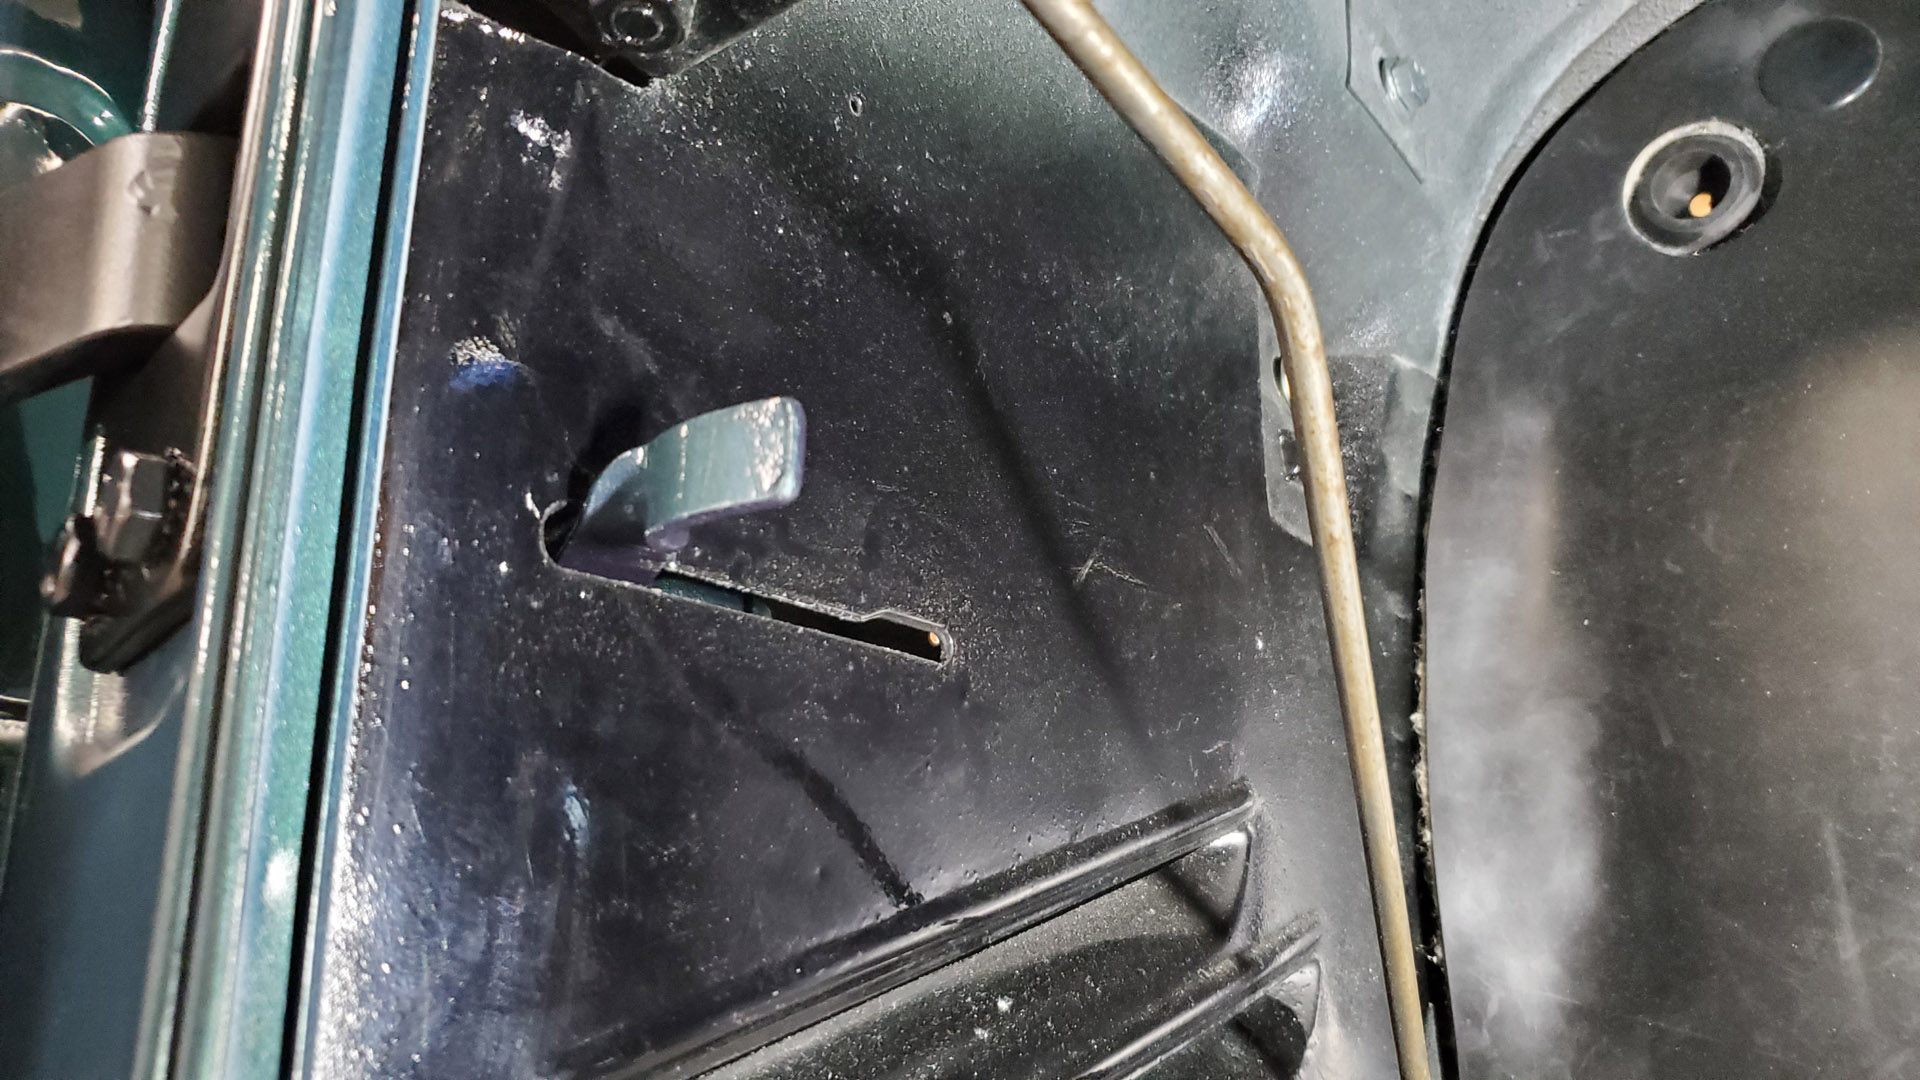


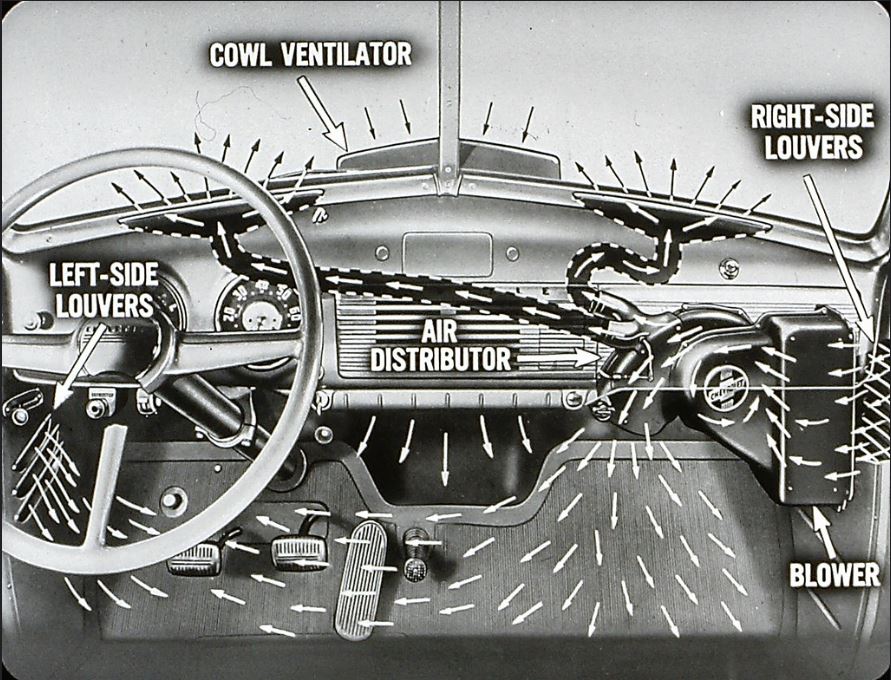
Cowl louvers on the passenger side fed air to an optional heat system (replaced by a modern Vintage Air HVAC system). A gaping hole in the kick panel now needs to be covered. The block off plate found in a box of parts was painted it gloss black to match.


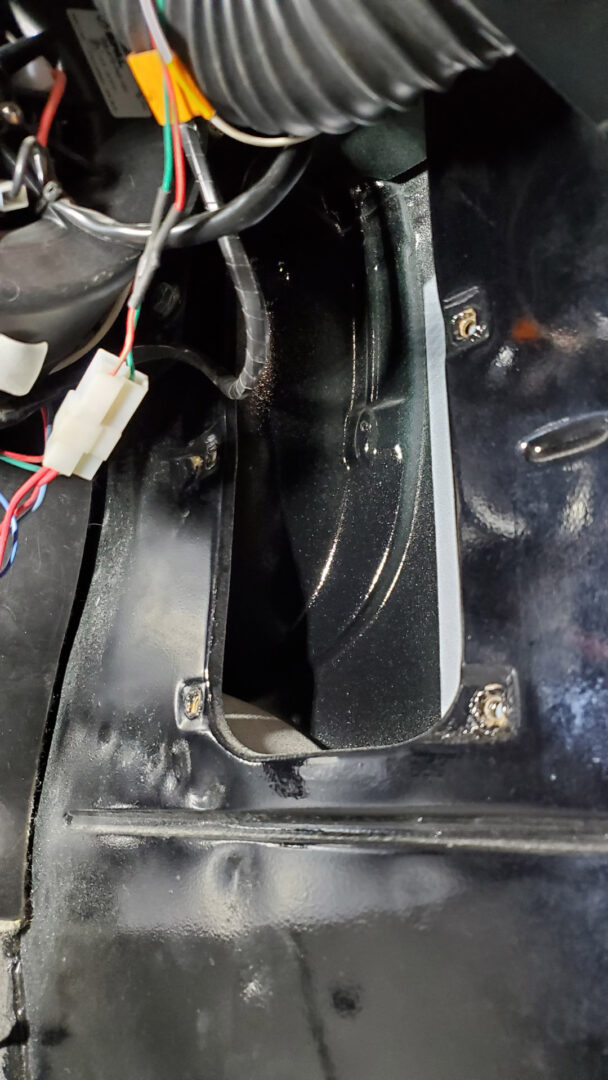


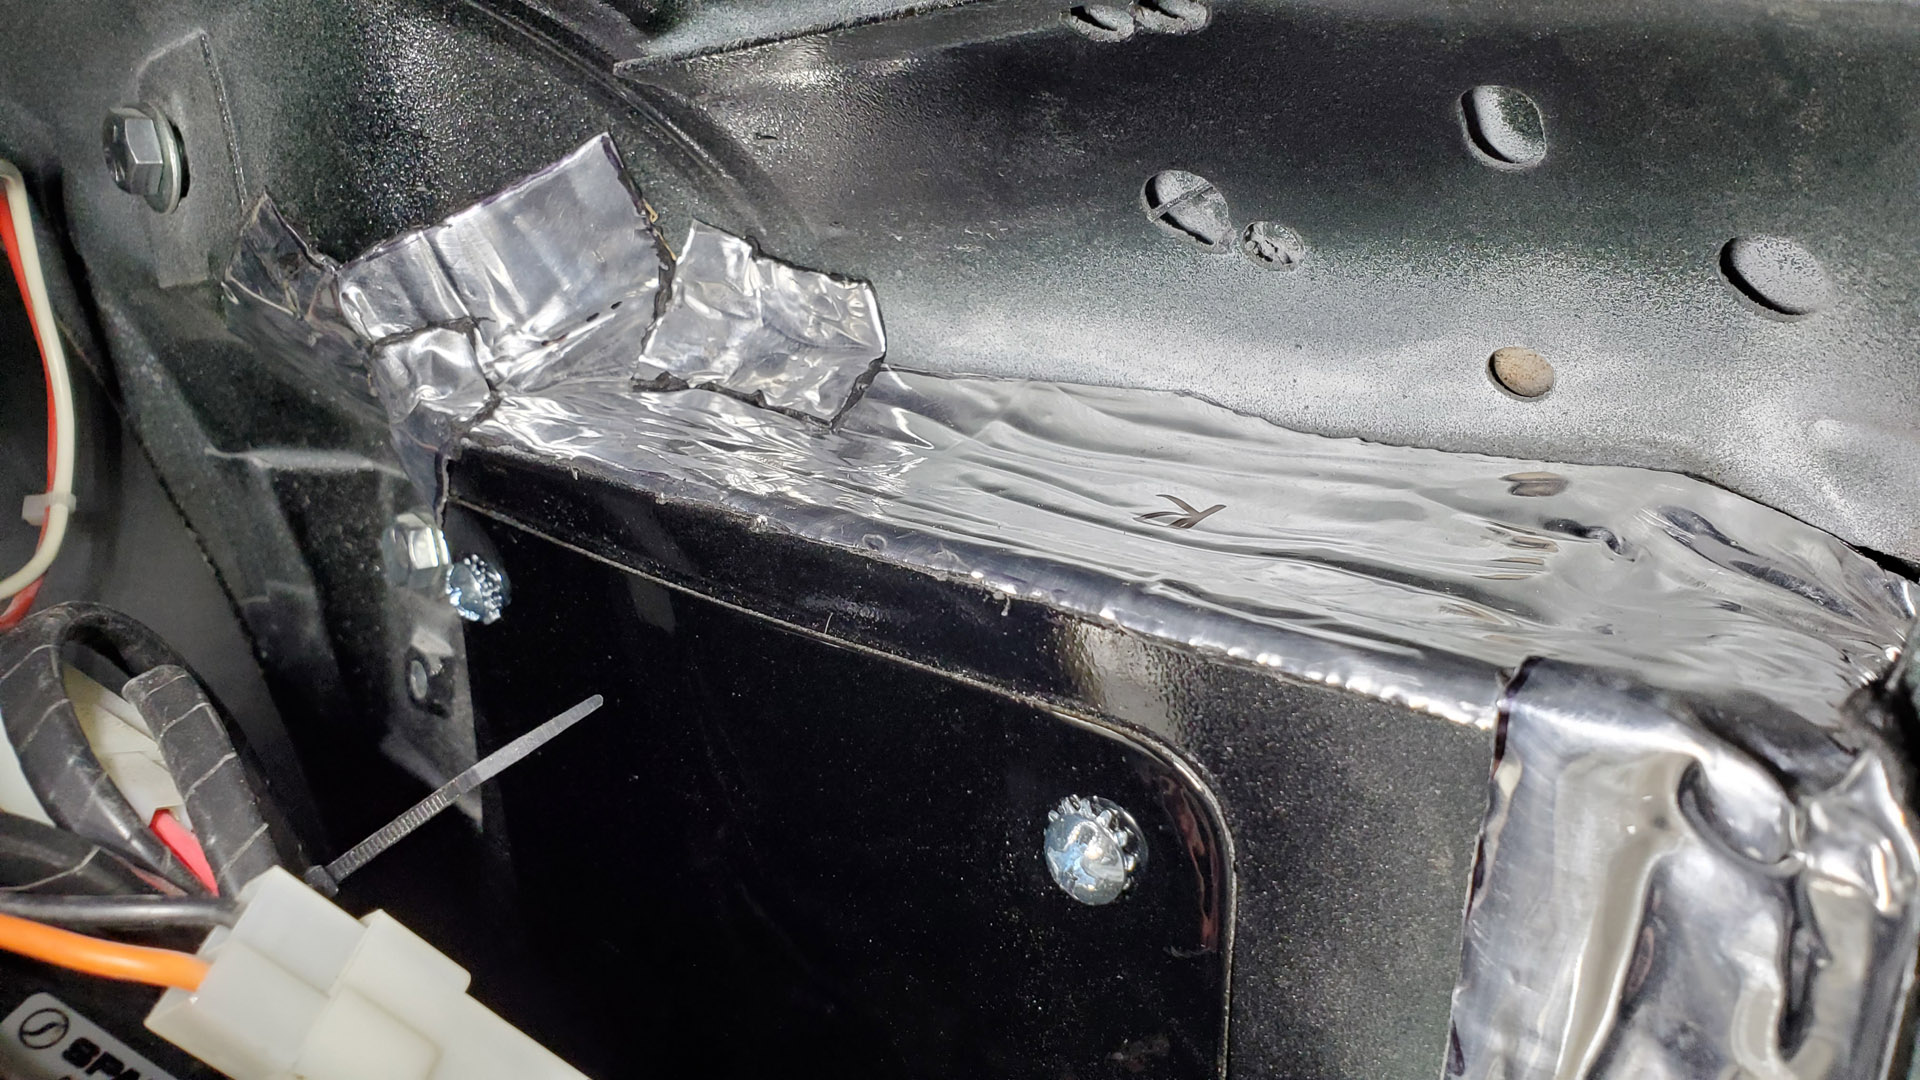
The kick panels on each side are basically large cavities where outside air is brought in. They're very crude and have gaping seams where the pieces are spot welded together. To keep unwanted hot or cold outside air from blowing in I took steps to seal numerous gaps at the top. Some foil-backed butyl sound-deadener we had on the shelf worked great.


A new stainless windshield divider is installed. What should have been very easy was hampered by the fact that this beefy piece of trim must fit into 4 holes that pass through the rubber windshield gasket. The holes were misaligned during glass installation so it became a challenge to get it, the inside piece, and other fiddly bits all together.
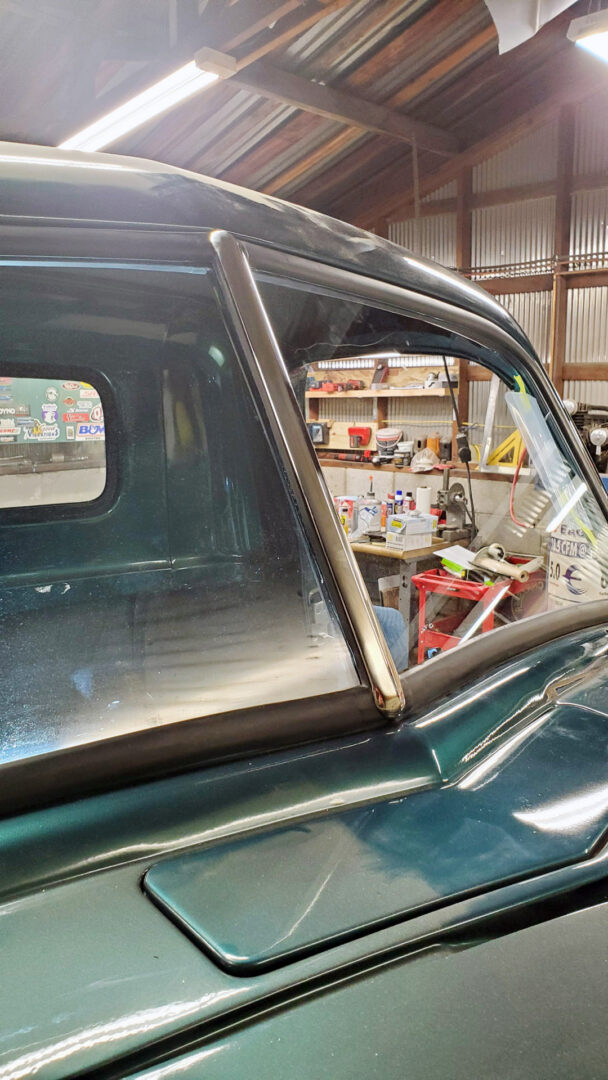


The windshield garnish moldings I painted are very loosely installed to get them out of the way. Once the headliner and sun visors are installed everything will be tightened in place. The front edge of the headliner will slip in behind the moldings.
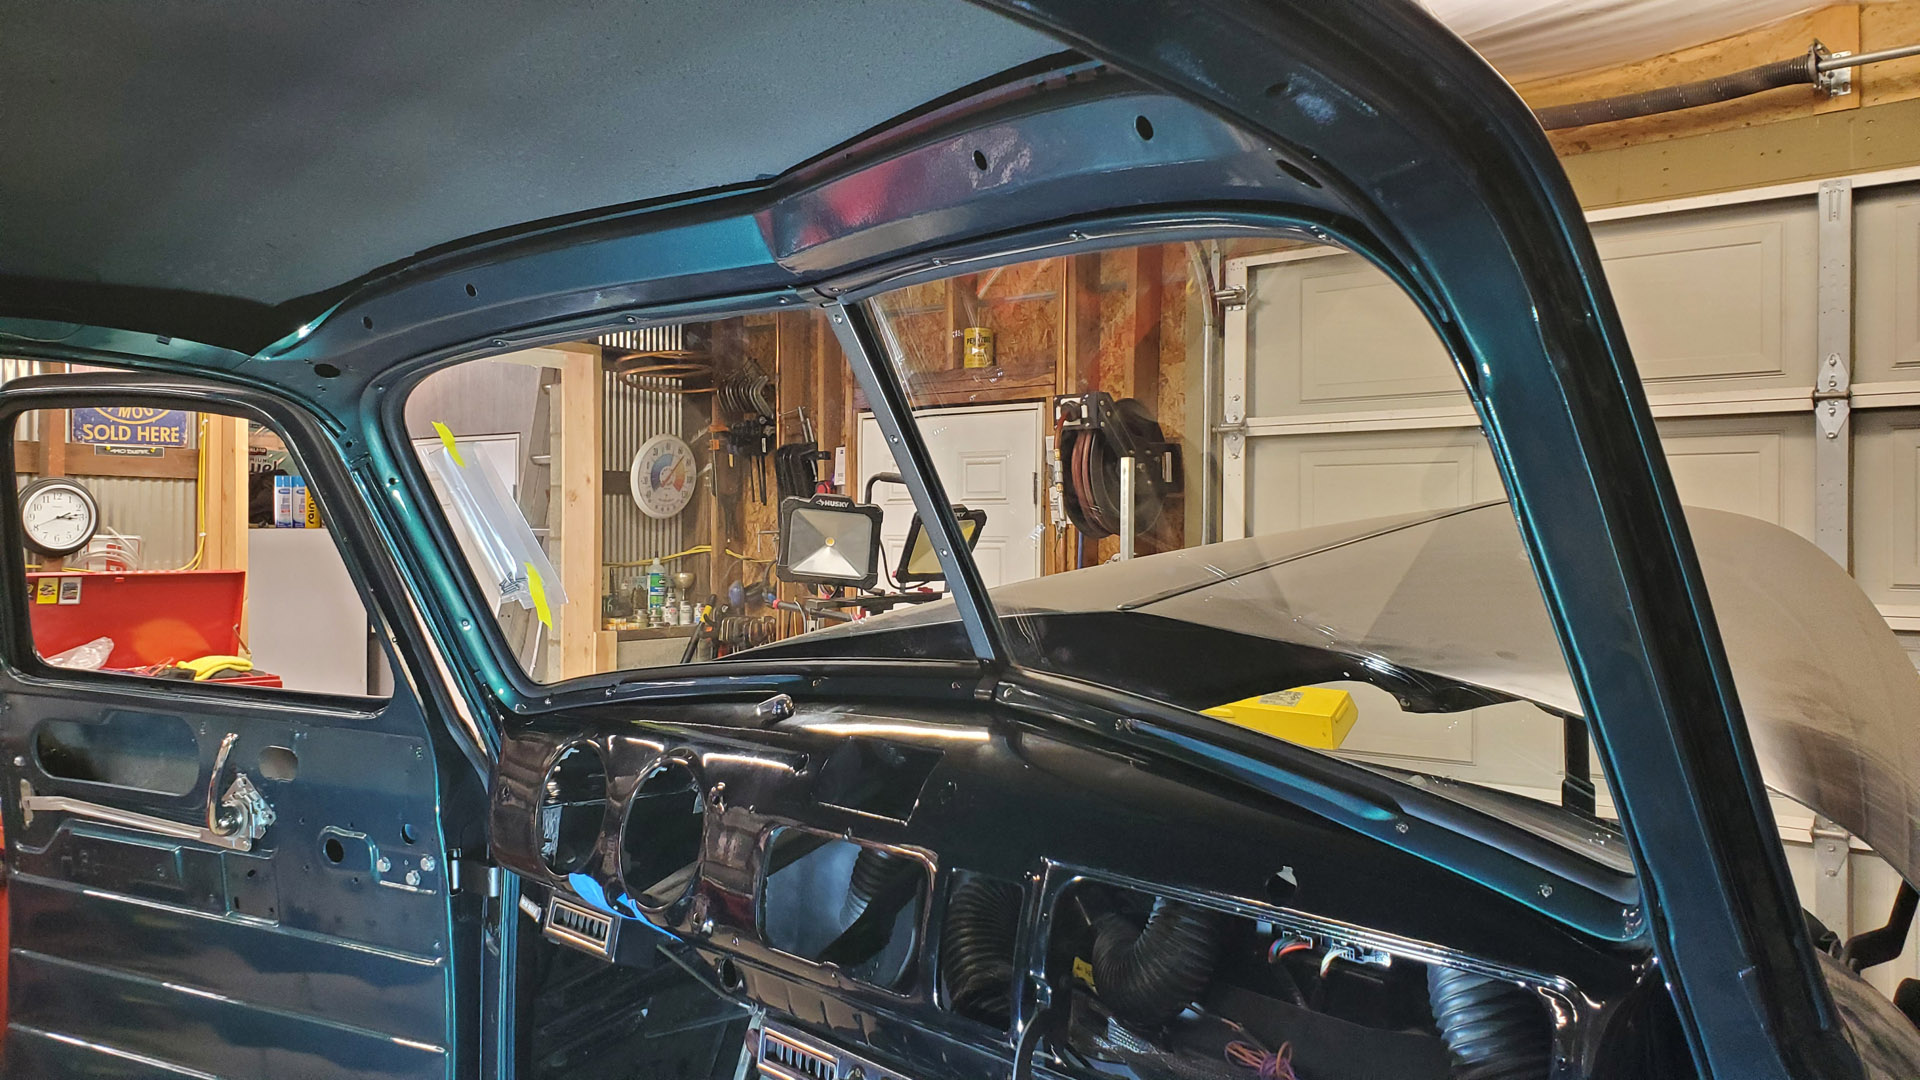


Some rather dainty new stainless steel windshield wiper arms and blades (reproductions of originals) go on and are adjusted. New stainless and chrome trim brightens things up and it's starting to look like a truck again.
Just to be sure, I hooked up our noisy vacuum pump to the wiper motor and gave it a test run. Here's a short clip:
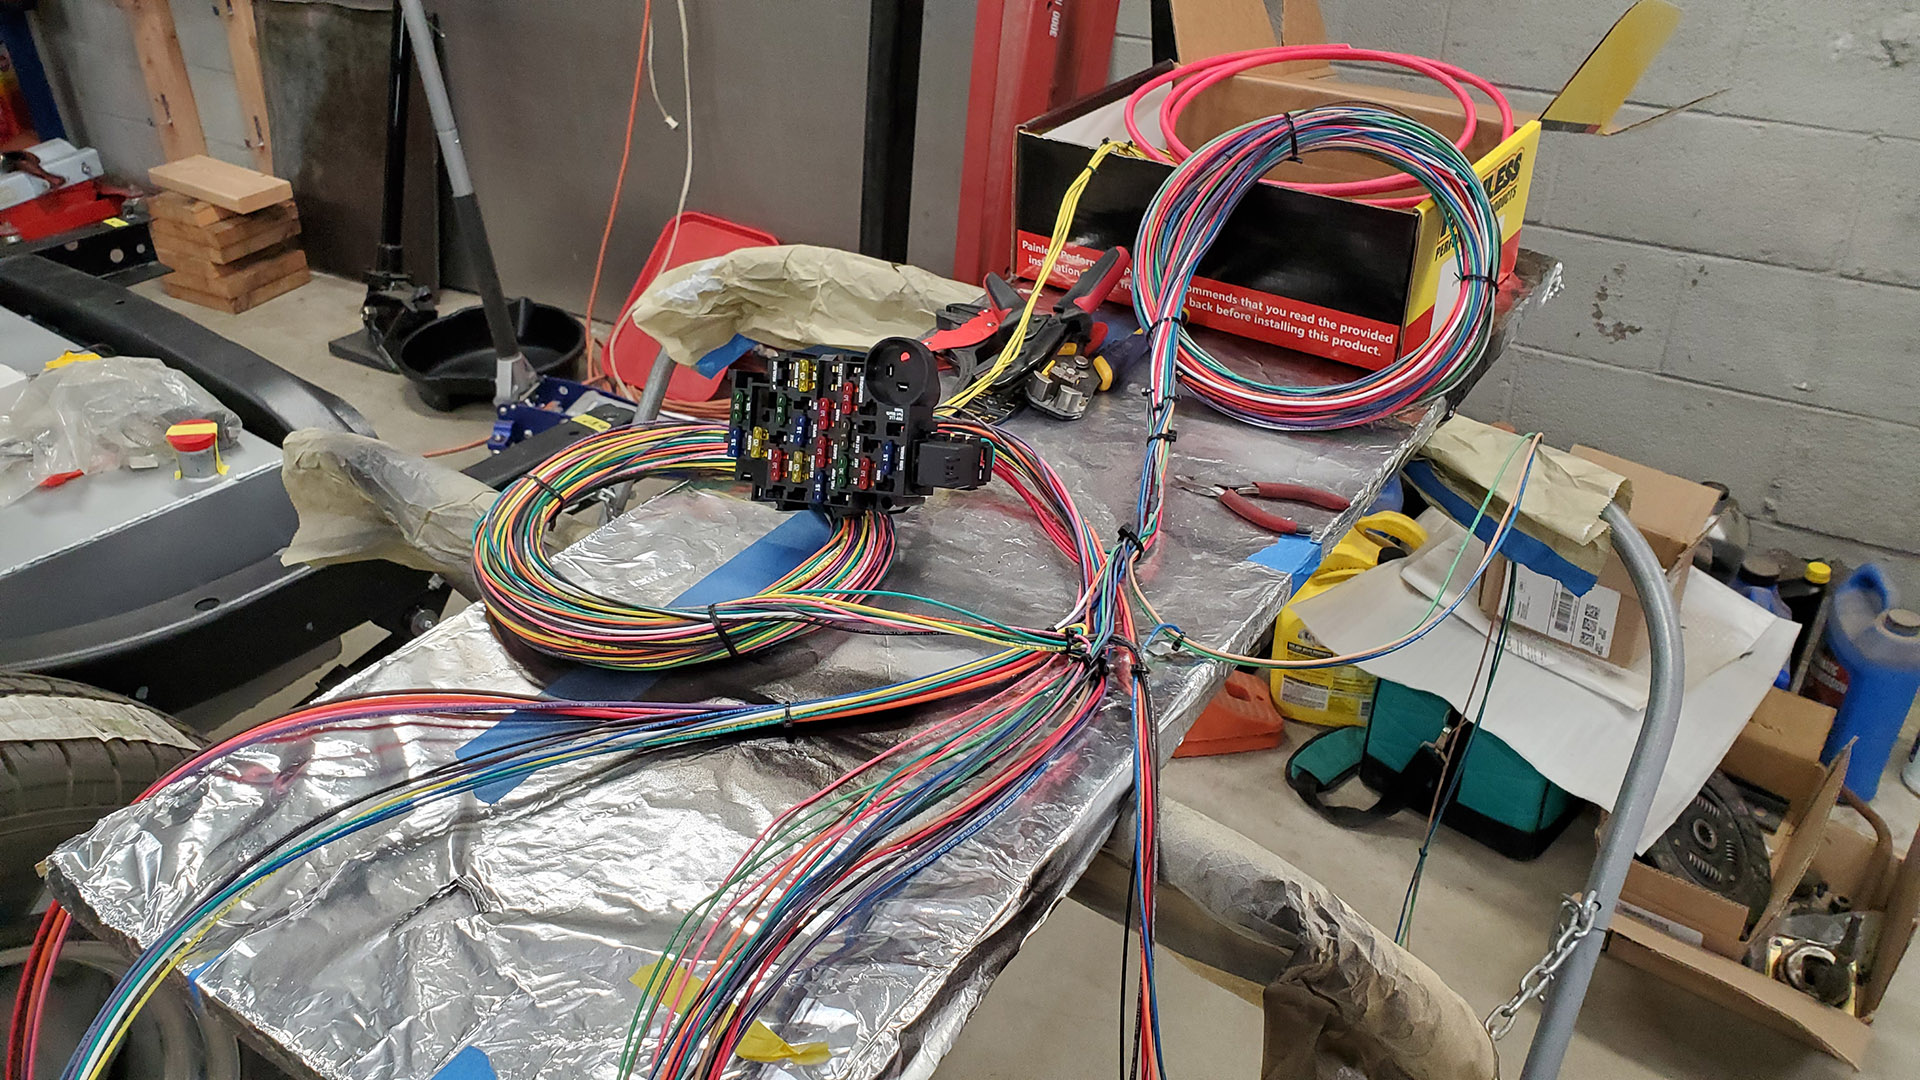
Next up: Wiring harness install. Stay tuned for upcoming details.
