“Dem Doors”
Time flies when you're having fun. Progress on the '50 Chevy truck slowed for a couple of months thanks, in part, to sub-freezing temps and a time-burning parts fiasco involving door latches and such. So, we're long overdue for an update. Where were we? Oh yeah, we last left off with door hinges. Now we have to make sure the doors latch, unlatch, seal up, and (bonus) have working windows.
Not so fast. When we got to final fitment and setting door gaps with our tweaked and repaired hinges we found we needed to get a tiiiiiny bit more vertical adjustment out of the door. The hinges were already maxed vertically at the pillars and had already slotted the holes on the door half of the strap to be able to raise the doors higher. Any more slotting and we'd have oversized holes (and less bolt clamping force). I decided to bite the bullet and relocate the holes with some cutting, grinding, and welding. The slots were effectively relocated 3/16" higher but with their original size and shape.
(In the end this proved to be a tad too much and the top of the door wanted to hit the cab at the back of the opening. But now I could loosen and drop the hinge a little on the pillar side which actually improved the overall range of adjustability - so it wasn't a complete waste of time).
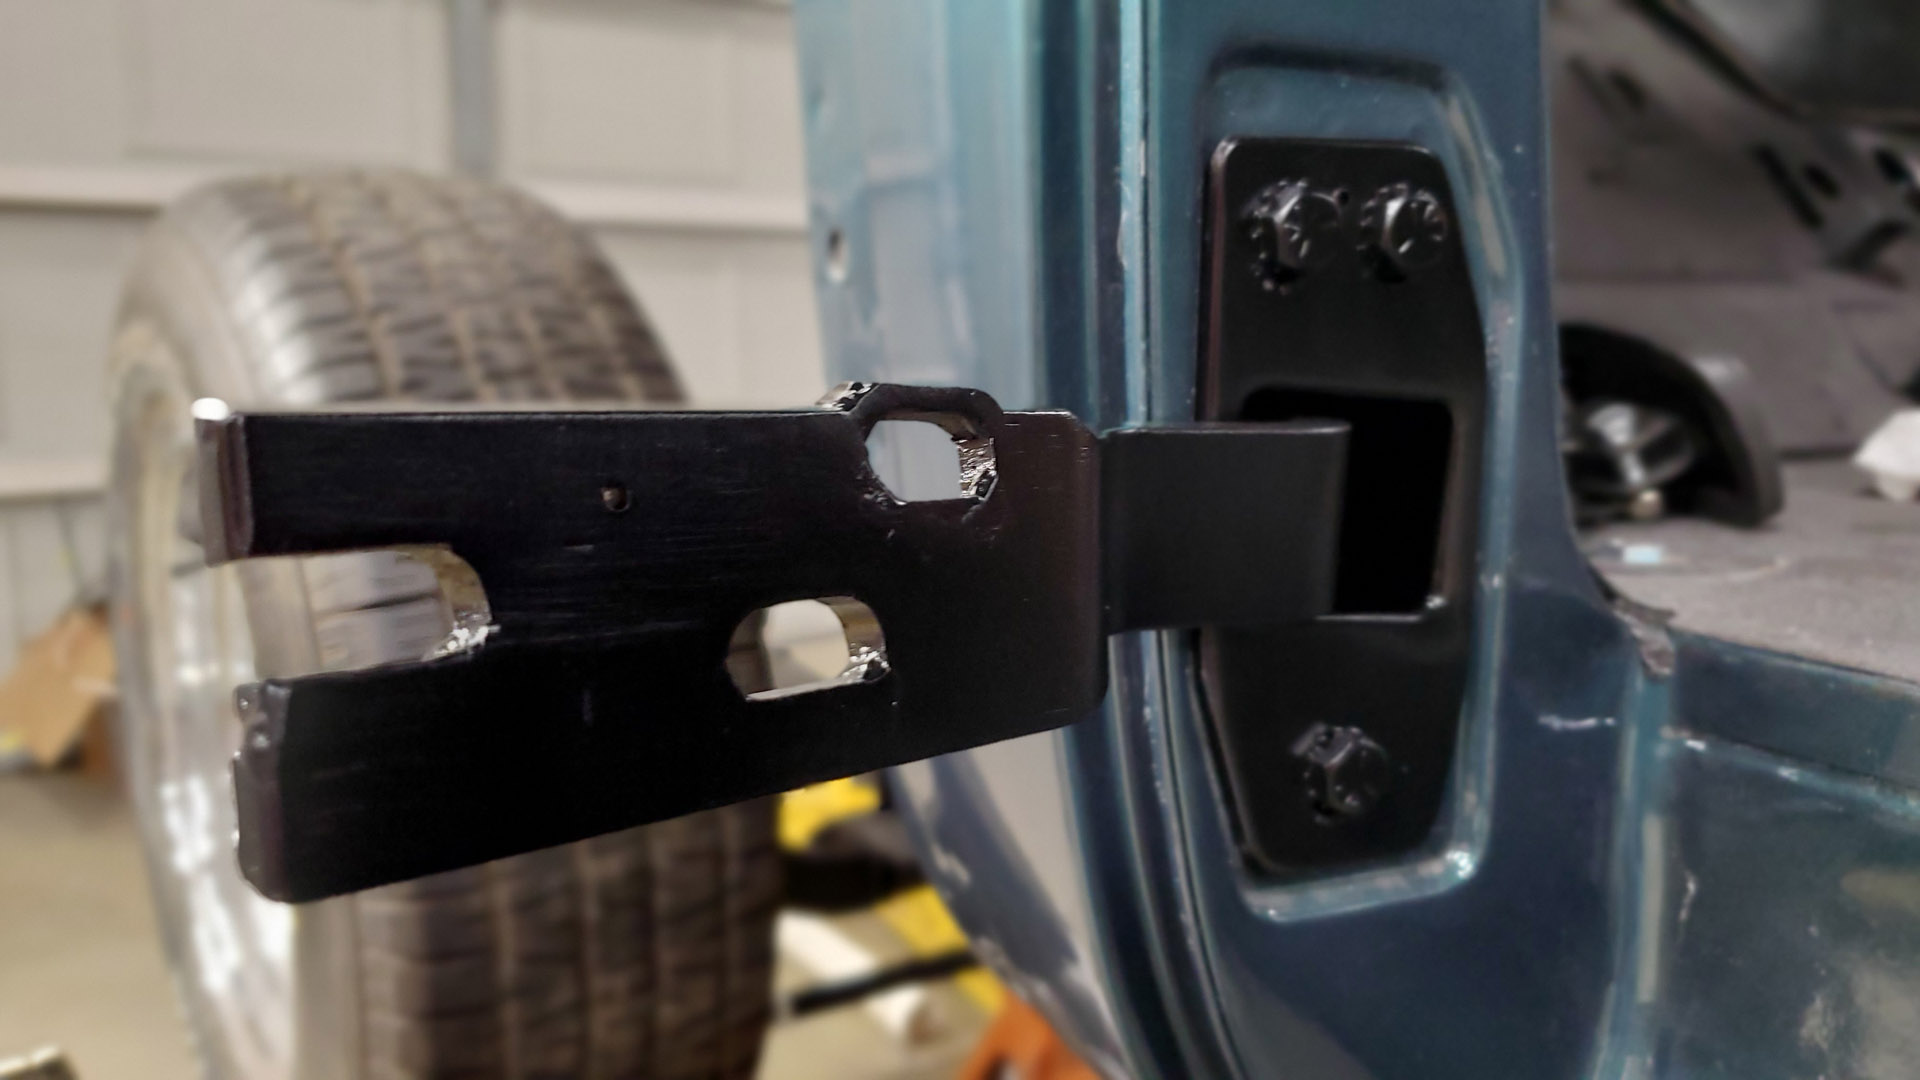

Once satisfied with the position of each door in its opening, I drilled a small pilot hole through each door, pillar, and hinge so that the door could be removed (you didn't think we were done did you?) and replaced repeatedly - getting it back in the exact same spot each time.


Now, I work on the door latches. I'll say right up front that what guys say about OEM hinges, and avoiding reproduction parts, applies to the latches and other key parts as well. Before I learned this lesson I had purchased reproduction door latches (for 1947-1951 - United Pacific brand - from Taiwan, of course) and the corresponding strikers that bolt to the B-Pillar.
I bolted the pieces up, set the striker position, and did a 'test close' of the door. Fail! It wouldn't latch properly and stay shut. Even with lube the mechanism seemed sticky and finiky. Door latches have to be reliable. They're easy to install and remove now but once a door is fully assembled (in sequence) the last thing you want to do was take it all back apart just to get to a fussy latch.
I boxed everything up and returned them.
Turning to E-Bag I found a used original for the driver side that would surely need some TLC along with a couple of NOS (new old stock) strikers.
Used parts are a bit of a gamble. There'll be some wear that needs to be repaired or other problems. But there are also guys who collect NOS parts they've scored from an old dealer parts department - pieces left sitting on the shelf. Most of that stuff has dried up or been hoarded away now.
When the hinge showed up, and after some cleanup and a bath in rust remover I determined what needed to be fixed. It required some partial disassembly, grinding, welding, and test fitting till the latch functioned again as it should. But how would it perform once installed?




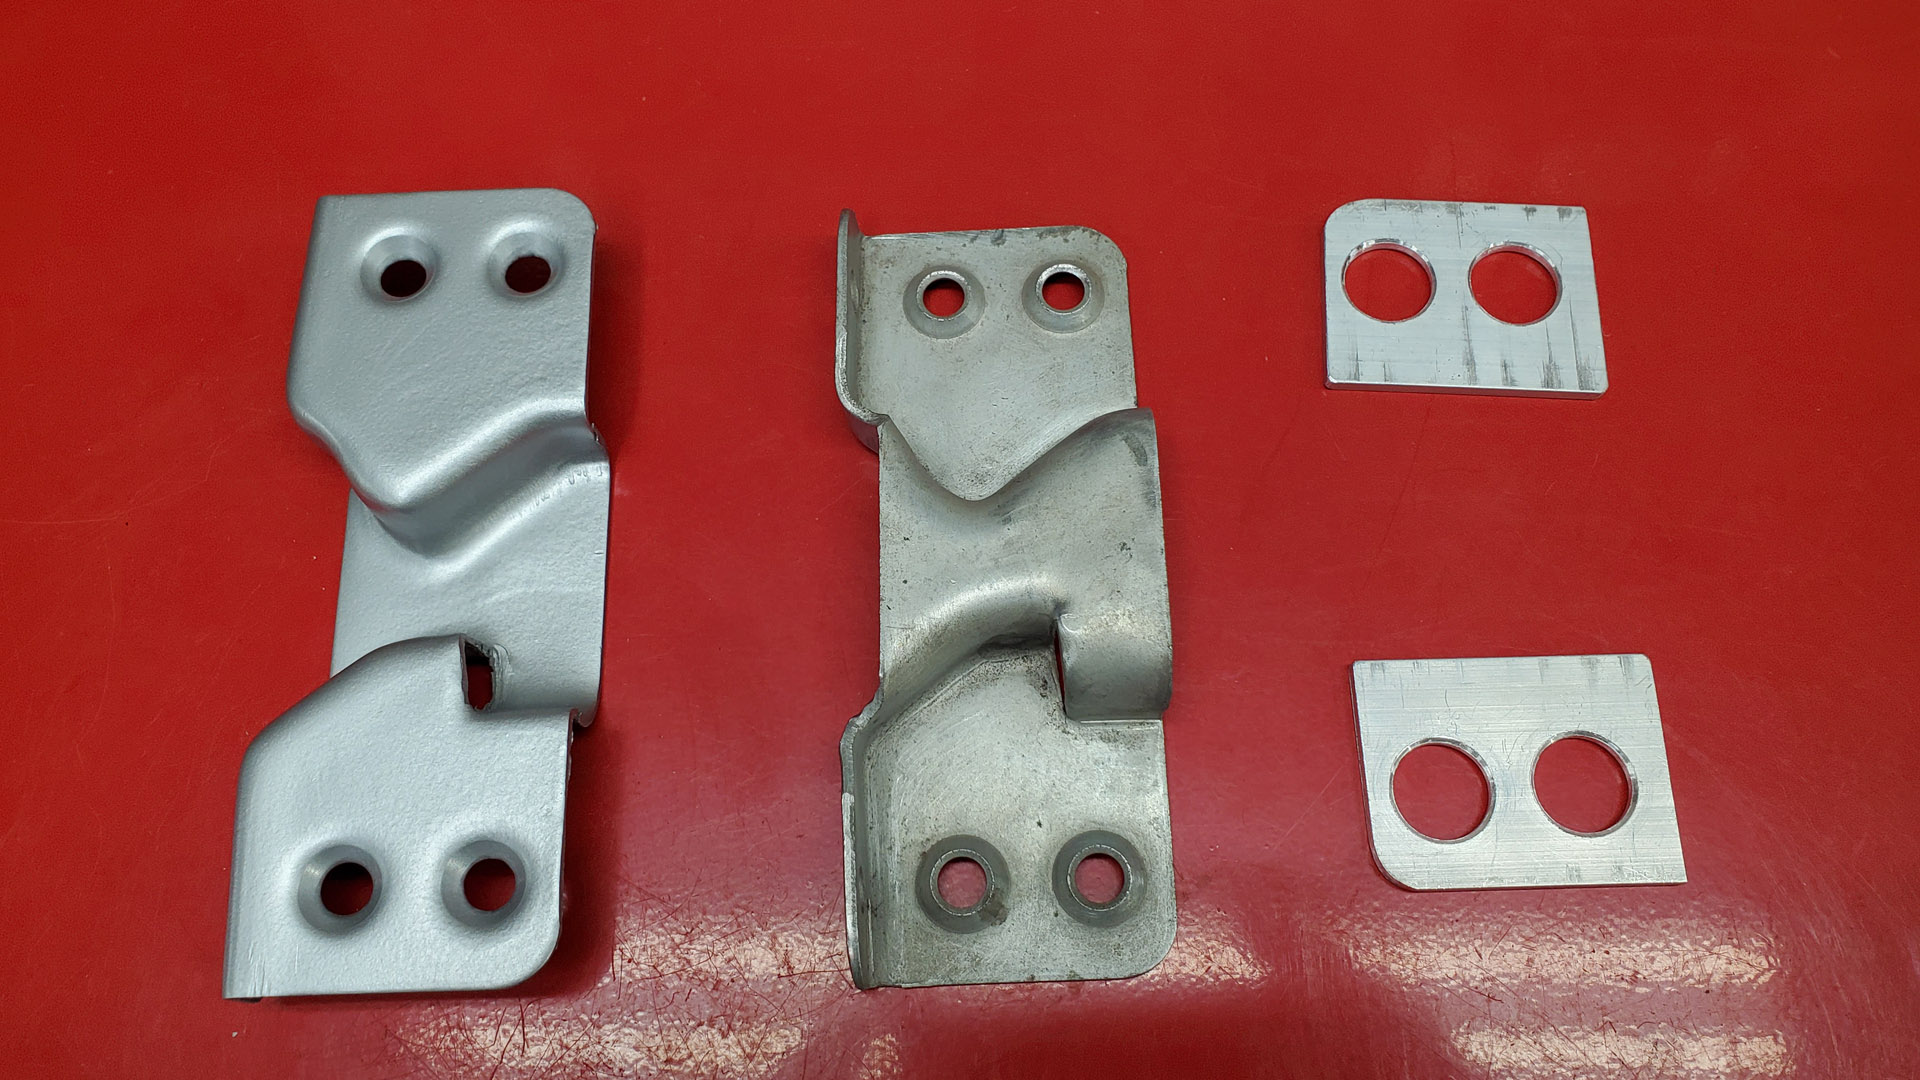
There's only supposed to be 3/16" of a gap between the striker and latch and ours were a mile apart. Two shims were fabbed from 1/8" aluminum flat stock. (The passenger side would get a pair of 1/16" shims).


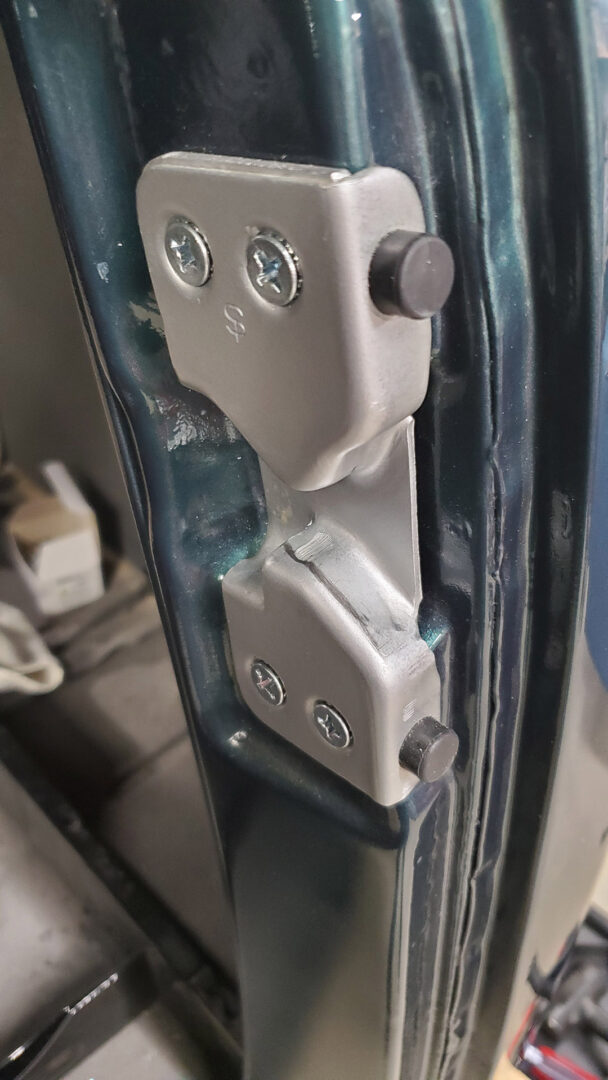
With a couple of rubber bumpers the 'closed-door' depth is set. There is no in and out adjustment of these strikers, only up and down. If anything is 'off' the door may not latch, stay latched, or unlatch. At least OEM (not reproduction) strikers ensure everything is the correct shape.


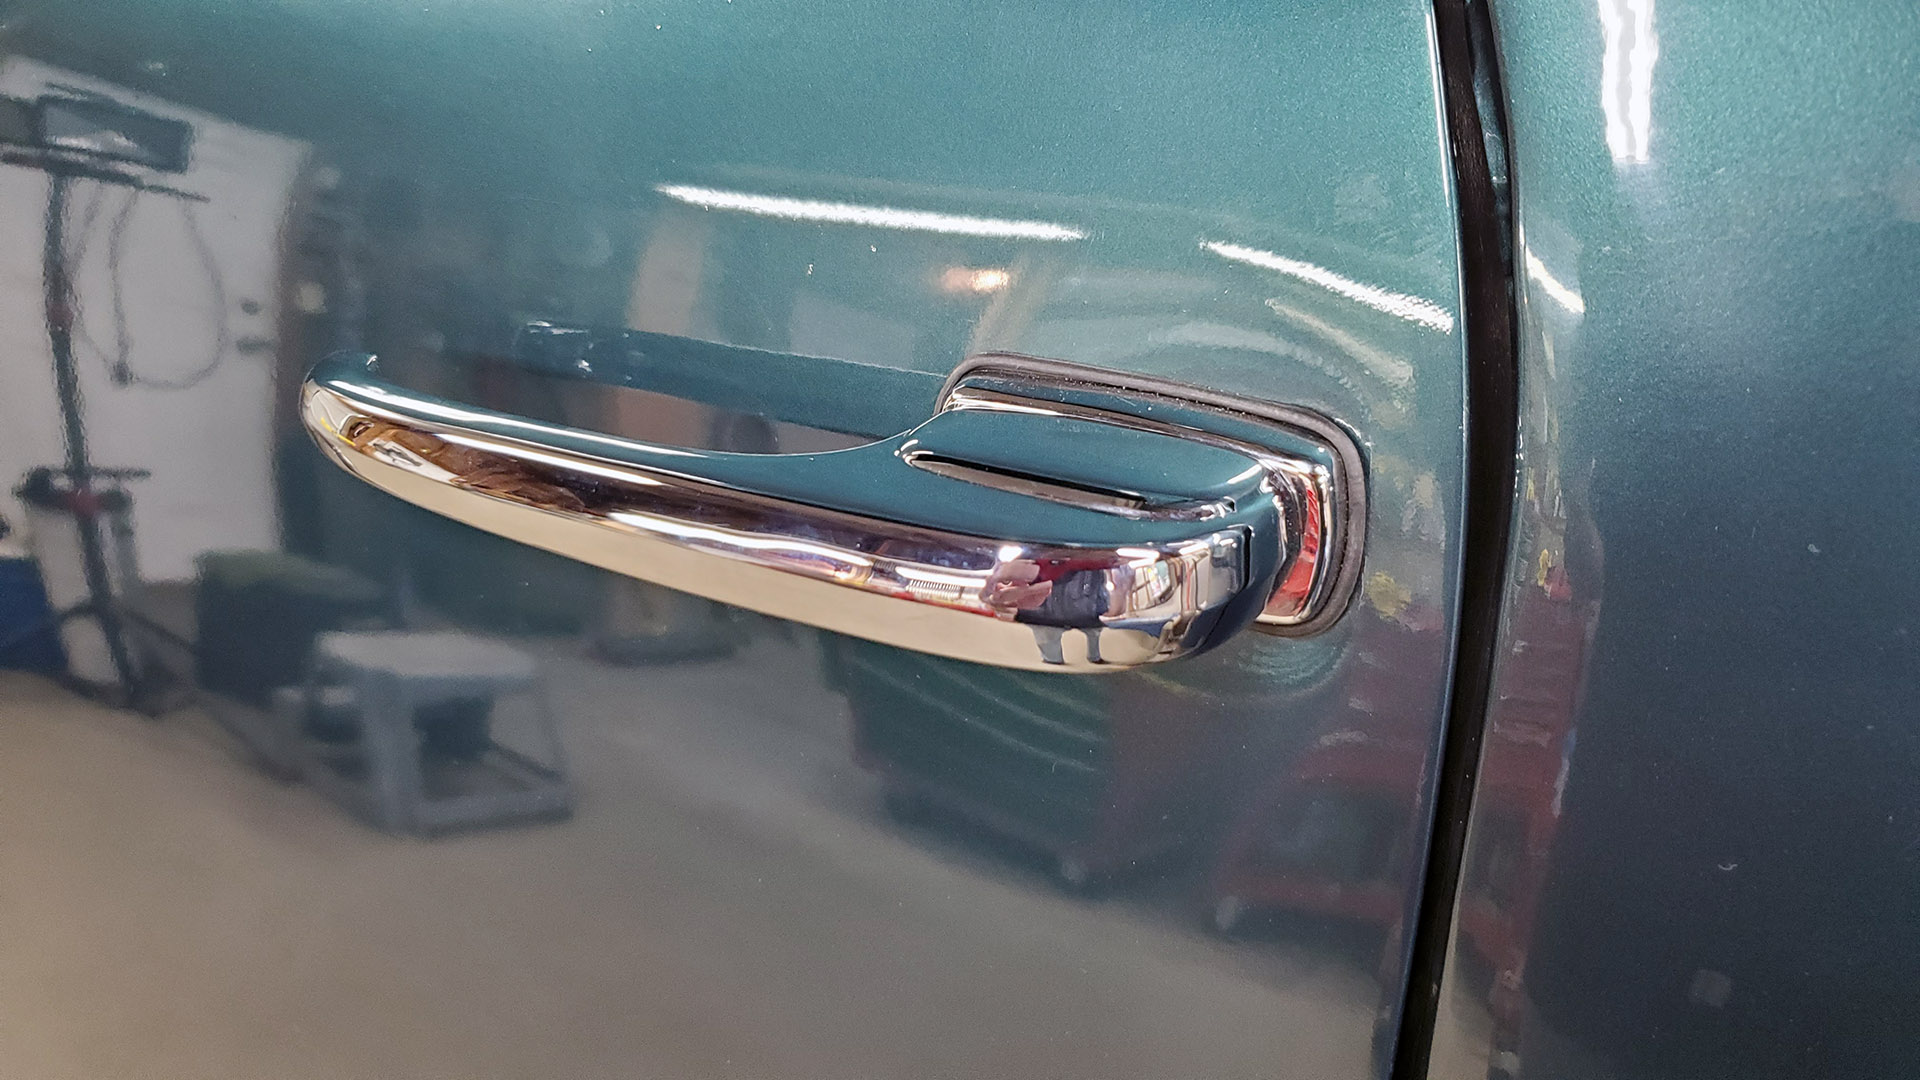
So far so good. Now the driver door opened okay from the inside. How about from the outside? For that the outer handle must be installed. Filler and paint buildup must be removed from threaded and other holes.
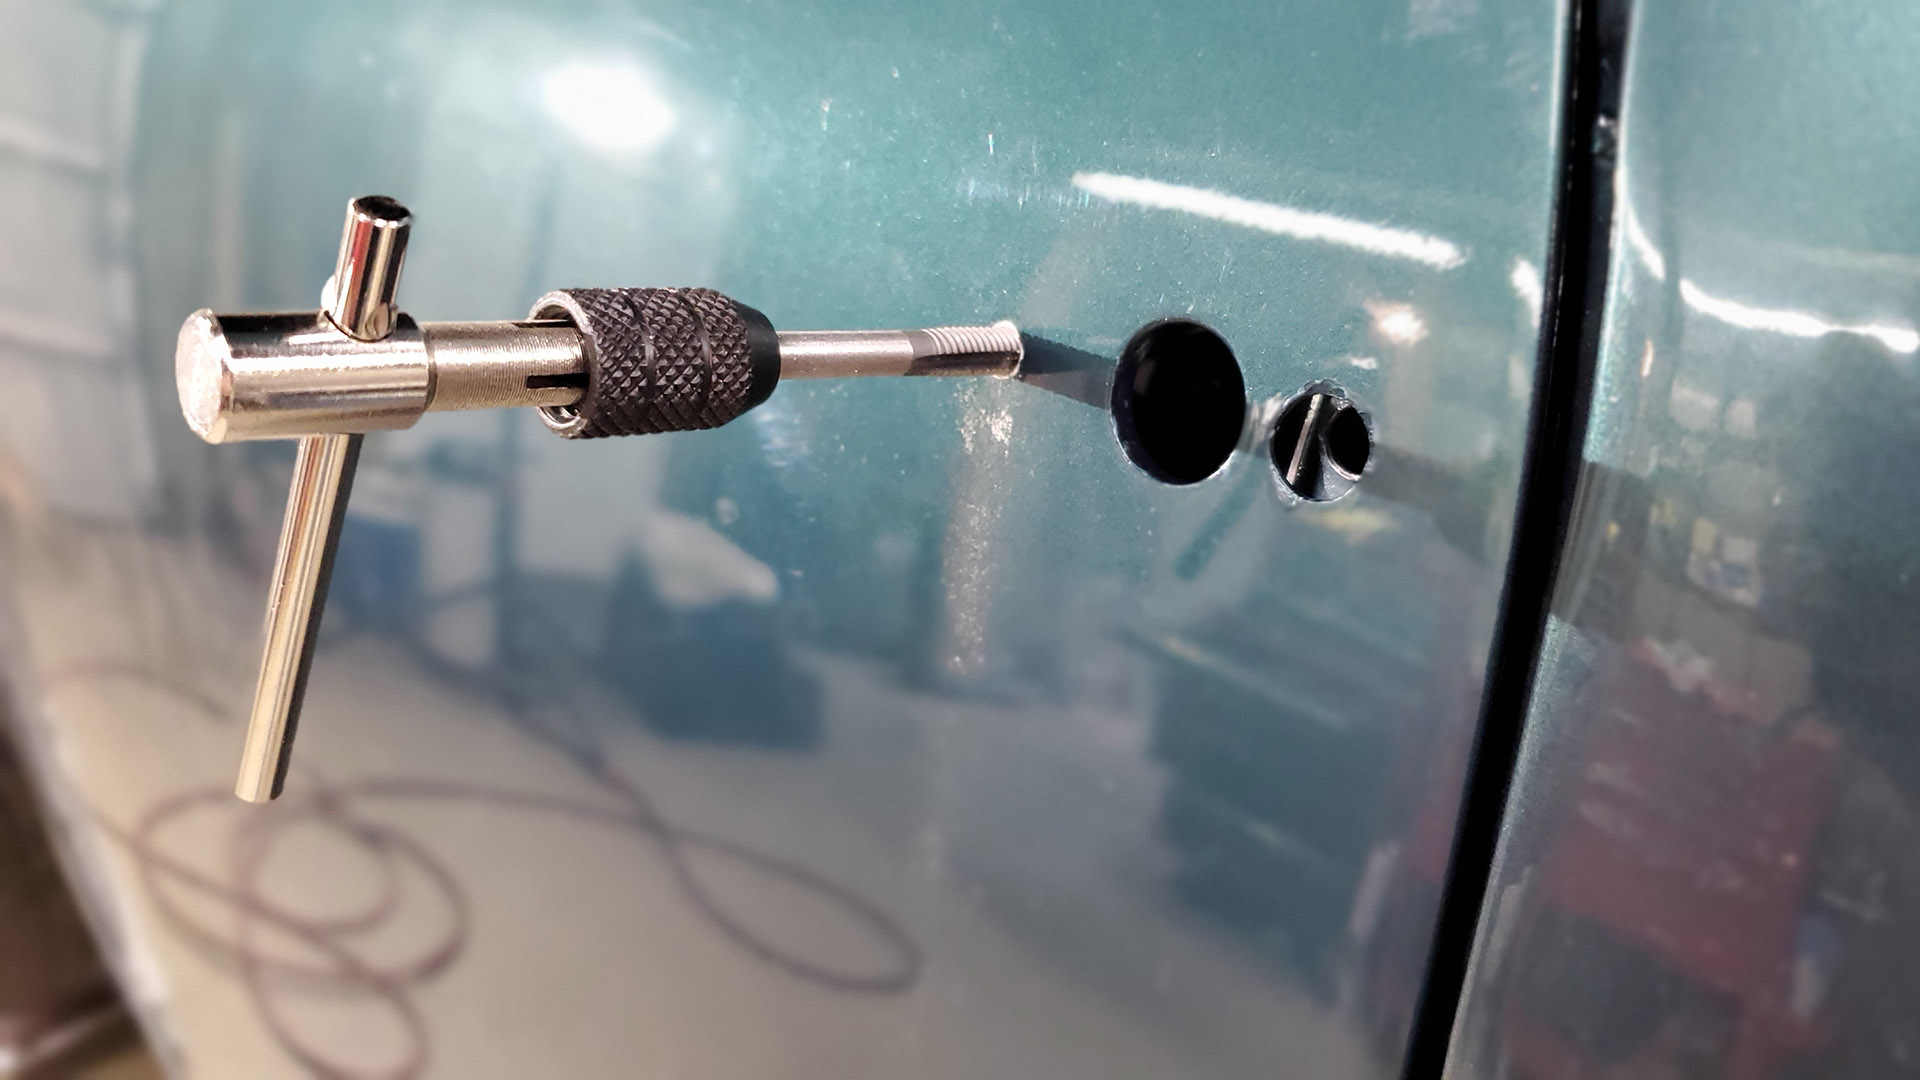


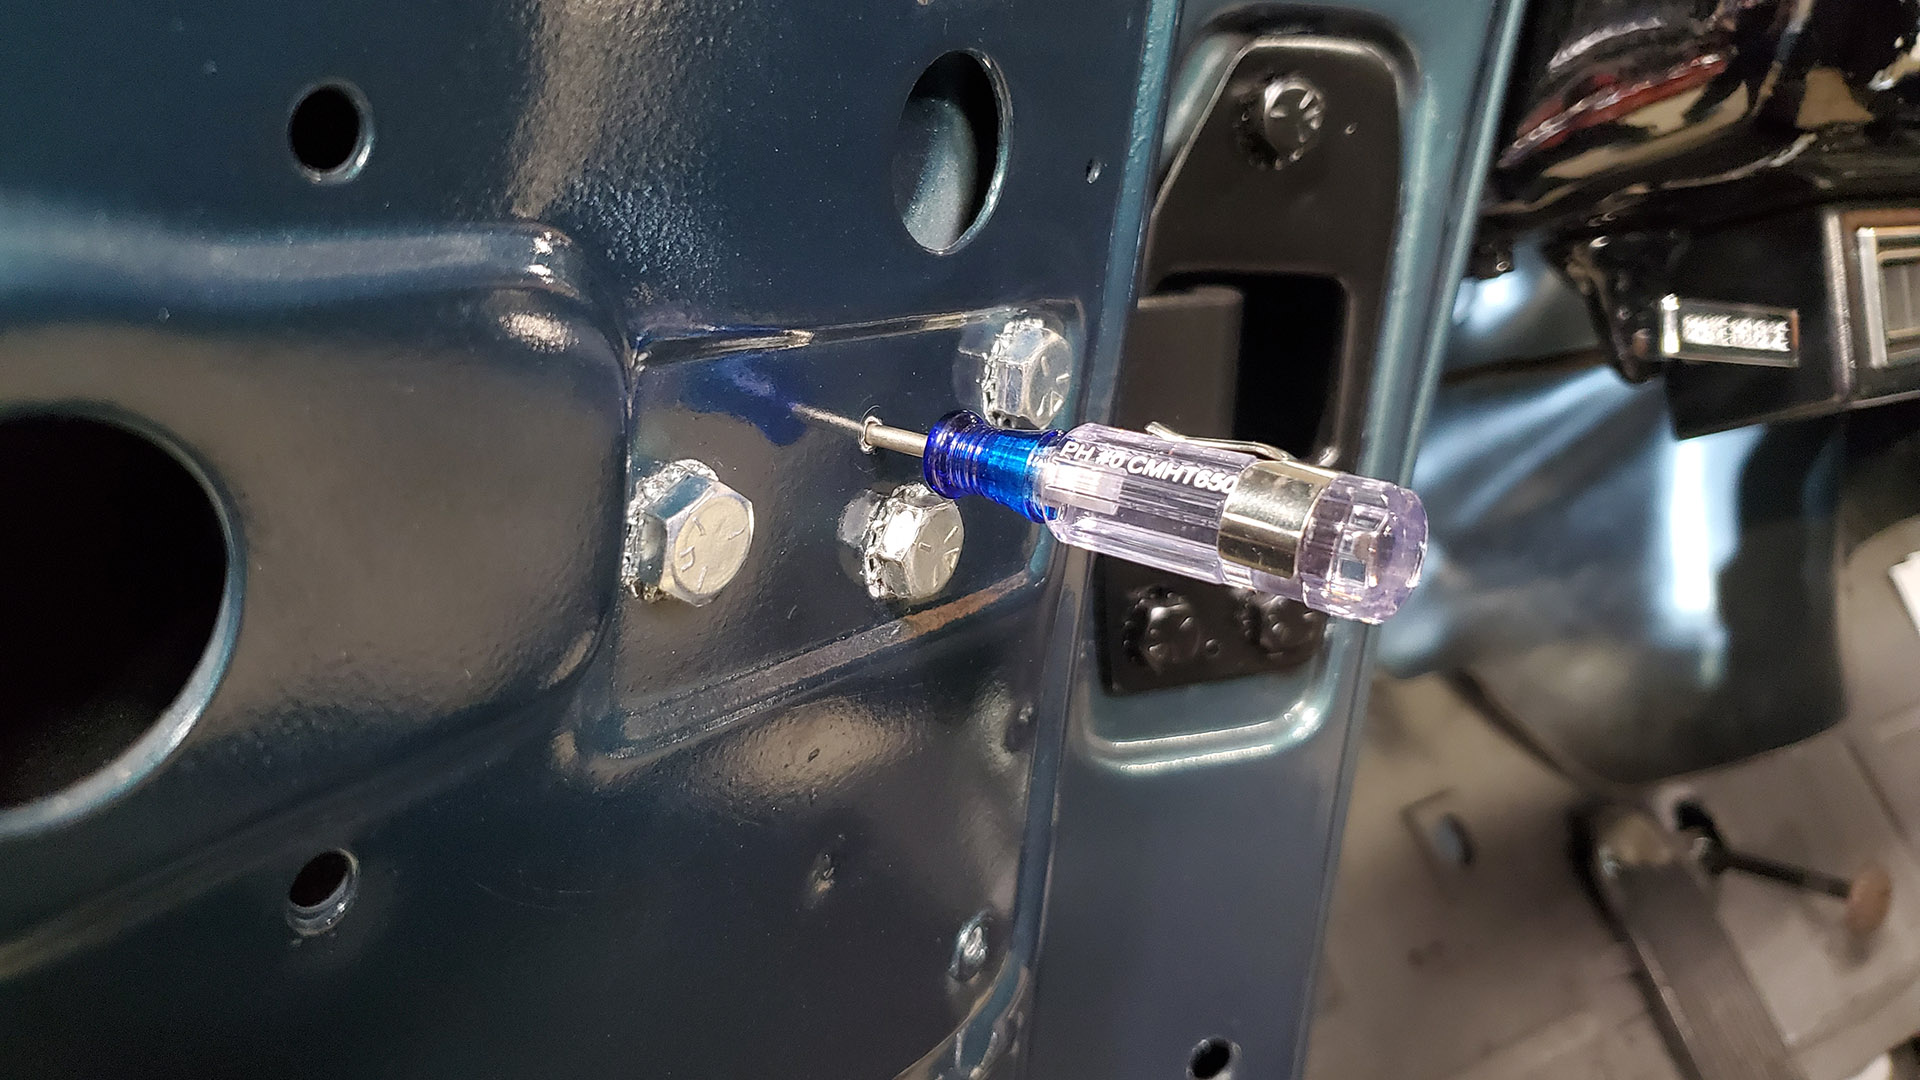
After some finagling, the square shaft on the door handle engages the spring loaded socket in the latch and it's secured to the door with a pair of clutch head screws. The quality of the chrome on these reproduction door handles is surprisingly nice.


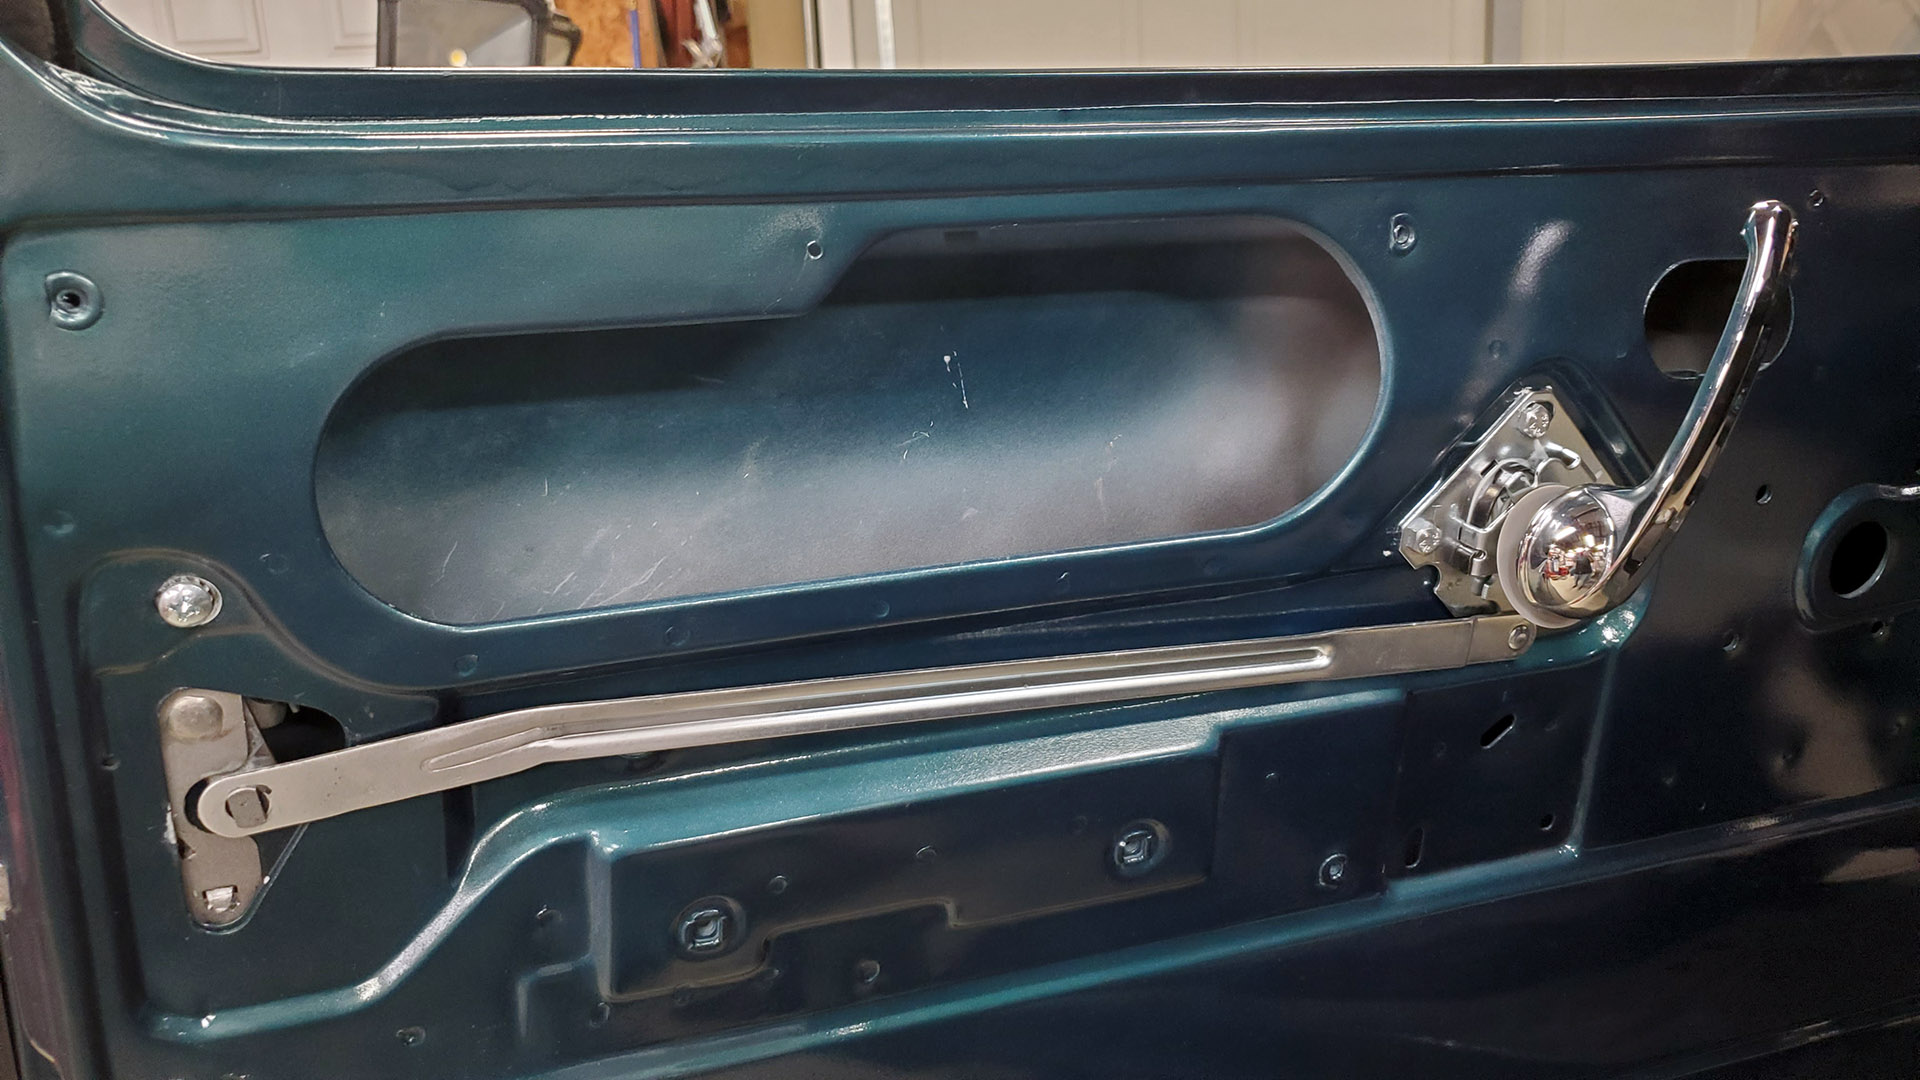
Next came the door controls (also called 'relays') which is the mechanical linkage between the inside door handle and the latch. Here, I decided to depart from the norm and will explain with an exciting history lesson.
For your book of worthless knowledge...
In '47-'48 (even though you can install the inside door handle to point in virtually any direction like the hand of a clock) the designers felt it should point downward. And because it pointed down you had to push the handle forward, rather than pull it back, to open the door. Apparently, after a couple of years, this was deemed unsafe.
Until now engineers had the steel strap link between the handle and latch fitting nicely into a stamped recess behind the door panel. Rather than change the door stamping or the direction the handle pointed (if it pointed upwards you could pull it to open the door), they changed the design of the relay. The long strap no longer fit into the recess but instead was relocated above and outside the recess - running diagonally to the latch - and potentially interfering with the upholstered door panel. Foam spacers were used to bulge the door panel out for clearance. Replacement relays for '47-'54 trucks would now be this later design.
I don't see why the handles have to point down. With arm rests installed, it'll be more comfortable if they point up anyway (just like the T-Bird and Mustang we did last). So, just for grins, I decided to use door controls for 1964-1966 Chevy trucks instead. With some very minor mods, they fit into the stamped recess and work just like the very early design. I'll simply install the handle to point somewhere between 9 and 3 o'clock for a pull to open and push to lock scenario.


Okay, two steps down: A door that opens and closes without rubbing, and one that latches and unlatches. The next potential hurdle that guys run into is weatherstripping. You can't get the originals any more. The profile of what you can get might work or cause problems - like, not be able to shut the door anymore, latches that won't latch, or aggressive slamming due to bulk.
Most parts vendors name their source of door weatherstrip products or the size. They just say how great they are. 5/8" and 11/16" are common. You might get lucky on the fit or you might not. The last thing I wanted was to glue 14 feet of weatherstrip to the door and end up with any of the messy problems. And remember, we already have one door that's 'tight' in the opening.
After doing some research on the stovebolt.com forum, Steele Rubber Products came up. I knew they made good products - I've used them. Spendy, but worth it.
I've glued weatherstrip on before. It's not enjoyable. Not at all. With sound, clean, new paint on the doors, I decided to try their 7/16" weatherstrip with 3M peel and stick application (#70-0331-WT).
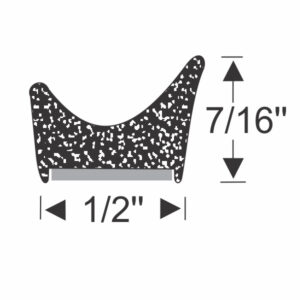


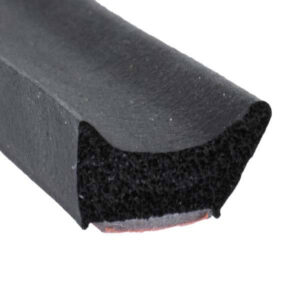


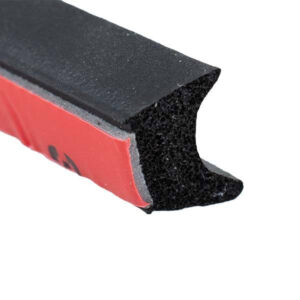


It would be pretty difficult to install the weatherstrip to these doors while they're on the truck. Removal is recommended - which is what I did. I cleaned the surface with alcohol and began peeling and sticking. It was a joy and went very fast fast without masking and applying glue. The adhesive strip also prevents you from accidentally stretching the rubber, which can cause problems.
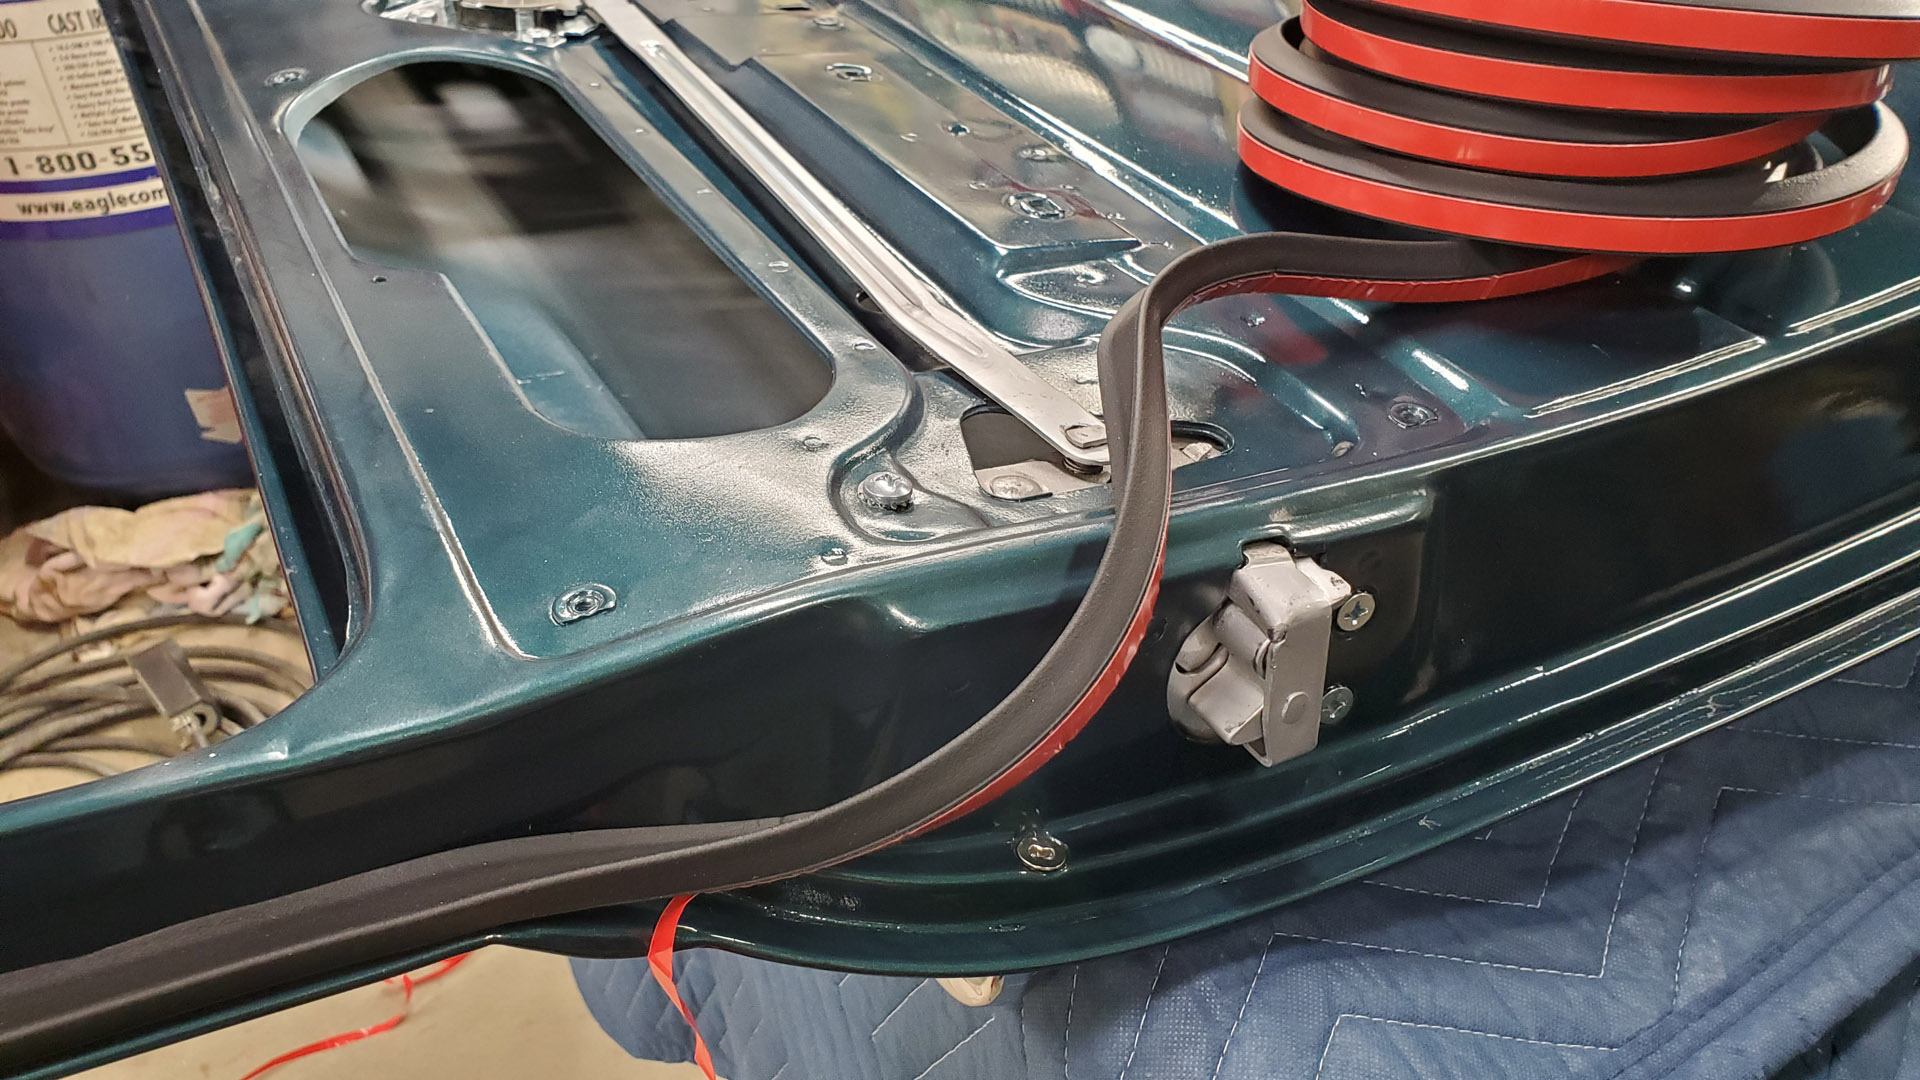


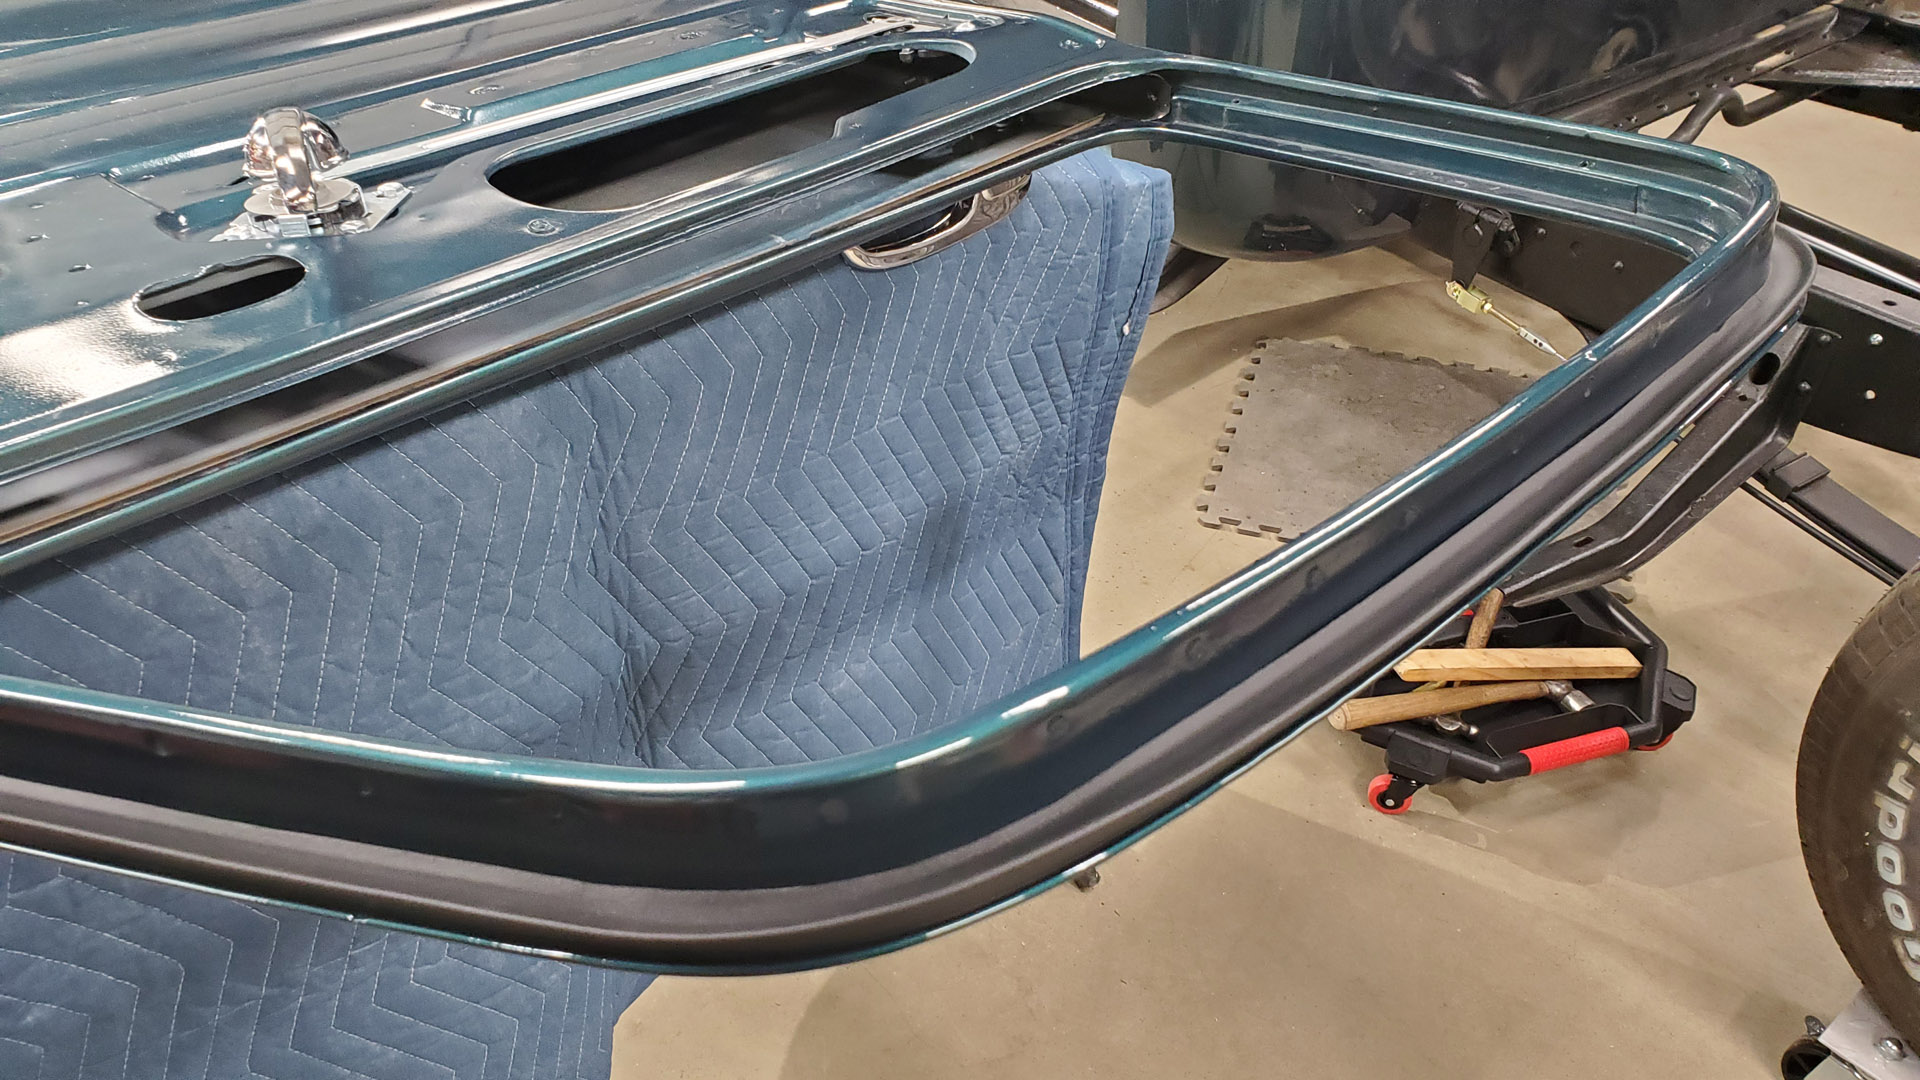


The pilot holes drilled through the door on both hinges made re-installation a breeze. The door closes effortlessly and the weatherstrip seems to contact the cab. If, for some reason, it doesn't do the job then it'll have to come back off and we'll glue on the thicker material. So far though, I'm impressed.
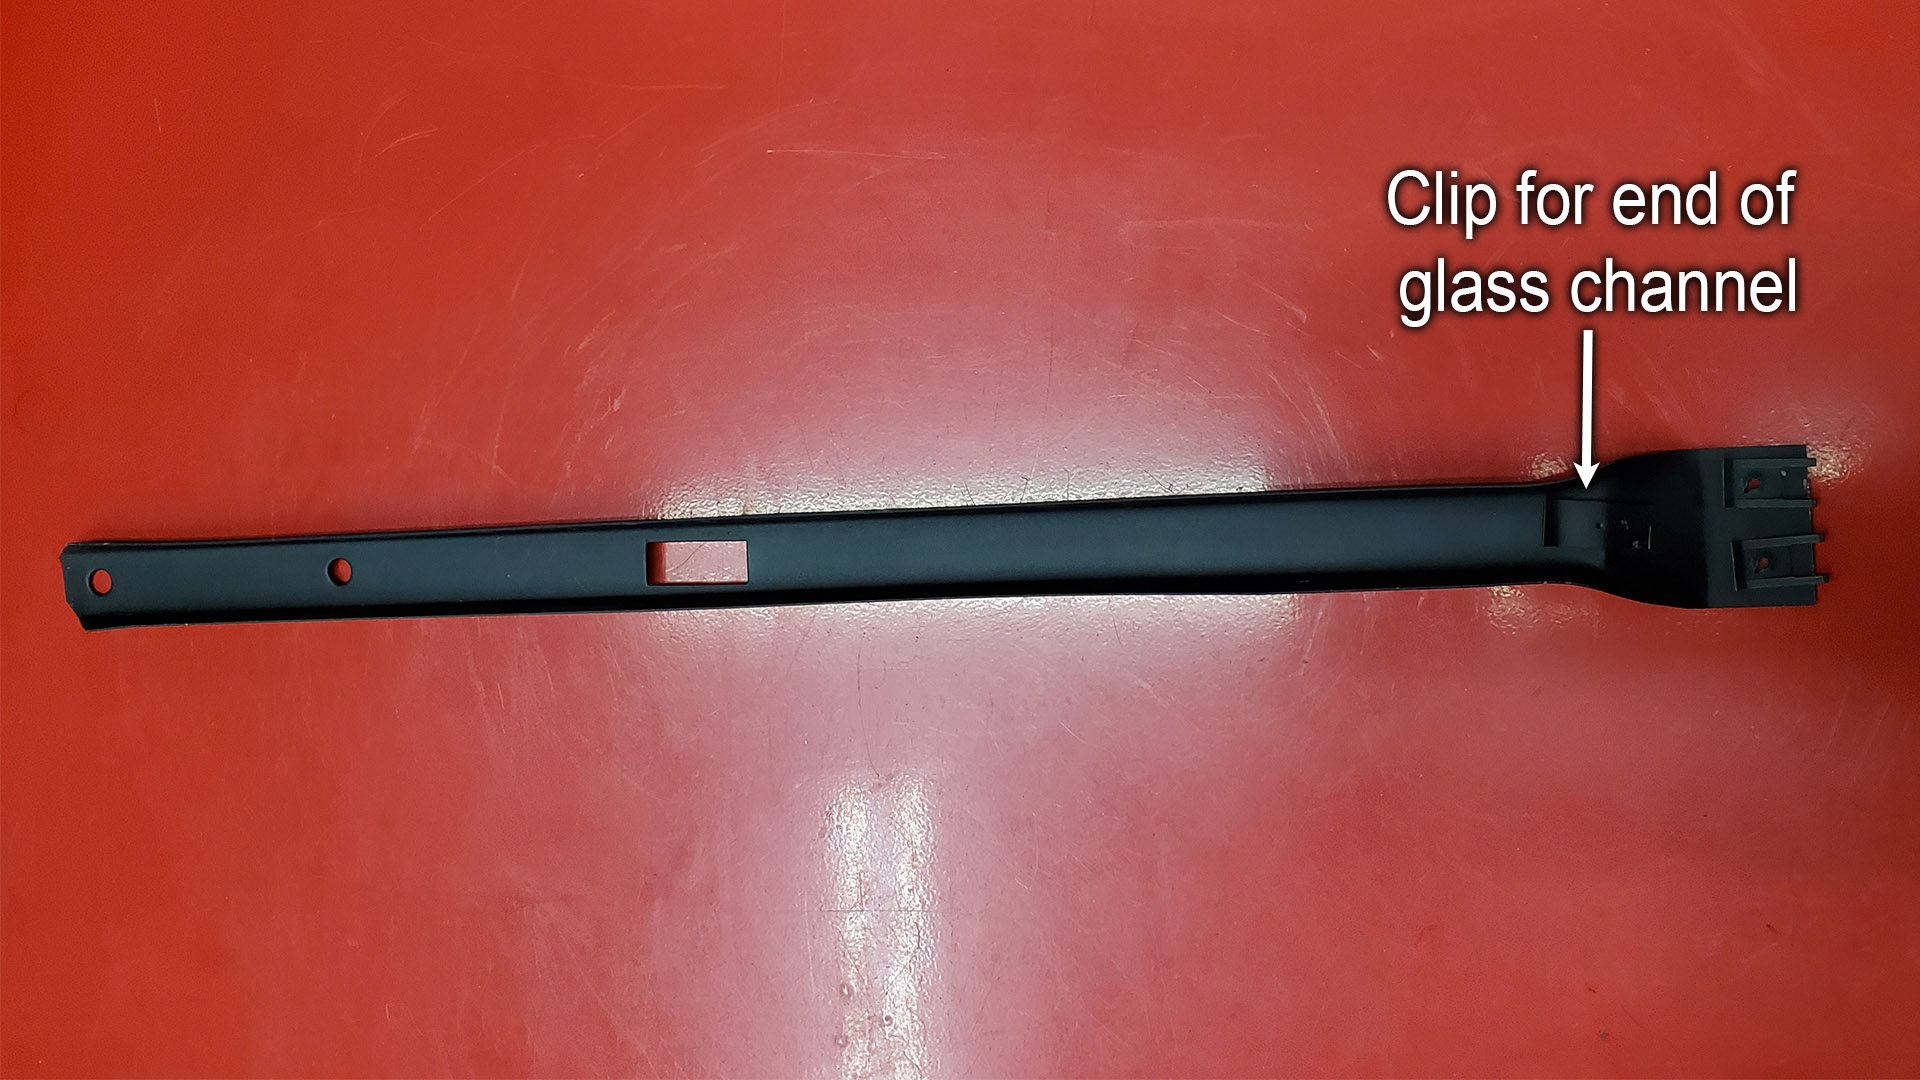
To proceed, a glass channel guide is bolted into the back of the door over the latch. The end of the glass channel will clip into this and be supported. The front guide is a permanent part of the door structure.


The final challenge to these doors is installing the glass run channels. They are c-shaped channels, made of corrugated steel and wrapped in fuzzy black fabric, that the side glass slides up and down in. They're not pre-formed to fit the door and for some reason (no one knows why) they come bent and rolled in the opposite direction of their ultimate shape. Weird.
So, first they have to be carefully straightened their full 7-1/2 foot length while tending to any kinks with pliers. Then they have to be bent the other way to fit down into the door and around the window opening.
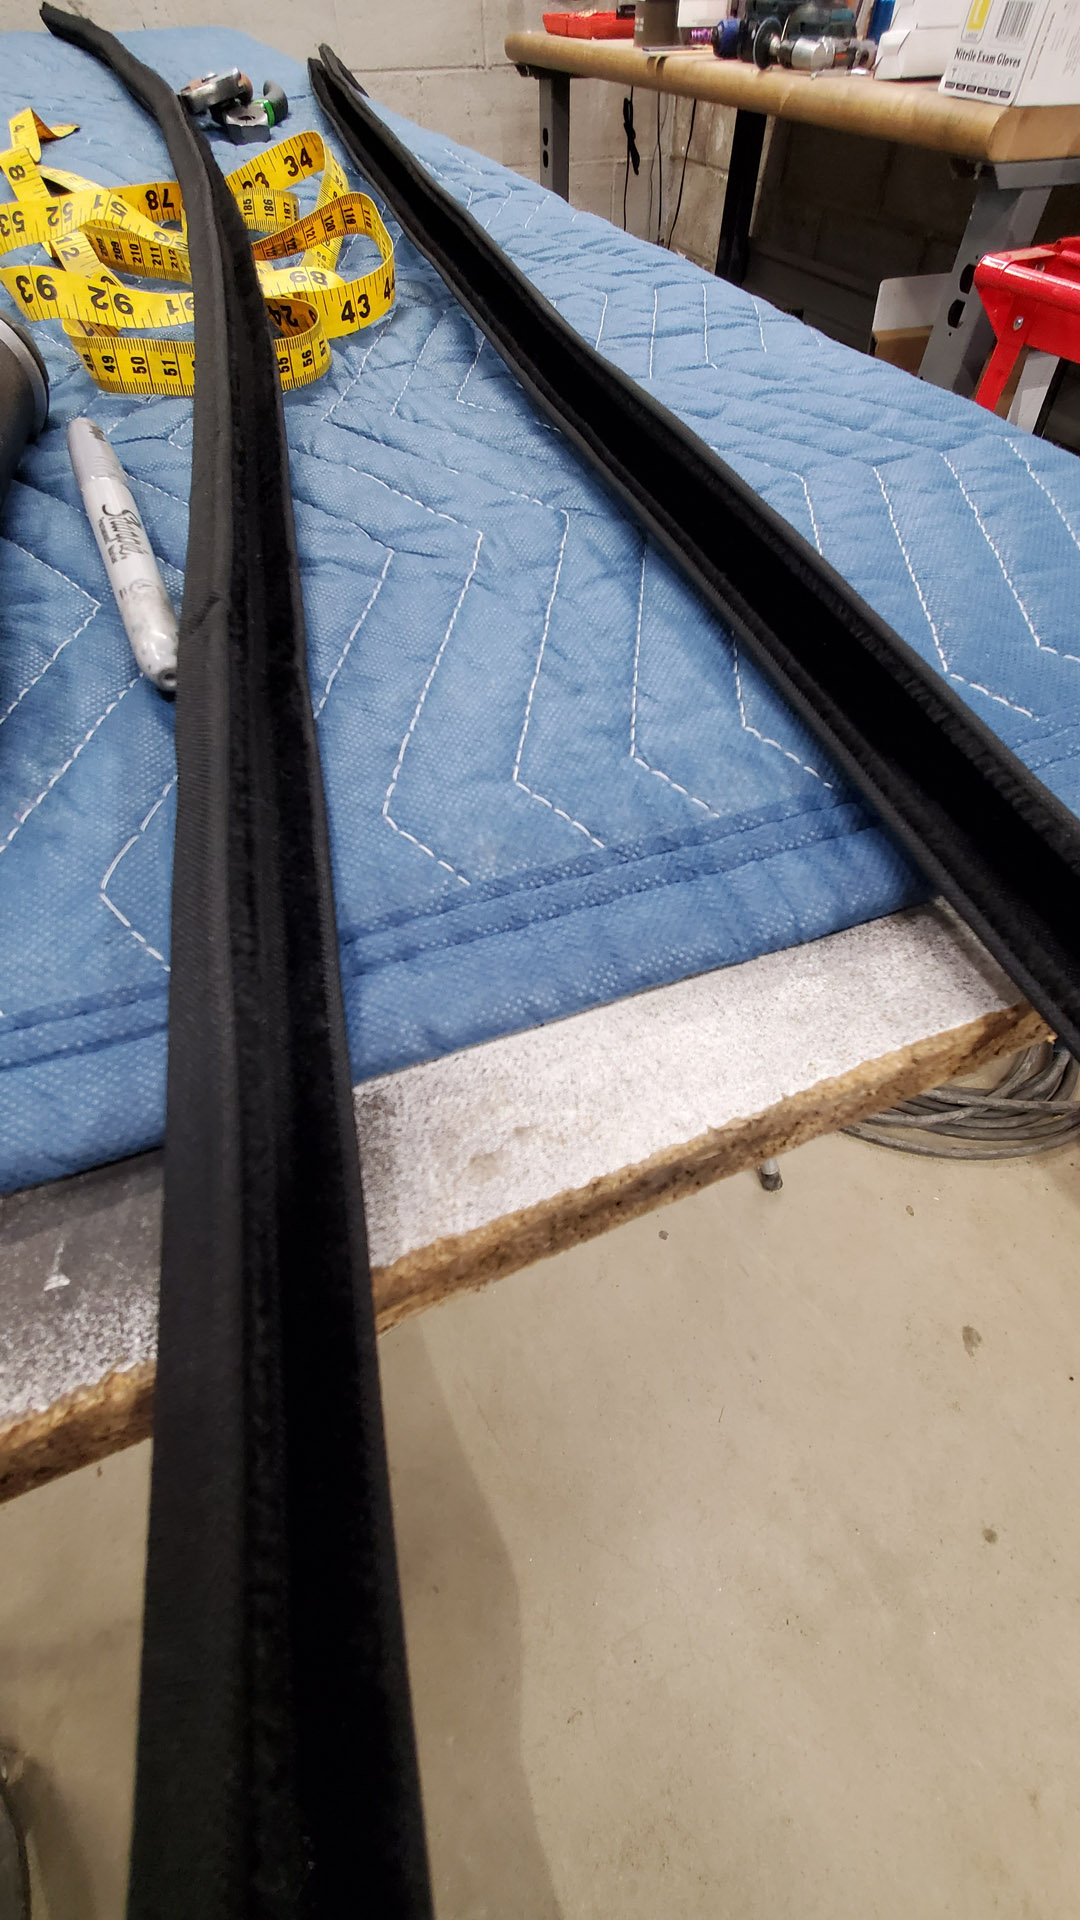


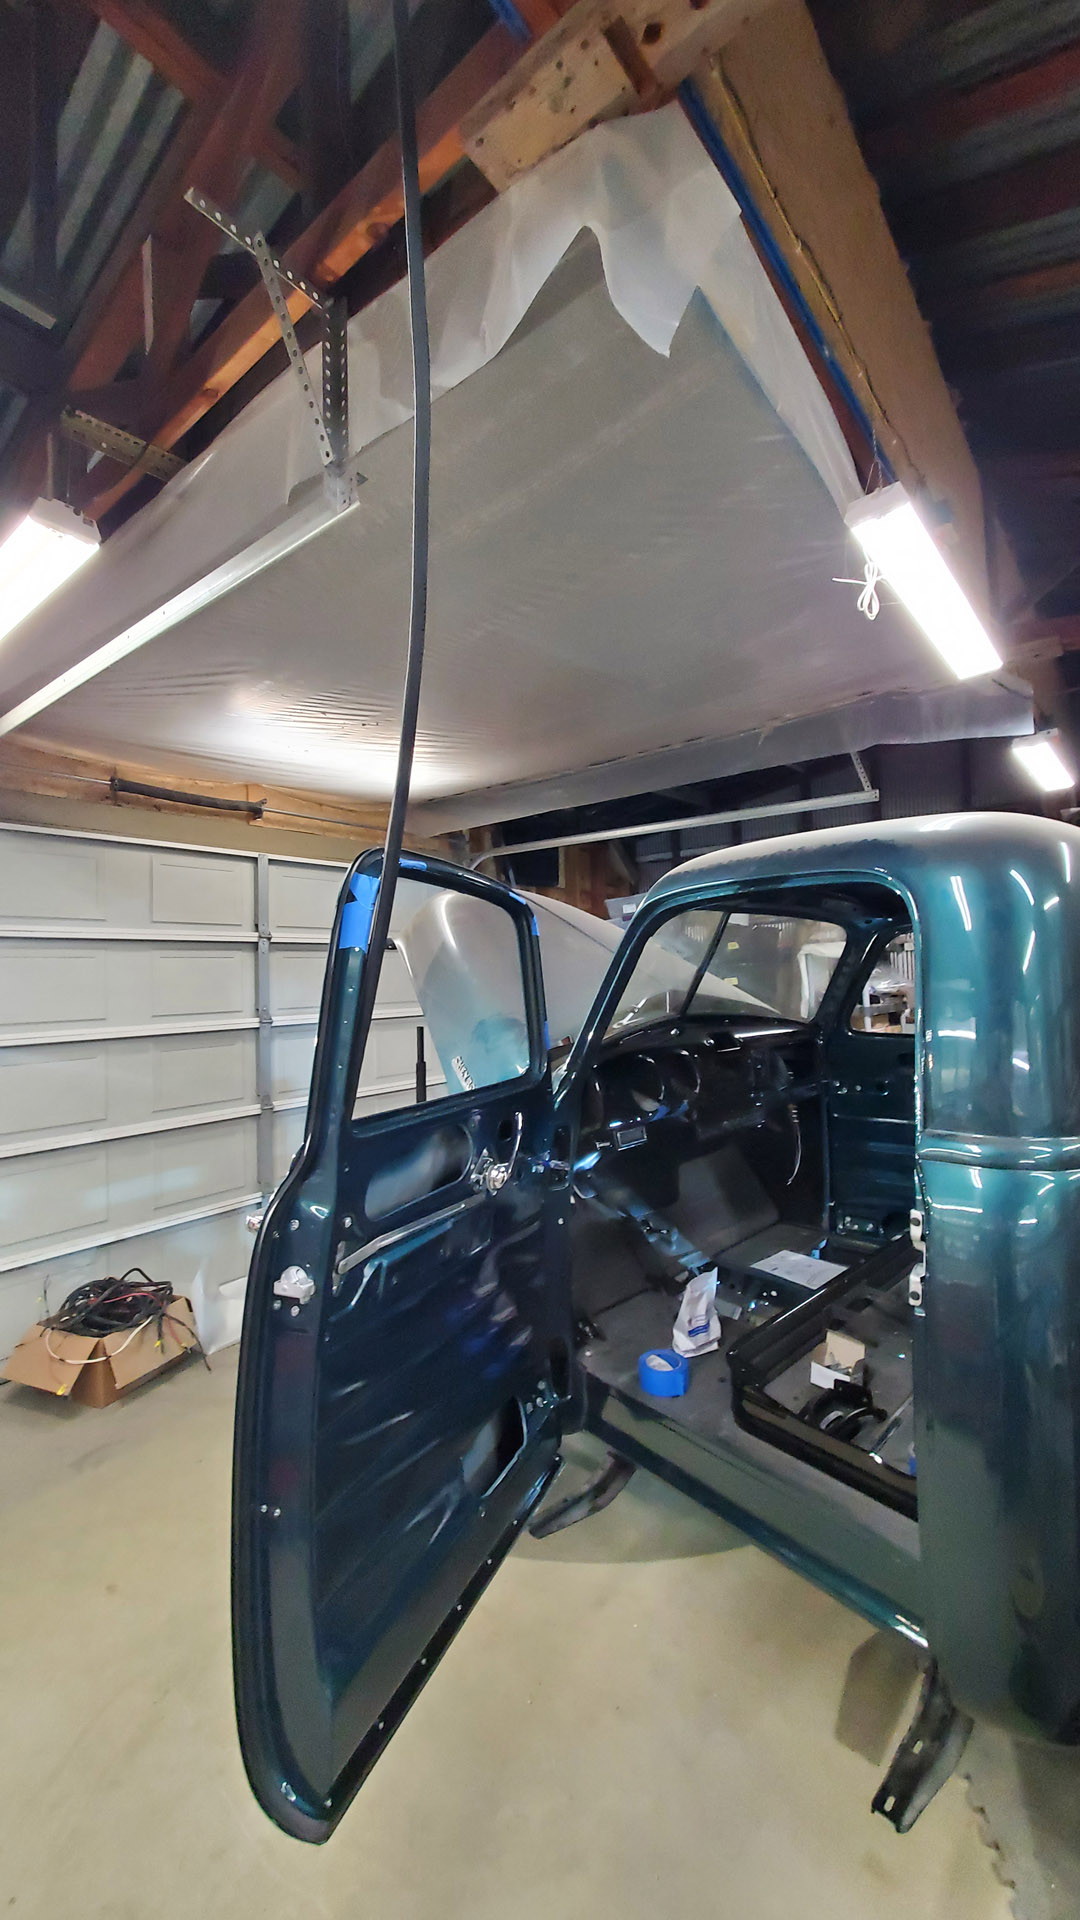


Some guys reportedly form these right to the door while on the truck. This stuff seemed way too rigid to bend freehand with any accuracy, even with tools, and expect a decent final fit. Nope, I'm not that talented.
Luckily there's more than one way to skin a cat. There may be easier ways but here's what I came up with while working through the process.
First I traced the shape of the door glass to a piece of 3/8" OSB I had laying around and cut it out.
Though there are curves everywhere, I made reference marks on the door and pattern to correspond with the three main bends. The first mark or two of Bend 1 is really all that's necessary. Didn't need the tape measurements I took and recorded either.
The straightened glass channel is inserted at the back of the door (see photo above) and shoved down to the end of the guide where the spring clip catches it. It's now sticking up into the rafters. The start of the first bend is marked on the channel. Yeah, you could take a measurement instead, but this was easier.
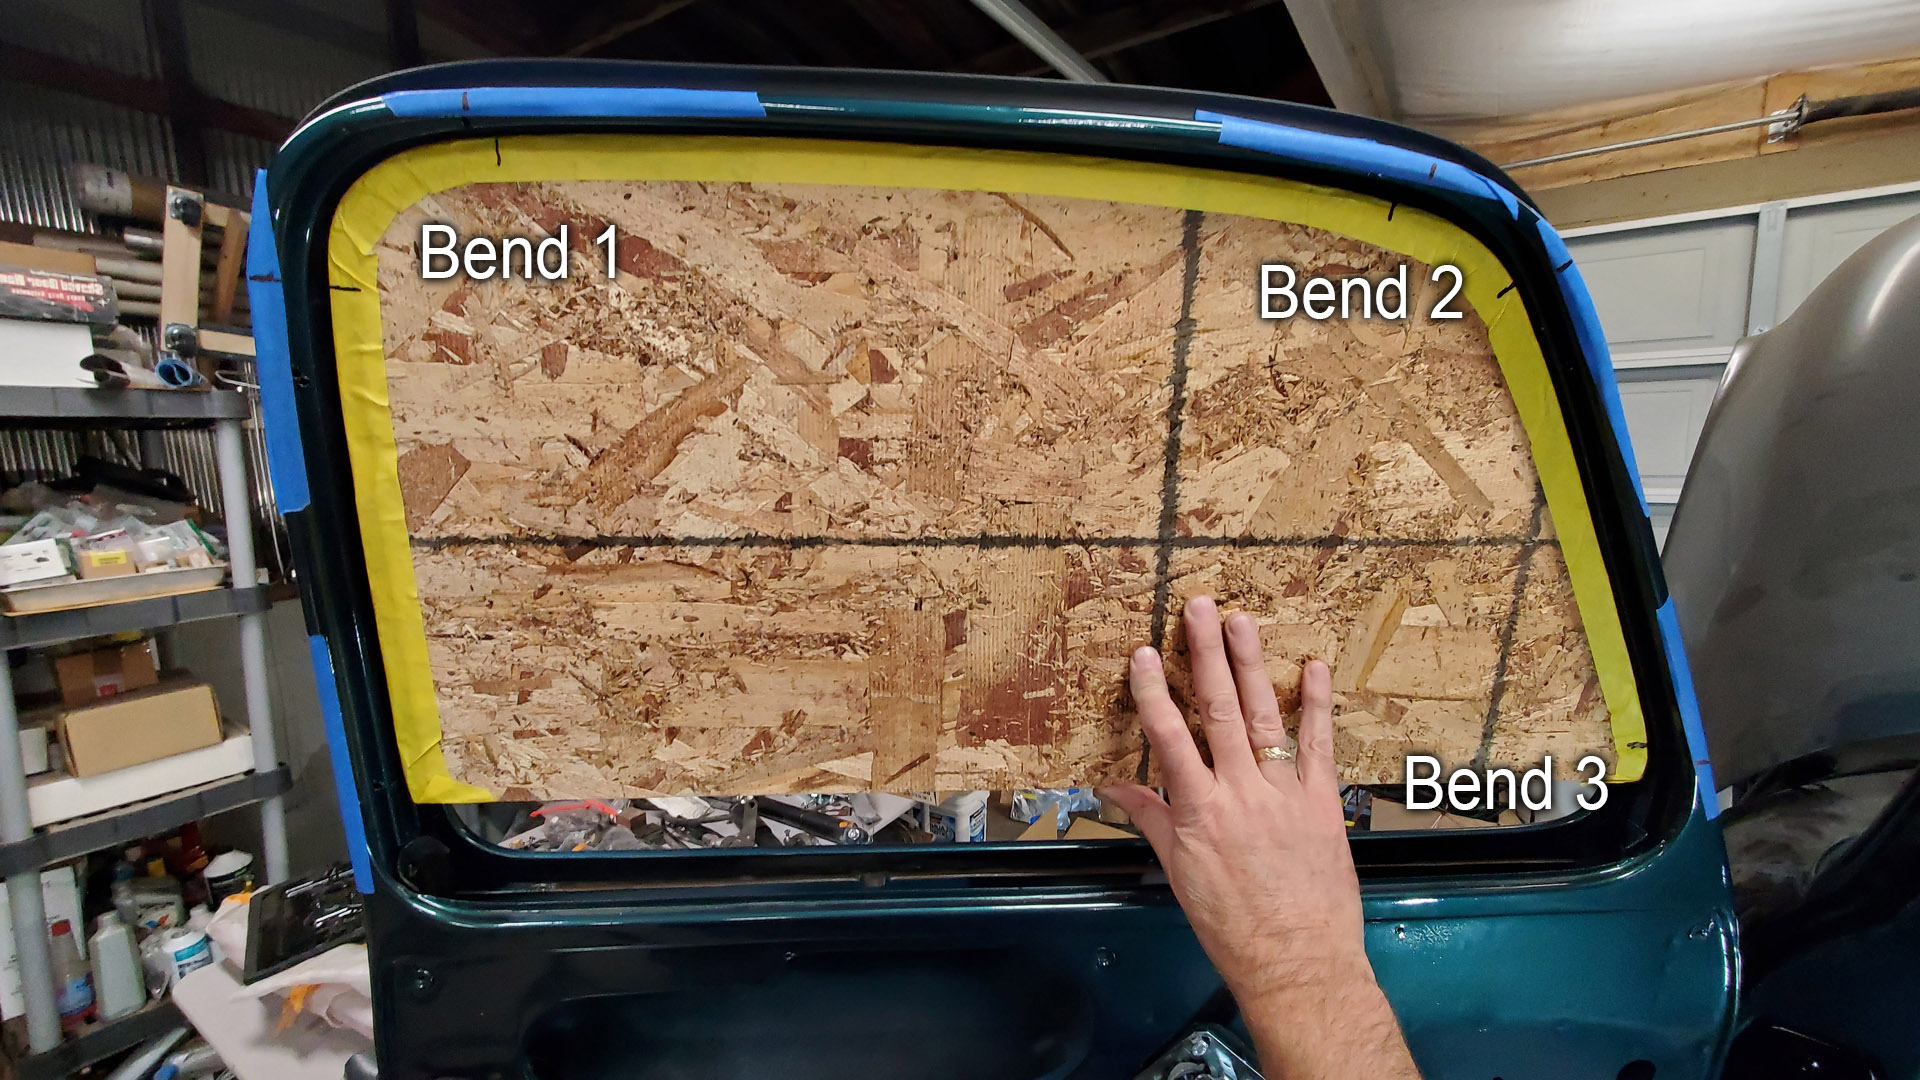


The wooden form was then clamped in a vise, the channel laid over it, and lined up with the marks for Bend #1. The metal inside the fabric covering is corrugated so that it can bend corners and collapse in an accordion fashion.
It went pretty fast and easy like this. Kinks are worked out and flattened with pliers. Other tools can be used to coax the bends into shape.
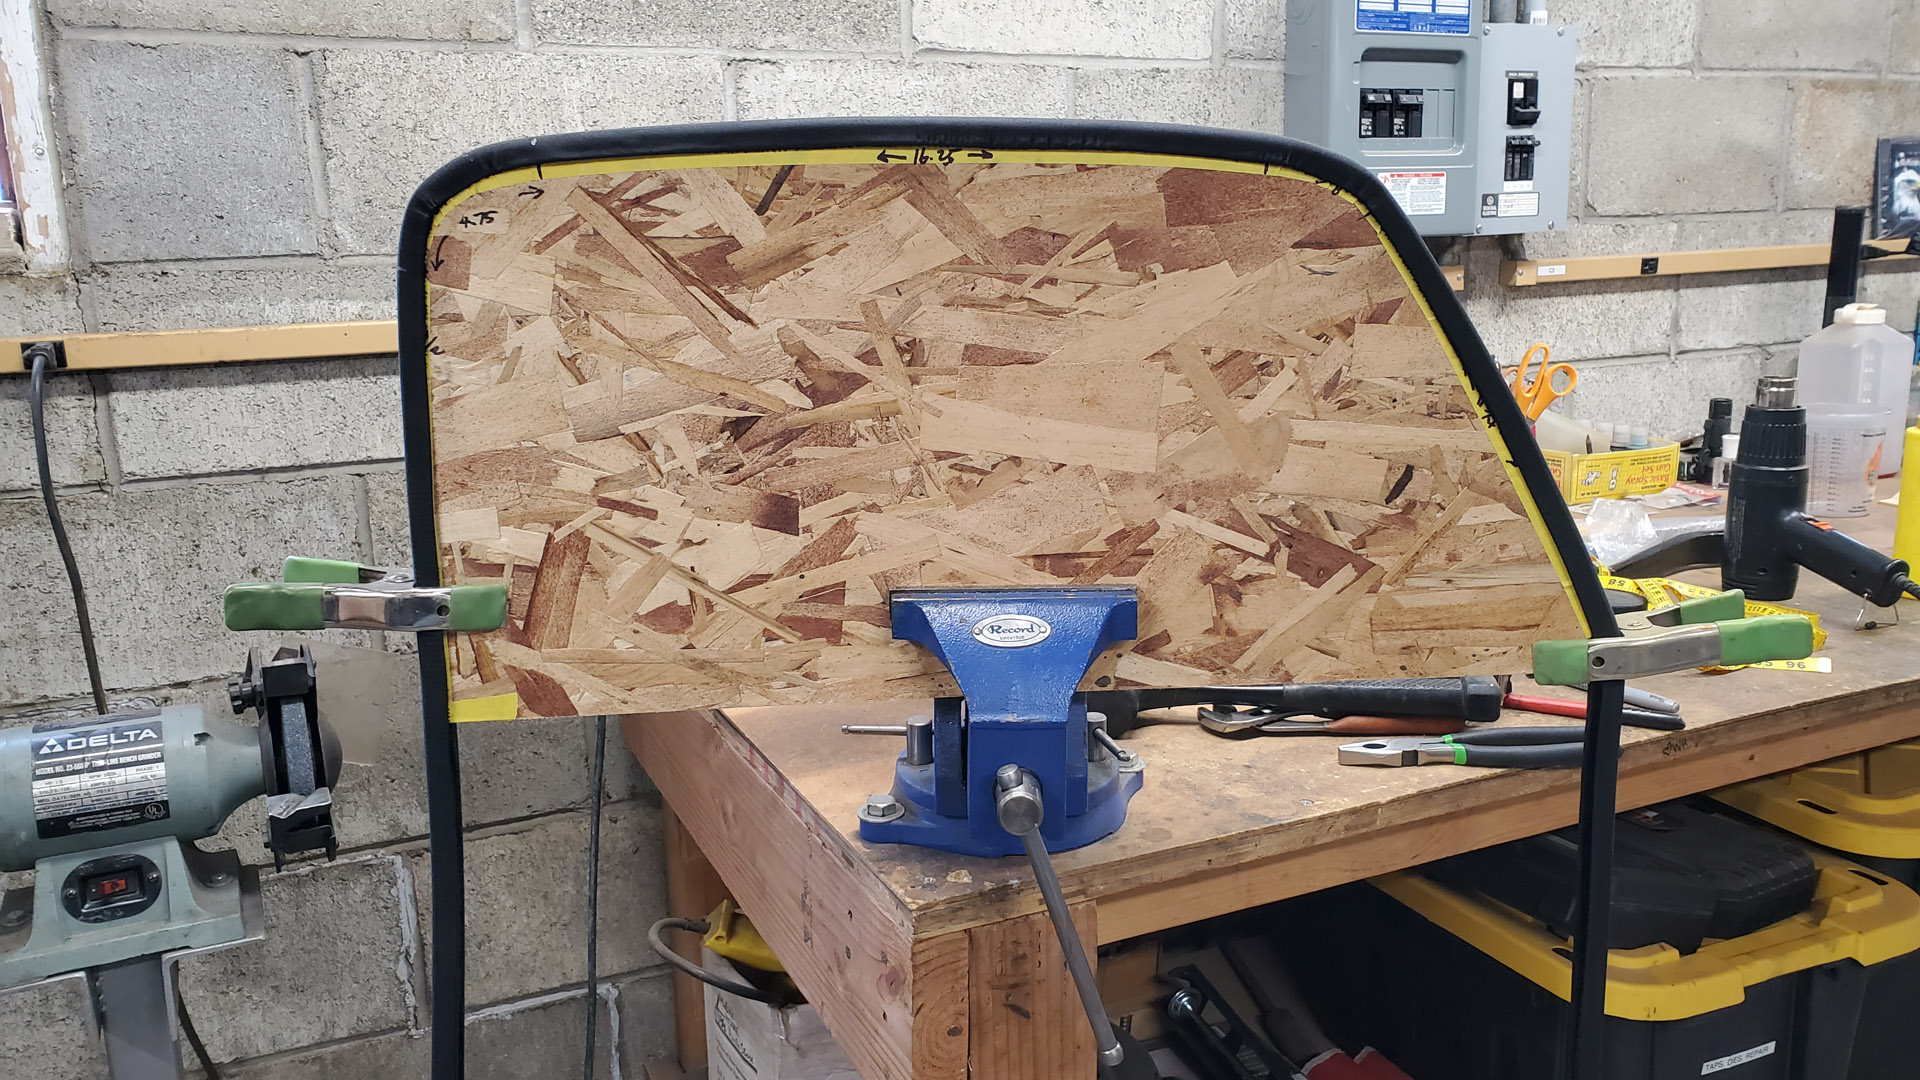


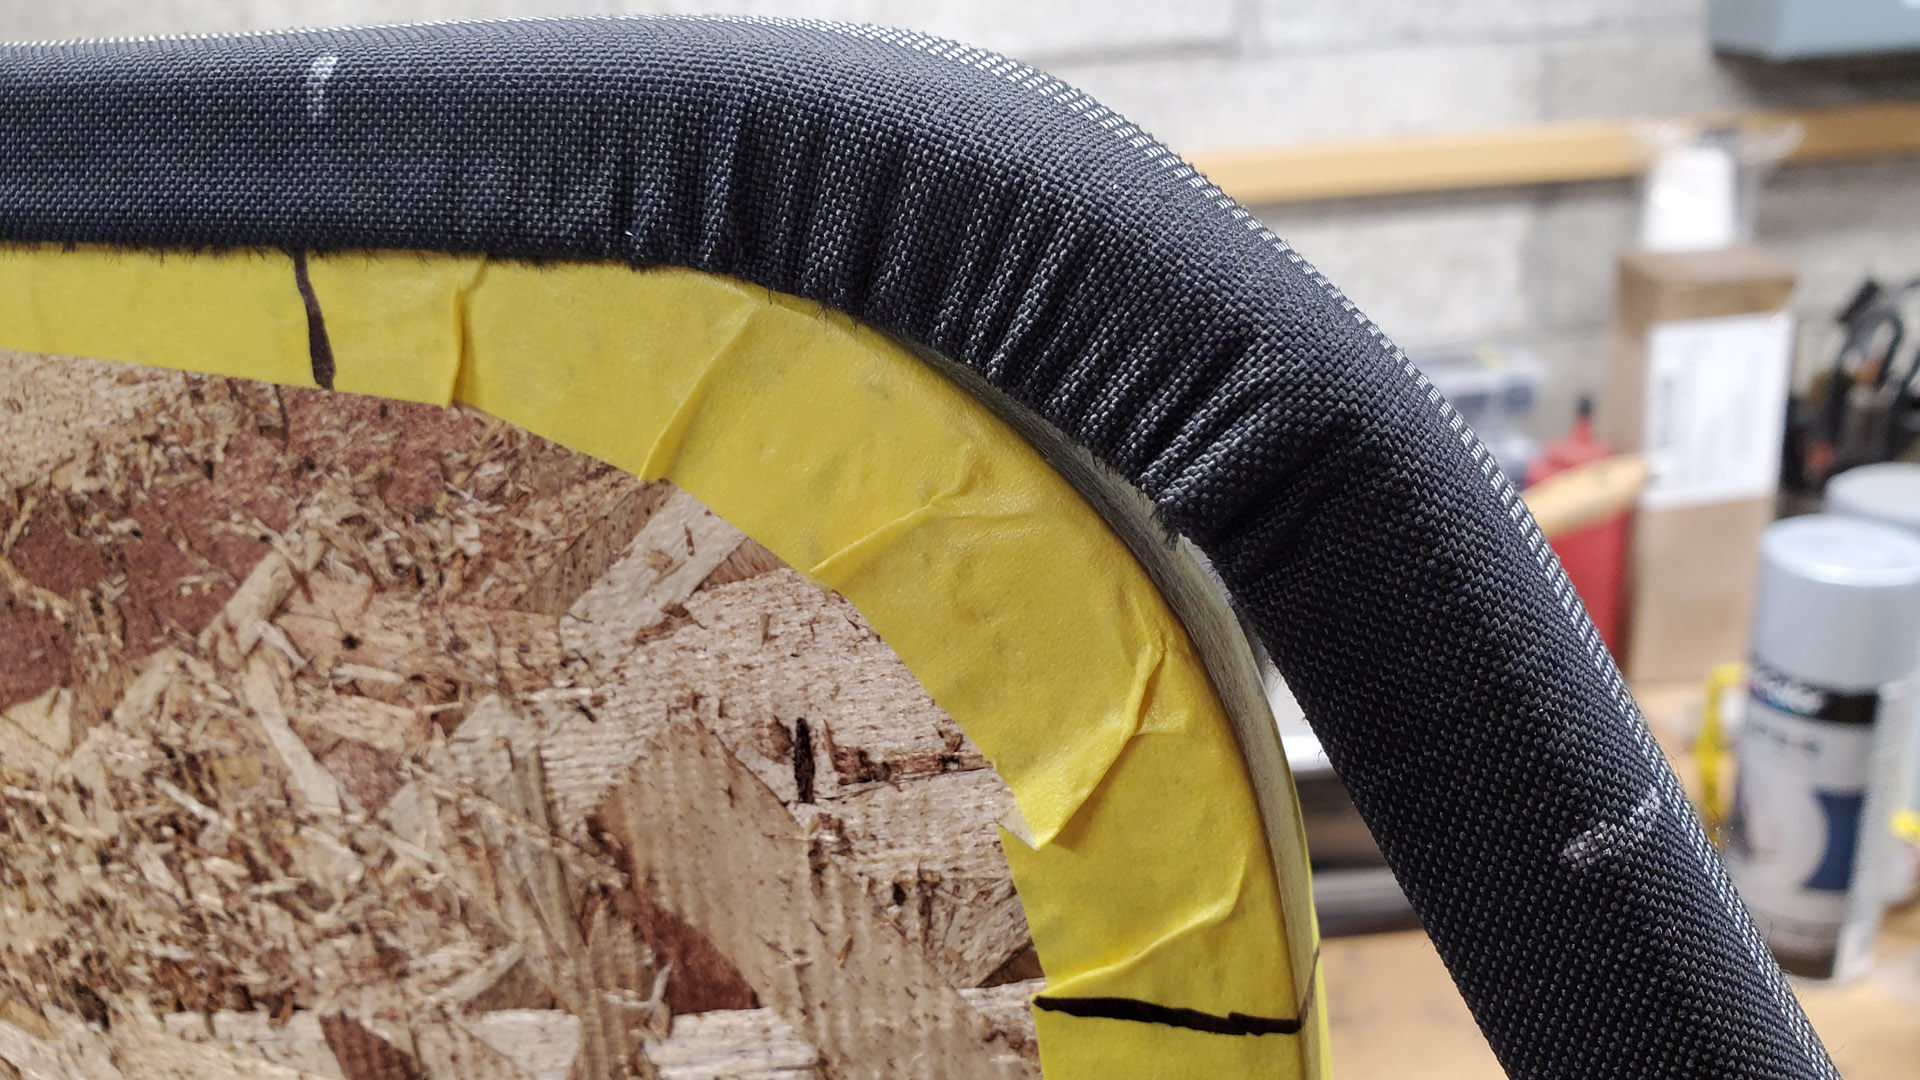


After some test fitting in the door (a perfect fit), the channel was marked again at the bottom end of the guide at the front of the door (there's a spring clip there too) and trimmed to length.
Back in the door, the channel then just needs to be secured to the door frame around the window opening. Some folks use pop-rivets or glue. I wanted to be able to easily service the door in the future so screws were selected.
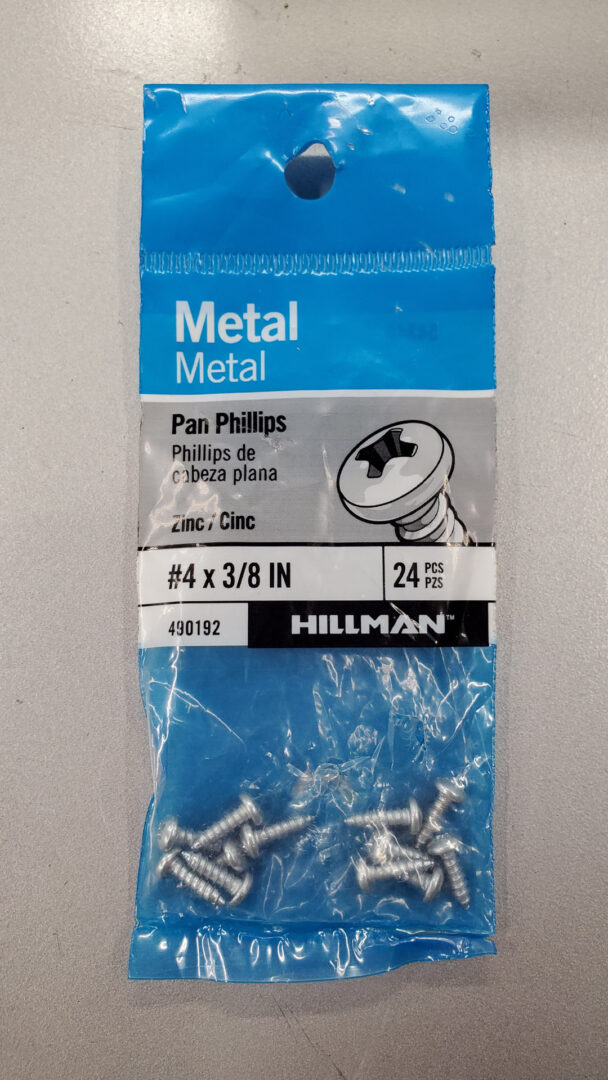
In each corner of the window opening and top center of the door frame is a slight recess where there is a single layer of sheet metal. These looked like a good place to bury screw heads so one-by-one a 5/64" hole was drilled for #4 x 3/8" pan head sheet metal screws. They're pretty small, and buried in the channel so I'm hoping the glass frame won't come into contact with them with the window rolled up. A garnish molding will dress the inside of the window opening and cover the edge of the channel.


While doing this work on the driver door I was trying to scrounge a working latch for the passenger side. As mentioned already reproduction latch #1 was returned.
Latch #2 was found on E-Bag. It looked old and crusty like an original GM part but when it showed up after two weeks I wasn't so sure. It got the same cleanup treatment and there was very little wear. After bolting it up I got it to latch and unlatch but it just felt weird. I could pull on the closed door and it would flex open a little. Something wasn't right. It didn't look like a reproduction but may have been some kind of aftermarket service replacement - definitely not OEM though. I didn't want to take a chance so I ate the cost of that one.
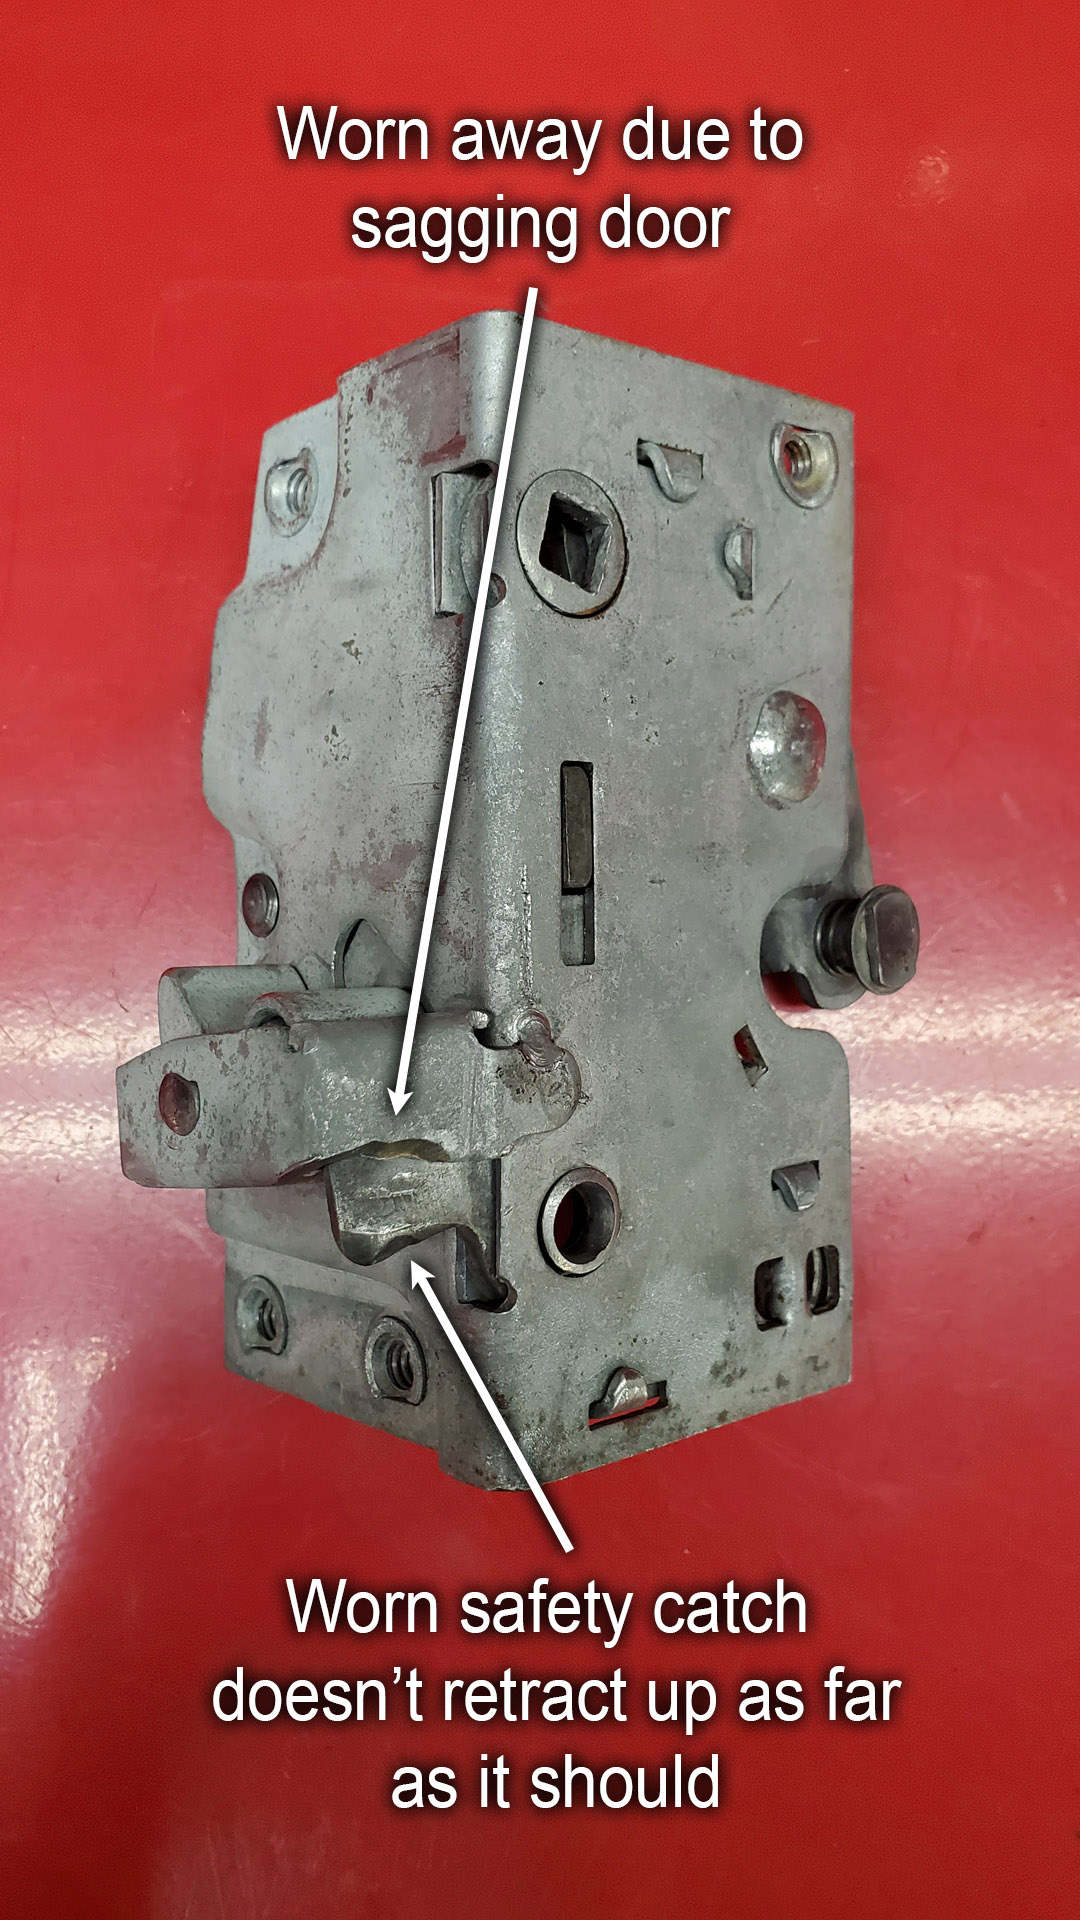
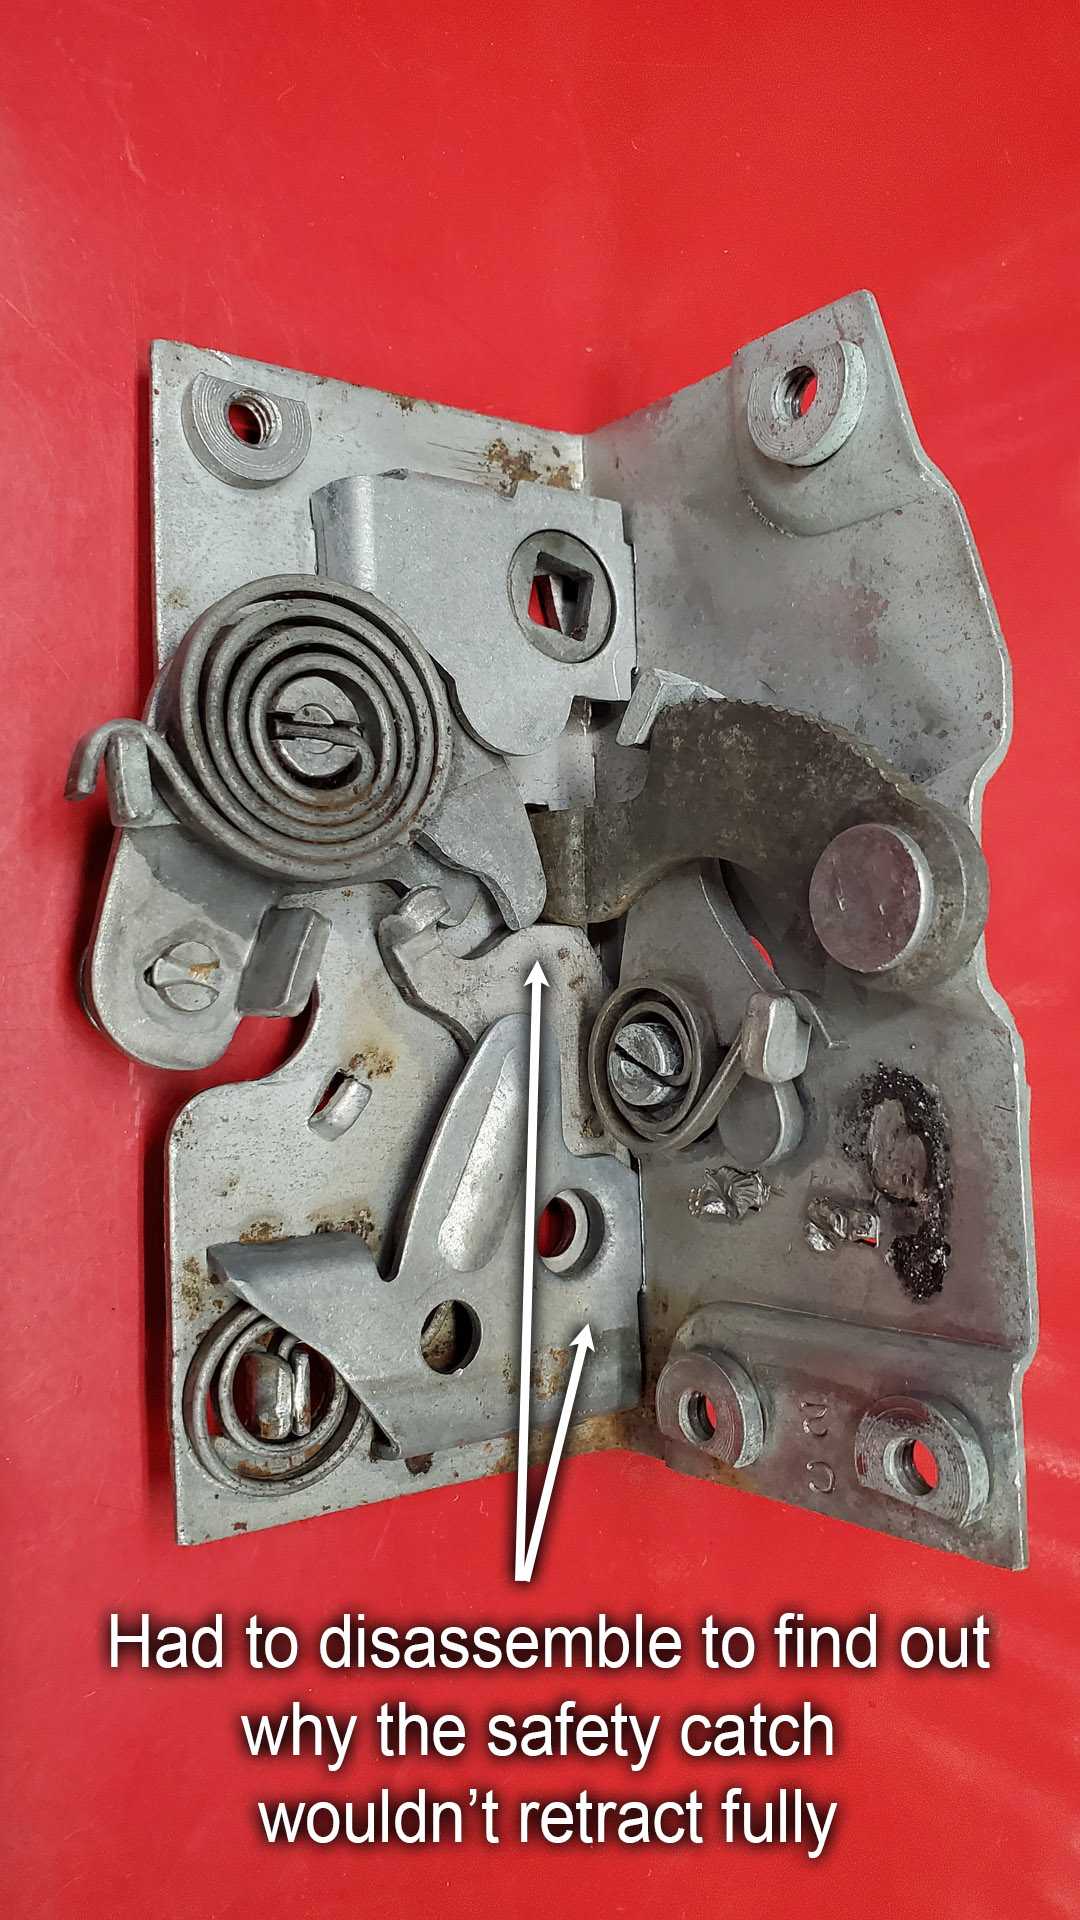
For some reason I was feeling unusually lucky and ordered a reproduction by Dynacorn (still made in Taiwan). A week later it arrived and was installed. It latched securely and unlatched from the inside just fine. However, after installing the outside door handle, I found it wouldn't fully release using that handle. It would stop at the safety catch. Upon closer inspection I concluded the geometry of the moving parts just wasn't right for that portion of the mechanism and I didn't want to spend time trying to modify it to work. Foiled again! Latch #3 was returned for a full refund.
Back to E-Bag for a possible NOS piece and another week of waiting. Though it was gummed up solid with grease, a soak in Chem Dip brought it back to life. Latch #4 was a winner! This proved to be another case where original, tried and true GM parts are worth the extra cost if you can find them.
With the door latch fiasco resolved I could get the key lock installed (passenger side only) and pull the door off for weatherstripping and get the glass channel formed.


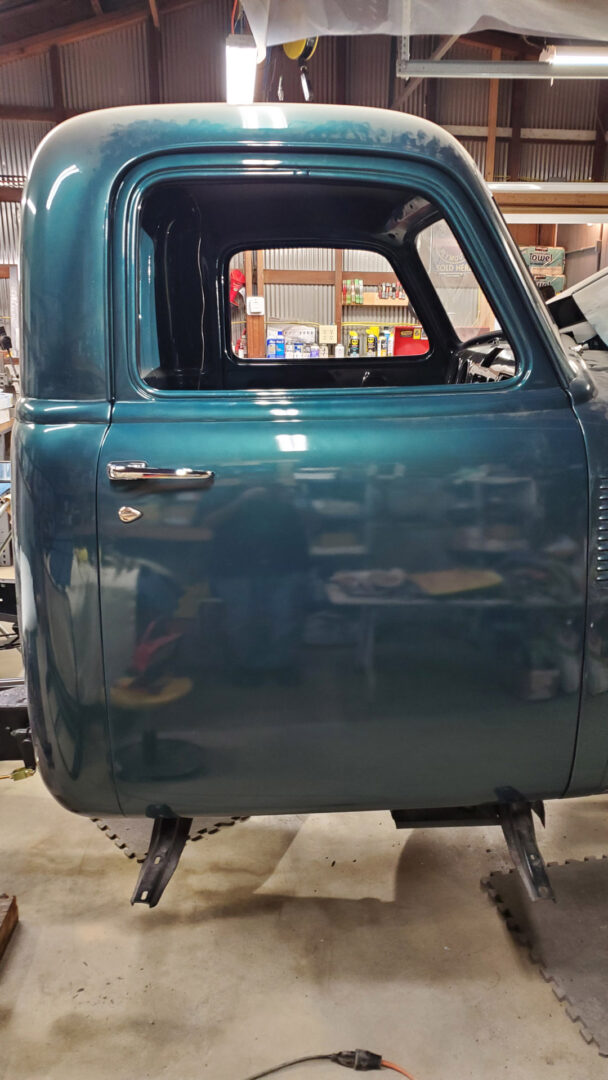


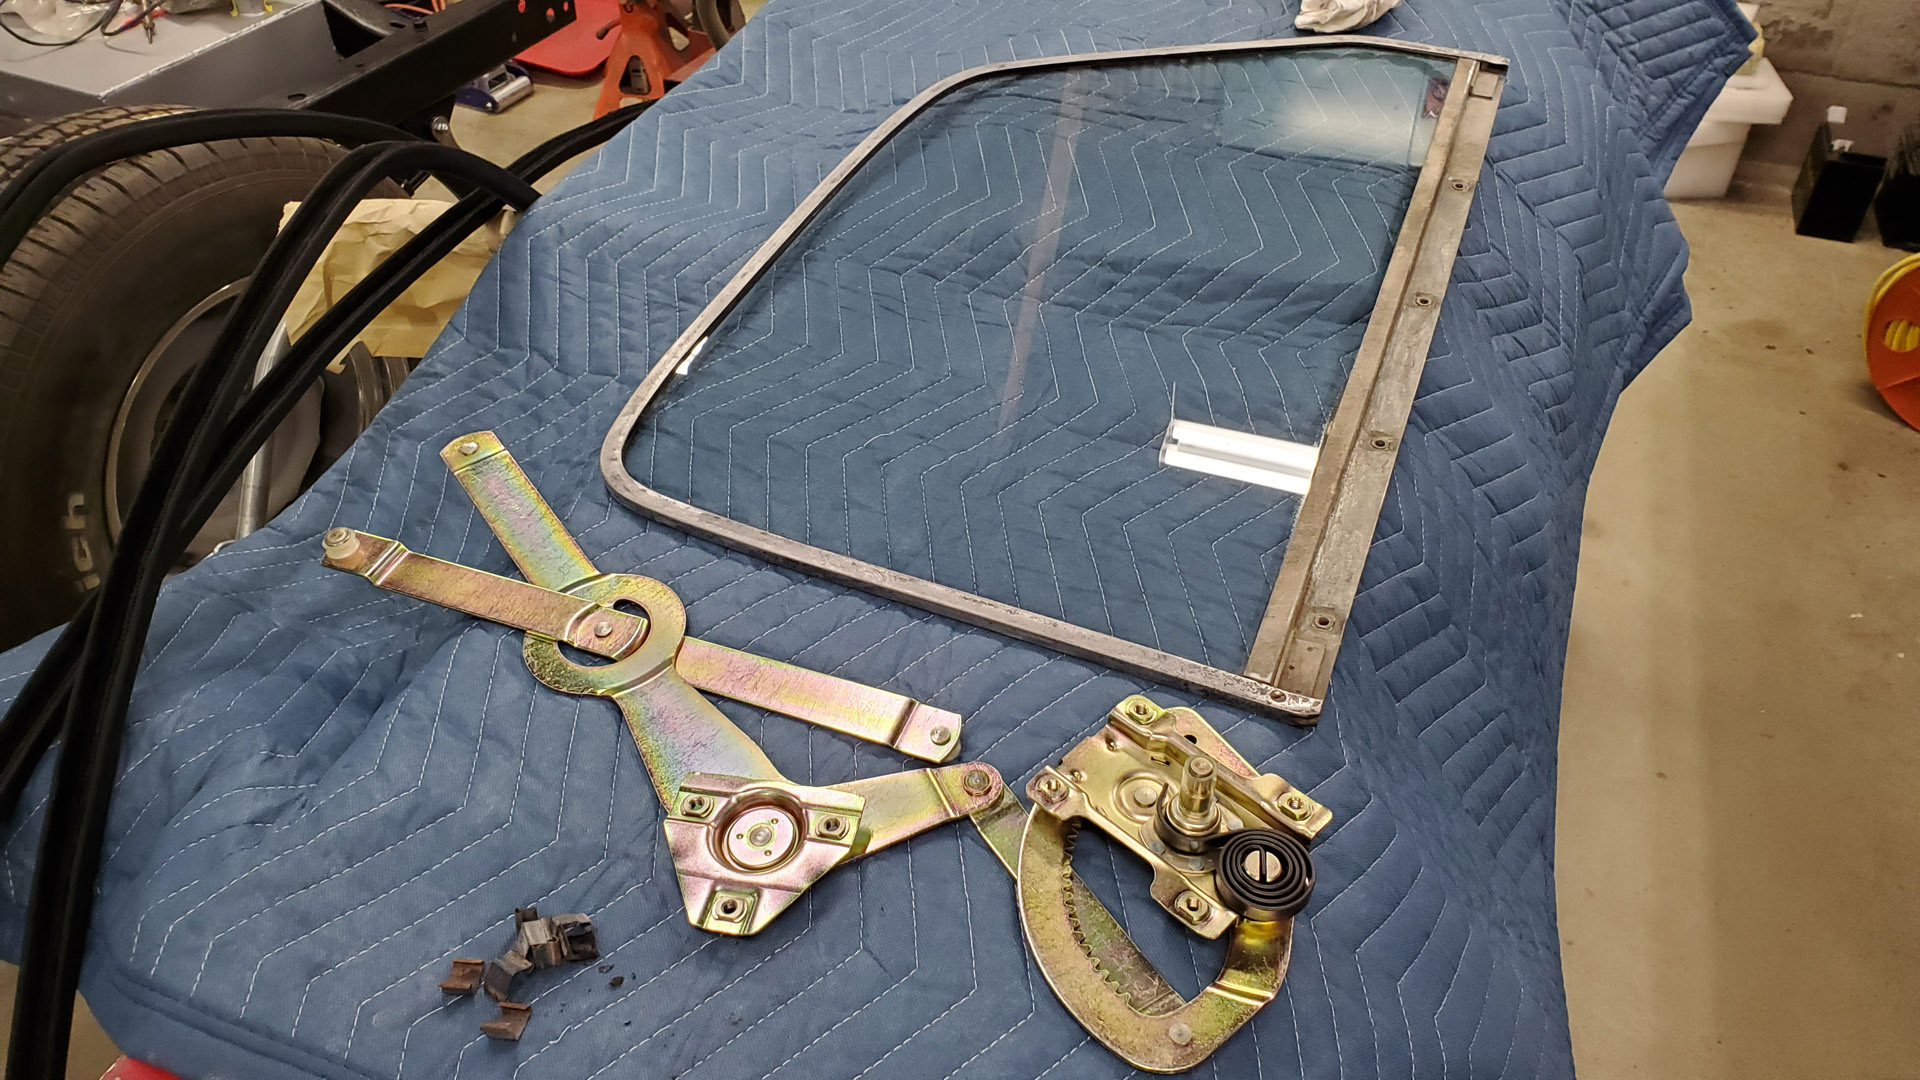
The final pieces to go into the doors include the glass and regulators (the mech that moves the window up and down). Alas, these will have to wait because I was unaware of a missing part.
There's supposed to be a track or guide that bolts to the bottom of the glass for the regulator rollers to engage with - and it's not included with the new regulators. I found two vintage truck part suppliers who normally offer the piece but they're out of stock at the moment. Perhaps on a slow boat from China? Ugh....
